Electrolux ESL 4510LO - Manuals
Electrolux ESL 4510LO Dishwasher – User Manual in PDF format online.
Manuals:
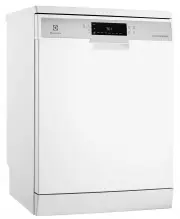
User Manual Electrolux ESL 4510LO


Summary
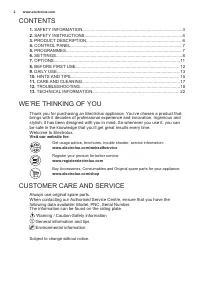
CONTENTS 1. SAFETY INFORMATION....................................................................................3 2. SAFETY INSTRUCTIONS.................................................................................. 4 3. PRODUCT DESCRIPTION..........................................................
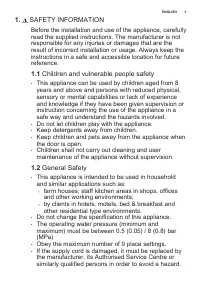
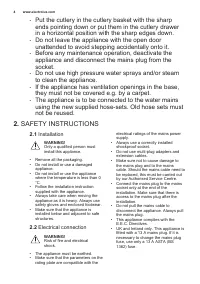
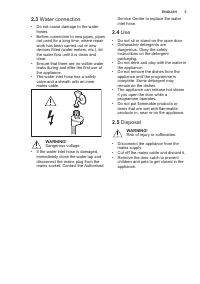
• Put the cutlery in the cutlery basket with the sharp ends pointing down or put them in the cutlery drawer in a horizontal position with the sharp edges down. • Do not leave the appliance with the open door unattended to avoid stepping accidentally onto it. • Before any maintenance operation, deact...
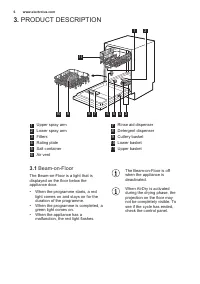
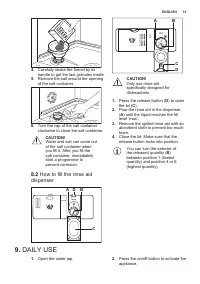
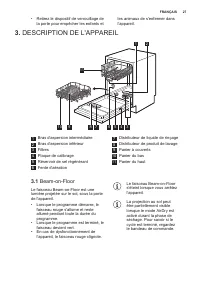
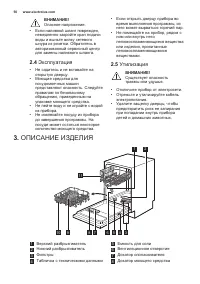
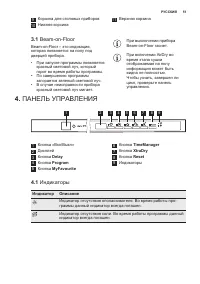
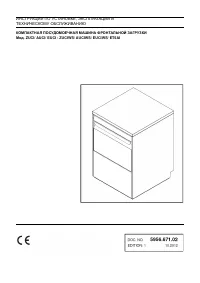
3. PRODUCT DESCRIPTION 4 3 7 9 8 10 5 6 11 1 2 1 Upper spray arm 2 Lower spray arm 3 Filters 4 Rating plate 5 Salt container 6 Air vent 7 Rinse aid dispenser 8 Detergent dispenser 9 Cutlery basket 10 Lower basket 11 Upper basket 3.1 Beam-on-Floor The Beam-on-Floor is a light that is displayed on the...
Electrolux Dishwashers Manuals
-
 Electrolux 502036 Medical Line
User Manual
Electrolux 502036 Medical Line
User Manual
-
 Electrolux ESF 235
User Manual
Electrolux ESF 235
User Manual
-
Electrolux ESF 235
Manual
-
 Electrolux ESF 237
User Manual
Electrolux ESF 237
User Manual
-
Electrolux ESF 245
User Manual
-
 Electrolux ESF 43005
User Manual
Electrolux ESF 43005
User Manual
-
 Electrolux ESF 4513 LOX
User Manual
Electrolux ESF 4513 LOX
User Manual
-
 Electrolux ESF 46010
Manual
Electrolux ESF 46010
Manual
-
 Electrolux ESF 5511 LOX
User Manual
Electrolux ESF 5511 LOX
User Manual
-
 Electrolux ESF 5512 LOW
User Manual
Electrolux ESF 5512 LOW
User Manual
-
Electrolux ESF 5512 LOX
User Manual
-
 Electrolux ESF6700ROW
User Manual
Electrolux ESF6700ROW
User Manual
-
 Electrolux ESF6767KXA
User Manual
Electrolux ESF6767KXA
User Manual
-
 Electrolux ESF6768KXA
User Manual
Electrolux ESF6768KXA
User Manual
-
 Electrolux ESF6800ROX
User Manual
Electrolux ESF6800ROX
User Manual
-
 Electrolux ESF8725RKX
User Manual
Electrolux ESF8725RKX
User Manual
-
 Electrolux ESF8725ROX
User Manual
Electrolux ESF8725ROX
User Manual
-
 Electrolux ESF8735RKX
User Manual
Electrolux ESF8735RKX
User Manual
-
 Electrolux ESF8735ROX
User Manual
Electrolux ESF8735ROX
User Manual
-
 Electrolux ESF97400RKX
User Manual
Electrolux ESF97400RKX
User Manual