Electrolux ESI 6220 - Manuals
Electrolux ESI 6220 Dishwasher – Manual in PDF format online.
Manuals:
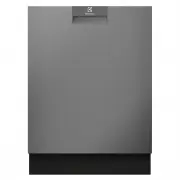
Manual Electrolux ESI 6220


Summary
3 Contents Safety Instructions . . . . . . . . . . . . . . . . . . . . . . . . . . . . . . . . . . . . . . . . . . . . . . . . . . . . . . . . . . . . . . . . . . . . . . 5 Disposal . . . . . . . . . . . . . . . . . . . . . . . . . . . . . . . . . . . . . . . . . . . . . . . . . . . . . . . . . . . ...
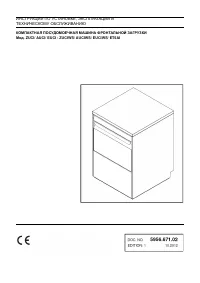
5 1 Safety Instructions The safety aspects of ELECTROLUX electrical appli-ances comply with accepted technical standards andthe German Appliance Safety Law. Nevertheless, asa manufacturer we consider it our obligation to makeyou aware of the following safety information: Installation, Connection and...
6 2 Disposal Disposing of the Packaging Material Dispose of the dishwasher packaging material cor-rectly. All the packaging materials used are harmlessto the environment and can be recycled. • Plastic parts are marked with standard interna-tional abbreviations: – >PE< for polyethylene, e.g. sh...
Electrolux Dishwashers Manuals
-
 Electrolux 502036 Medical Line
User Manual
Electrolux 502036 Medical Line
User Manual
-
 Electrolux ESF 235
User Manual
Electrolux ESF 235
User Manual
-
Electrolux ESF 235
Manual
-
 Electrolux ESF 237
User Manual
Electrolux ESF 237
User Manual
-
Electrolux ESF 245
User Manual
-
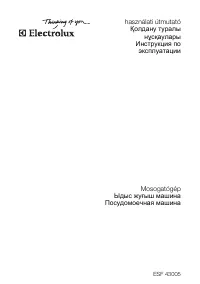 Electrolux ESF 43005
User Manual
Electrolux ESF 43005
User Manual
-
 Electrolux ESF 4513 LOX
User Manual
Electrolux ESF 4513 LOX
User Manual
-
 Electrolux ESF 46010
Manual
Electrolux ESF 46010
Manual
-
 Electrolux ESF 5511 LOX
User Manual
Electrolux ESF 5511 LOX
User Manual
-
 Electrolux ESF 5512 LOW
User Manual
Electrolux ESF 5512 LOW
User Manual
-
Electrolux ESF 5512 LOX
User Manual
-
 Electrolux ESF6700ROW
User Manual
Electrolux ESF6700ROW
User Manual
-
 Electrolux ESF6767KXA
User Manual
Electrolux ESF6767KXA
User Manual
-
 Electrolux ESF6768KXA
User Manual
Electrolux ESF6768KXA
User Manual
-
 Electrolux ESF6800ROX
User Manual
Electrolux ESF6800ROX
User Manual
-
 Electrolux ESF8725RKX
User Manual
Electrolux ESF8725RKX
User Manual
-
 Electrolux ESF8725ROX
User Manual
Electrolux ESF8725ROX
User Manual
-
 Electrolux ESF8735RKX
User Manual
Electrolux ESF8735RKX
User Manual
-
 Electrolux ESF8735ROX
User Manual
Electrolux ESF8735ROX
User Manual
-
 Electrolux ESF97400RKX
User Manual
Electrolux ESF97400RKX
User Manual