Electrolux ERC928GA - Manuals
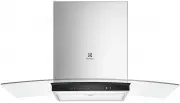
User Manual Electrolux ERC928GA


Summary
2 WE’RE THINKING OF YOU Thank you for purchasing an Electrolux appliance. You’ve chosen a product that brings with it decades of professional experience and innovation. Ingenious and stylish, it has been designed with you in mind. So whenever you use it, you can be safe in the knowledge that you’ll ...
3 SAFETY INFORmATION This manual explains the proper use of your new Electrolux cooker hood. Please read this manual carefully before using the product. This manual should be kept in a safe place for handy reference. This cooker hood is a domestic appliance which has been manufactured and tested to ...
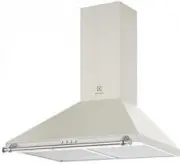
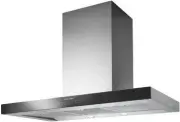
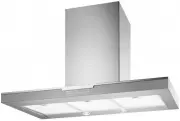
4 PRODUCT DESCRIPTION 1 Ceiling mount bracket 2 Telescopic flue cover set 3 Flue transition duct 4 Wall bracket 5 main body and fan housing assembly 6 Glass and securing screws (4) 7 Grease filters additional items required for installation • Fixings required to attach rangehood body and anti tilt p...
Electrolux Range Hoods Manuals
-
 Electrolux Collo150
User Manual
Electrolux Collo150
User Manual
-
 Electrolux EFC226B
User Manual
Electrolux EFC226B
User Manual
-
 Electrolux EFC226C
User Manual
Electrolux EFC226C
User Manual
-
 Electrolux EFC226R
User Manual
Electrolux EFC226R
User Manual
-
 Electrolux EFC226V
User Manual
Electrolux EFC226V
User Manual
-
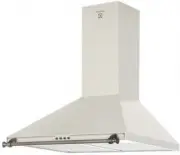
 Electrolux EFC60441OC
User Manual
Electrolux EFC60441OC
User Manual
-
 Electrolux EFC60441OR
User Manual
Electrolux EFC60441OR
User Manual
-
 Electrolux EFC60441OV
User Manual
Electrolux EFC60441OV
User Manual
-
 Electrolux EFG50250S
User Manual
Electrolux EFG50250S
User Manual
-
 Electrolux EFP6500XA
User Manual
Electrolux EFP6500XA
User Manual
-
 Electrolux EFP9500XA
User Manual
Electrolux EFP9500XA
User Manual
-
 Electrolux EFU9216W
User Manual
Electrolux EFU9216W
User Manual
-
 Electrolux EFV516K
User Manual
Electrolux EFV516K
User Manual
-
 Electrolux EFV516W
User Manual
Electrolux EFV516W
User Manual
-
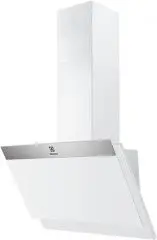
 Electrolux ERC925DSD
User Manual
Electrolux ERC925DSD
User Manual
-
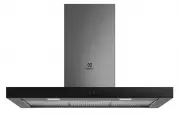
 Electrolux ERC926BA
User Manual
Electrolux ERC926BA
User Manual
-
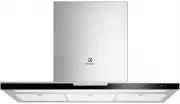
 Electrolux ERC930SA
User Manual
Electrolux ERC930SA
User Manual
-
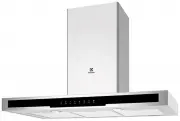
 Electrolux ERCE9025BA
User Manual
Electrolux ERCE9025BA
User Manual
-
 Electrolux ERCE9025BK
User Manual
Electrolux ERCE9025BK
User Manual
-
 Electrolux ERCE9025SA
User Manual
Electrolux ERCE9025SA
User Manual