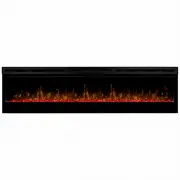
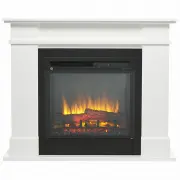
Dimplex BLF5051-AU - Manuals
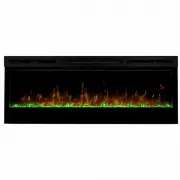
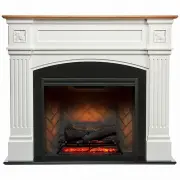
User Manual Dimplex BLF5051-AU


Summary
Table of Contents Always use a qualified technician or service agency to repair this fireplace. ! NOTE: Procedures and techniques that are considered important enough to emphasize. CAUTION: Procedures and techniques which, if not carefully followed, will result in damage to the equipment. WARNING: P...
3 Welcome & Congratulations Thank you and congratulations for choosing to purchase an electric fireplace from Dimplex, the world leader in electric fireplaces. Please carefully read and save these instructions. CAUTION: Read all instructions and warnings carefully before starting installation. F...
IMPORTANT SAFETY INSTRUCTIONS Read all instructions before using this appliance. When using electrical appliances, basic precautions should always be followed to reduce the risk of fire, electrical shock and injury to persons, including the following:1. If the appliance is damaged, check with the su...
Dimplex Fireplaces Manuals
-
 Dimplex ATC20-AU
User Manual
Dimplex ATC20-AU
User Manual
-
 Dimplex BAR20-AU
User Manual
Dimplex BAR20-AU
User Manual
-
 Dimplex BEN-E-LF
User Manual
Dimplex BEN-E-LF
User Manual
-
 Dimplex BLF7451-AU
User Manual
Dimplex BLF7451-AU
User Manual
-
 Dimplex LKD20-AU
User Manual
Dimplex LKD20-AU
User Manual
-
 Dimplex Michigan
User Manual
Dimplex Michigan
User Manual
-
 Dimplex OSB20C-AU
User Manual
Dimplex OSB20C-AU
User Manual
-
 Dimplex RAL15-AU
User Manual
Dimplex RAL15-AU
User Manual
-
 Dimplex RAV20-AU
User Manual
Dimplex RAV20-AU
User Manual
-
 Dimplex RBF30C-AU
User Manual
Dimplex RBF30C-AU
User Manual
-
 Dimplex RBF36C-AU
User Manual
Dimplex RBF36C-AU
User Manual
-
 Dimplex RBF42-AU
User Manual
Dimplex RBF42-AU
User Manual
-
 Dimplex SSE-E-LF
User Manual
Dimplex SSE-E-LF
User Manual
-
 Dimplex STA20C-AU
User Manual
Dimplex STA20C-AU
User Manual
-
 Dimplex SWD20-AU
User Manual
Dimplex SWD20-AU
User Manual
-
 Dimplex WDS20-AU
User Manual
Dimplex WDS20-AU
User Manual