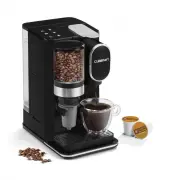
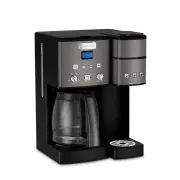
Cuisinart DGB-850 - Manuals
Cuisinart DGB-850 Coffee Machine – User Manual in PDF format online.
Manuals:
User Manual Cuisinart DGB-850


Summary
3 WARNING: RISK OF FIRE OR ELECTRIC SHOCK The lightning flash with arrowhead symbol within an equilateral triangle is intended to alert the user to the presence of uninsulated, dangerous voltage within the product’s enclosure that may be of sufficient magnitude to constitute a risk of fire or electr...
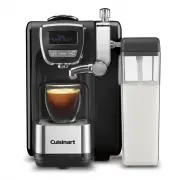
4 CONTENTS Important Safeguards. . . . . . . . . . . . . . . . . . . .2Important Unpacking Instructions . . . . . . . . . .4The Quest for the Perfect Cup of Coffee . . . . .4Features and Benefits . . . . . . . . . . . . . . . . . . .5Control Panel . . . . . . . . . . . . . . . . . . . . . . . . . .6...
5 FEATURES AND BENEFITS 1. Hopper Holds up to ½ lb. of coffee beans. 2. Hopper Lid Seals out moisture and air to keep beans fresh. 3. Water Reservoir Cover flips back for easy filling. 4. Water Level Window 5. Brew Pause ™ Interrupts flow of coffee to pour a quick cup mid-brew (20 seconds max.) 6. T...
Cuisinart Coffee Machines Manuals
-
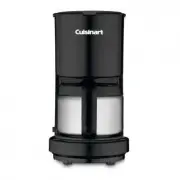
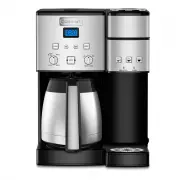
 Cuisinart CHW16
User Manual
Cuisinart CHW16
User Manual
-
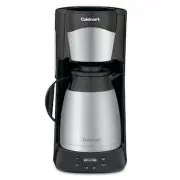
 Cuisinart DCC-1200BKSP1
User Manual
Cuisinart DCC-1200BKSP1
User Manual
-
 Cuisinart DCC-1200L
User Manual
Cuisinart DCC-1200L
User Manual
-
 Cuisinart DCC-2650P1
User Manual
Cuisinart DCC-2650P1
User Manual
-
 Cuisinart DCC3000P1
User Manual
Cuisinart DCC3000P1
User Manual
-
 Cuisinart DCC-450BK
User Manual
Cuisinart DCC-450BK
User Manual
-
 Cuisinart DGB-2
User Manual
Cuisinart DGB-2
User Manual
-
 Cuisinart DGB-800
User Manual
Cuisinart DGB-800
User Manual
-
 Cuisinart DTC-975BKN
User Manual
Cuisinart DTC-975BKN
User Manual
-
 Cuisinart EM-100NP1
User Manual
Cuisinart EM-100NP1
User Manual
-
 Cuisinart EM-200
User Manual
Cuisinart EM-200
User Manual
-
Cuisinart EM-200
Manual
-
 Cuisinart EM-200NP1
User Manual
Cuisinart EM-200NP1
User Manual
-
 Cuisinart EM-25
User Manual
Cuisinart EM-25
User Manual
-
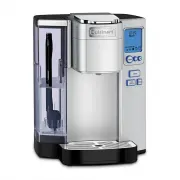
 Cuisinart SS10P1
User Manual
Cuisinart SS10P1
User Manual
-
 Cuisinart SS-10P1
User Manual
Cuisinart SS-10P1
User Manual
-
 Cuisinart SS-15BKSP1
User Manual
Cuisinart SS-15BKSP1
User Manual
-
 Cuisinart SS-15P1
User Manual
Cuisinart SS-15P1
User Manual
-
 Cuisinart SS16
User Manual
Cuisinart SS16
User Manual
-
 Cuisinart SS-20
User Manual
Cuisinart SS-20
User Manual