Cuisinart DGB-2 - Manuals
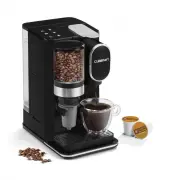
User Manual Cuisinart DGB-2


Summary
2 IMPORTANT SAFEGUARDS When using electrical appliances, basic safety precautions should always be taken to reduce the risk of fire, electric shock and/or injury to persons, including the following: 1. READ ALL INSTRUCTIONS. 2. Do not touch hot surfaces. Use handles and knobs. 3. To protect against ...
3 SAVE THESE INSTRUCTIONS FOR HOUSEHOLD USE ONLY WARNING: RISK OF FIRE OR ELECTRIC SHOCK The lightning flash with arrowhead symbol within an equilateral triangle is intended to alert the user to the presence of dangerous uninsulated voltage within the product’s enclosure that may be of sufficient ma...
6 INSERTING THE WATER FILTER Your coffeemaker comes with a charcoal water filter that eliminates chlorine, bad tastes and odors from tap water. • Remove the filter from polybag and soak it, fully immersed, in cold tap water for 15 minutes. • Lift the water filter holder out of the water reservoir. •...
Cuisinart Coffee Machines Manuals
-
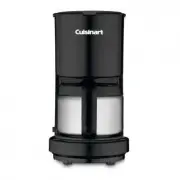 Cuisinart DCC-450BK
User Manual
Cuisinart DCC-450BK
User Manual
-
 Cuisinart DGB-800
User Manual
Cuisinart DGB-800
User Manual
-
 Cuisinart DGB-850
User Manual
Cuisinart DGB-850
User Manual
-
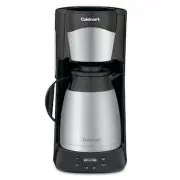 Cuisinart DTC-975BKN
User Manual
Cuisinart DTC-975BKN
User Manual
-
 Cuisinart EM-100NP1
User Manual
Cuisinart EM-100NP1
User Manual
-
 Cuisinart EM-200
User Manual
Cuisinart EM-200
User Manual
-
Cuisinart EM-200
Manual
-
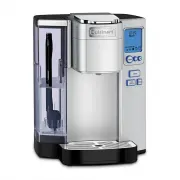 Cuisinart SS-10P1
User Manual
Cuisinart SS-10P1
User Manual
-
 Cuisinart SS-15P1
User Manual
Cuisinart SS-15P1
User Manual
-
 Cuisinart SS16
User Manual
Cuisinart SS16
User Manual
-
 Cuisinart SS-20
User Manual
Cuisinart SS-20
User Manual