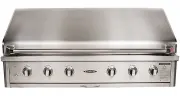
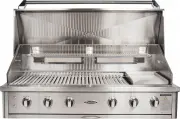
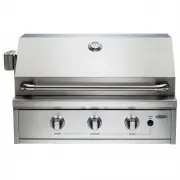
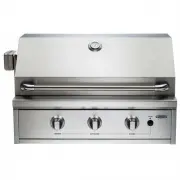
Capital PRO36RBIN - Manuals
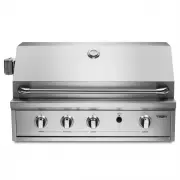
User Manual Capital PRO36RBIN


Summary
3 Dear Valued Customer, Congratulations on making a smart choice! You have joined an elite group of cookingenthusiasts who demand only the very best from their appliances. A Capital Cooking appliancepromises years of enjoyment and maximum pleasure, allowing cooks everywhere to createculinary memorie...
4 FOR OUTDOOR USE ONLY! WARNING! DO NOT attempt to light barbecue without reading the LIGHTING INSTRUCTIONS section in this manual. WARNING! This appliance must be serviced only by a qualified licensed person. Improper installation, adjustment, alteration or maintenance can cause injury or property ...
5 WARNING: NOT FOR USE IN MARINE CRAFT, CARAVANS OR MOBILE HOMES. PUTTING YOUR BARBECUE IN AN ENCLOSURE This appliance must only be used in an above ground, open air situation with natural ventilation, without stagnant areas, where gas leakage and products of combustion are rapidly dispersed by wind...
Capital BBQs Manuals
-
 Capital ACG40RBI1L
User Manual
Capital ACG40RBI1L
User Manual
-
 Capital ACG40RBI1N
User Manual
Capital ACG40RBI1N
User Manual
-
 Capital ACG40RBIN
User Manual
Capital ACG40RBIN
User Manual
-
 Capital ACG40RFS1L
User Manual
Capital ACG40RFS1L
User Manual
-
 Capital ACG40RFS1N
User Manual
Capital ACG40RFS1N
User Manual
-
 Capital ACG52RBI1L
User Manual
Capital ACG52RBI1L
User Manual
-
 Capital ACG52RBI1N
User Manual
Capital ACG52RBI1N
User Manual
-
 Capital ACG52RBIN
User Manual
Capital ACG52RBIN
User Manual
-
 Capital ACG52RFS1L
User Manual
Capital ACG52RFS1L
User Manual
-
 Capital ACG52RFS1N
User Manual
Capital ACG52RFS1N
User Manual
-
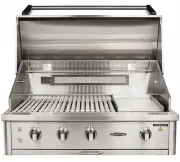
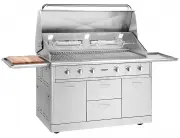
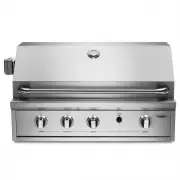
 Capital PRO32RBIL
User Manual
Capital PRO32RBIL
User Manual
-
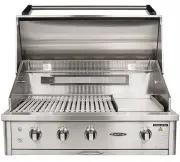
 Capital PRO32RBIN
User Manual
Capital PRO32RBIN
User Manual
-
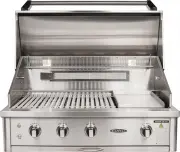
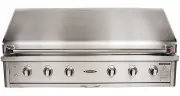
 Capital PRO36RBIL
User Manual
Capital PRO36RBIL
User Manual