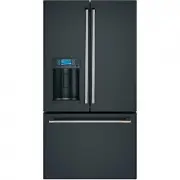
Cafe CWE23SP4MW2 - Manuals
User Manual Cafe CWE23SP4MW2


Summary
2 49-60791-2 THANK YOU FOR MAKING GE APPLIANCES A PART OF YOUR HOME. Whether you grew up with GE Appliances, or this is your first, we’re happy to have you in the family. We take pride in the craftsmanship, innovation and design that goes into every GE Appliances product, and we think you will too. ...
49-60791-2 3 STATE OF CALIFORNIA PROPOSITION 65 WARNINGS: WARNING This product contains one or more chemicals known to the State of California to cause cancer and birth defects or other reproductive harm. CAUTION To reduce the risk of injury when using your refrigerator, follow these basic safety pr...
4 49-60791-2 SAFETY INFORMA T ION IMPORTANT SAFETY INFORMATION READ ALL INSTRUCTIONS BEFORE USING THE APPLIANCE READ AND SAVE THESE INSTRUCTIONS PROPER DISPOSAL OF YOUR OLD REFRIGERATOR Do not, under any circumstances, cut or remove the third (ground) prong from the power cord. For personal safety, ...
Cafe Refrigerators Manuals
-
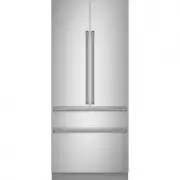
 Cafe CAE28DM5TS5
User Manual
Cafe CAE28DM5TS5
User Manual
-
 Cafe CCP06BP2PS1
User Manual
Cafe CCP06BP2PS1
User Manual
-
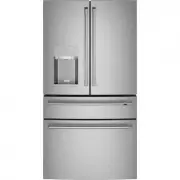
 Cafe CFE28TP2MS1
User Manual
Cafe CFE28TP2MS1
User Manual
-
 Cafe CFE28TP3MD1
User Manual
Cafe CFE28TP3MD1
User Manual
-
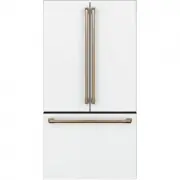
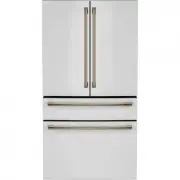
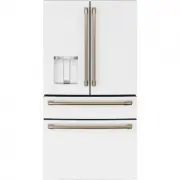
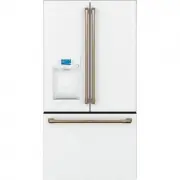 Cafe CFE28TP4MW2
User Manual
Cafe CFE28TP4MW2
User Manual
-
 Cafe CGE29DM5TS5
User Manual
Cafe CGE29DM5TS5
User Manual
-
 Cafe CGE29DP2TS1
User Manual
Cafe CGE29DP2TS1
User Manual
-
 Cafe CGE29DP3TD1
User Manual
Cafe CGE29DP3TD1
User Manual
-
 Cafe CGE29DP4TW2
User Manual
Cafe CGE29DP4TW2
User Manual
-
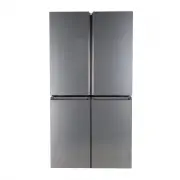
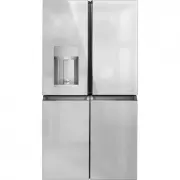
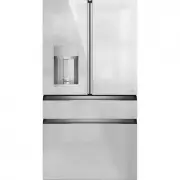
 Cafe CIP36NP2VS1
User Manual
Cafe CIP36NP2VS1
User Manual
-
 Cafe CQE28DM5NS5
User Manual
Cafe CQE28DM5NS5
User Manual
-
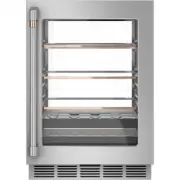
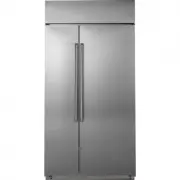
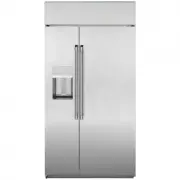
 Cafe CSB42WP2NS1
User Manual
Cafe CSB42WP2NS1
User Manual
-
Cafe CSB42YP2NS1
User Manual
-
 Cafe CSB48WP2NS1
User Manual
Cafe CSB48WP2NS1
User Manual
-
 Cafe CSB48YP2NS1
User Manual
Cafe CSB48YP2NS1
User Manual
-
 Cafe CVE28DM5NS5
User Manual
Cafe CVE28DM5NS5
User Manual
-
 Cafe CVE28DP2NS1
User Manual
Cafe CVE28DP2NS1
User Manual
-
 Cafe CVE28DP3ND1
User Manual
Cafe CVE28DP3ND1
User Manual
-
 Cafe CVE28DP4NW2
User Manual
Cafe CVE28DP4NW2
User Manual
-
 Cafe CWE19SP2NS1
User Manual
Cafe CWE19SP2NS1
User Manual