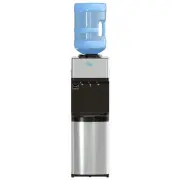
Brio CLCTPOU620UVF2 - Manuals

User Manual Brio CLCTPOU620UVF2


Summary
2 TABLE OF CONTENTS SAFETY INFORMATION . . . . . . . . . . . . . . . . . . . . . . . . . . . . . . . . . . . . . . . . .3 INTENDED USE . . . . . . . . . . . . . . . . . . . . . . . . . . . . . . . . . . . . . . . . . . . . . . . .4 PRODUCT FEATURES . . . . . . . . . . . . . . . . . . . . . . . . . ....
3 SAFETY INFORMATION WARNING: To reduce risk of injury and property damage, you must read this entire guide before assembling, installing and operating the dispenser . WARNING: This product dispenses water at very high temperatures . Failure to use properly can cause personal injury . When operating...
4 INTENDED USE This appliance is intended to be used in household and similar applications such as: • Staff kitchen areas in shops, offices and other working environments • Farm houses • Clients in hotels, motels and other residential type environments • Bed and breakfast type environments • Caterin...
Brio Water Dispensers Manuals
-
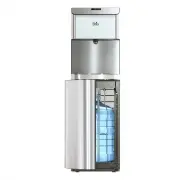
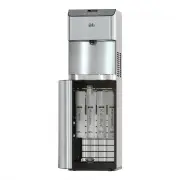
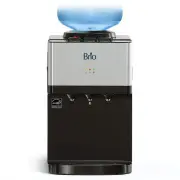 Brio CLBL320SCP
User Manual
Brio CLBL320SCP
User Manual
-
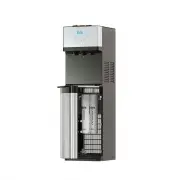
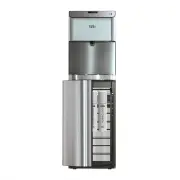
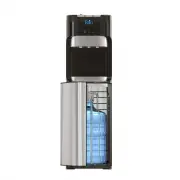 Brio CLBL420V2
User Manual
Brio CLBL420V2
User Manual
-
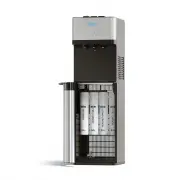
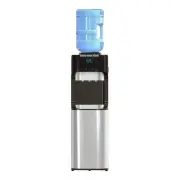
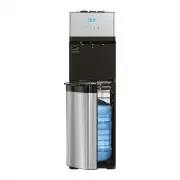 Brio CLBL520SC
User Manual
Brio CLBL520SC
User Manual
-
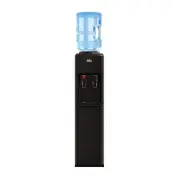
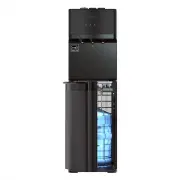 Brio CLBL520SCBLK
User Manual
Brio CLBL520SCBLK
User Manual
-
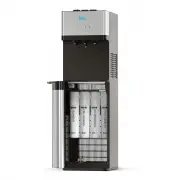
 Brio CLBL720SC
User Manual
Brio CLBL720SC
User Manual
-
 Brio CLPOU520UVF2
User Manual
Brio CLPOU520UVF2
User Manual
-
 Brio CLPOU520UVF4
User Manual
Brio CLPOU520UVF4
User Manual
-
 Brio CLPOU520UVRO4
User Manual
Brio CLPOU520UVRO4
User Manual
-
 Brio CLPOU720UVRO4
User Manual
Brio CLPOU720UVRO4
User Manual
-
 Brio CLPOU720UVRO4X
User Manual
Brio CLPOU720UVRO4X
User Manual
-
 Brio CLPOURO420SCV2
User Manual
Brio CLPOURO420SCV2
User Manual
-
 Brio CLTL320BSLP
User Manual
Brio CLTL320BSLP
User Manual
-
 Brio CLTL420V2
User Manual
Brio CLTL420V2
User Manual
-
 Brio CLTL520
User Manual
Brio CLTL520
User Manual