Breville the Infuser BES840XL- Manuals
Breville the Infuser BES840XL– User Manual in PDF format online.
Manuals:
User Manual Breville the Infuser BES840XL
1

2

3

4

5

6

7

8

9

10

11

12

13

14

15

16

17

18

19

20

21

22

23

24

25

26

27

28

29

30

31

32

33

34

35

36

37

38

39

40

41

42

43

44

45

46

47

48

49

50

51

52

53

54

55

56

57

58

59

60

61

62

63

64

65

66

67

68

69

70

71

72

Summary
Page 2 - CONGRATULATIONS; on the purchase of your new
CONGRATULATIONS on the purchase of your new Breville Espresso Machine
Page 3 - CONTENTS
3 CONTENTS 4 Breville recommends safety first 6 Know your Breville Espresso Machine 10 Operating your Breville Espresso Machine 17 Coffee making tips & preparation 22 Care & cleaning 27 Troubleshooting 34 Coffees to try 36 French
Page 4 - BREVILLE RECOMMENDS SAFETY FIRST; IMPORTANT SAFEGUARDS
4 BREVILLE RECOMMENDS SAFETY FIRST At Breville we are very safety conscious. We design and manufacture consumer products with the safety of you, our valued customer, foremost in mind. In addition we ask that you exercise a degree of care when using any electrical appliance and adhere to the followin...
Breville Manuals
-
 Breville BES985BSS1BNA1
User Manual
Breville BES985BSS1BNA1
User Manual
-
 Breville BRC800
User Manual
Breville BRC800
User Manual
-
Breville LRC800
User Manual
-
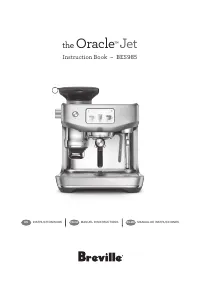
 Breville BBL620W
Manual
Breville BBL620W
Manual
-
 Breville BGR350
User Manual
Breville BGR350
User Manual
-
Breville LGR350
User Manual
-
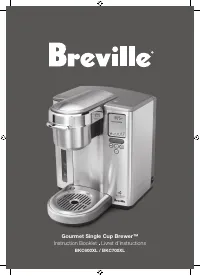
 Breville BMC700
User Manual
Breville BMC700
User Manual
-
Breville LMC700
User Manual
-
 Breville BMO735
User Manual
Breville BMO735
User Manual
-
Breville BMO735
Manual
-
 Breville BOV905
Manual
Breville BOV905
Manual
-
 Breville BFP610
Manual
Breville BFP610
Manual
-
Breville BFP610
User Manual
-
 Breville BFP638
User Manual
Breville BFP638
User Manual
-
Breville BFP638
Manual
-
 Breville BBL920 BLENDER
Manual
Breville BBL920 BLENDER
Manual
-
 Breville BES985
User Manual
Breville BES985
User Manual
-
Breville BES985
Manual
-
 Breville LRC470
User Manual
Breville LRC470
User Manual
-
 Breville OPTIONALLY
User Manual
Breville OPTIONALLY
User Manual