Breville BMO625 - Manuals
Breville BMO625 – User Manual in PDF format online.
Manuals:
User Manual Breville BMO625
1

2
3

4

5

6

7

8

9

10

11

12

13

14

15

16

17

18

19

20

21

22

23

24

25

26

27

28

29

30

31

32

33

34

35

36

37
38
39
40
41
42
43
44

45
46

47
48
49
50
51
52
53
54
55
56
57

58
59
60
61
62
63
64
65
66
67
68
69
70
71
72

73
74

75

76

77

78

Summary
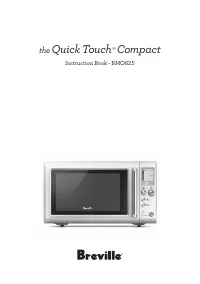
Page 2 - the; Quick Touch; Instruction Book - BMO625
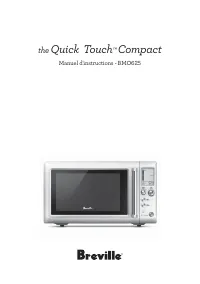
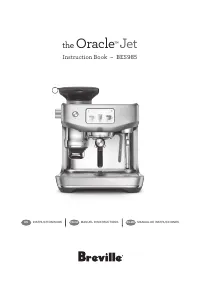
the Quick Touch ™ Compact Instruction Book - BMO625
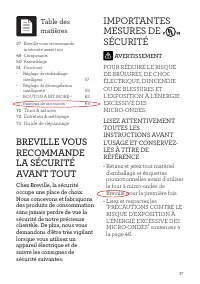
Page 3 - WARNING; • Remove and safely discard; A BIT MORE; Contents
2 BREVILLE RECOMMENDS SAFETY FIRST At Breville we are very safety conscious. We design and manufacture consumer products with the safety of you, our valued customer, foremost in mind. In addition we ask that you exercise a degree of care when using any electrical appliance and adhere to the followin...
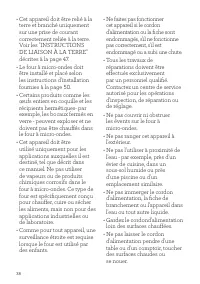
Page 12 - RADIO INTERFERENCE; • Operation of the microwave; CAUTION
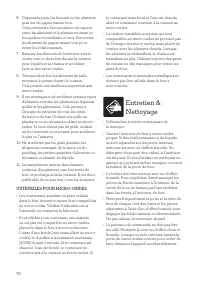
11 RADIO INTERFERENCE • Operation of the microwave oven may cause interference to your radio, TV or similar equipment. • When there is interference, it may be reduced or eliminated by taking the following measures: − Clean door and sealing surface of the oven. − Reorient the receiving antenna of rad...
Breville Manuals
-
 Breville BES985BSS1BNA1
User Manual
Breville BES985BSS1BNA1
User Manual
-
 Breville BRC800
User Manual
Breville BRC800
User Manual
-
Breville LRC800
User Manual
-
 Breville BBL620W
Manual
Breville BBL620W
Manual
-
 Breville BGR350
User Manual
Breville BGR350
User Manual
-
Breville LGR350
User Manual
-
 Breville BMC700
User Manual
Breville BMC700
User Manual
-
Breville LMC700
User Manual
-
 Breville BMO735
User Manual
Breville BMO735
User Manual
-
Breville BMO735
Manual
-
 Breville BOV905
Manual
Breville BOV905
Manual
-
 Breville BFP610
Manual
Breville BFP610
Manual
-
Breville BFP610
User Manual
-
 Breville BFP638
User Manual
Breville BFP638
User Manual
-
Breville BFP638
Manual
-
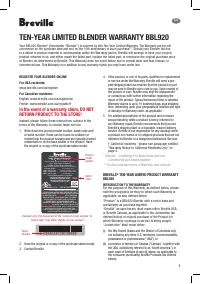 Breville BBL920 BLENDER
Manual
Breville BBL920 BLENDER
Manual
-
 Breville BES985
User Manual
Breville BES985
User Manual
-
Breville BES985
Manual
-
 Breville LRC470
User Manual
Breville LRC470
User Manual
-
 Breville OPTIONALLY
User Manual
Breville OPTIONALLY
User Manual