Breville BKC600XL/BKC700XL - Manuals
Breville BKC600XL/BKC700XL – Manual in PDF format online.
Manuals:
Manual Breville BKC600XL/BKC700XL


Summary
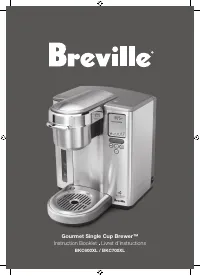
2 CONGRATULATIONS On the purchase of your new Breville Gourmet Single Cup Brewer™ CONTENTS 4 Breville recommends safety first 6 Know your Breville Gourmet Single Cup Brewer™ 8 Operating your Breville Gourmet Single Cup Brewer™ 9 - Installing the water filter 10 - One-time priming process 12 - Brewin...
4 5 BREVILLE RECOMMENDS SAFETY FIRST BREVILLE RECOMMENDS SAFETY FIRST We at Breville are very safety conscious. We design and manufacture consumer products with the safety of you, our valued customer, foremost in mind. In addition we ask that you exercise a degree of care when using any electrical a...
8 9 OpERATING your new Breville Gourmet Single Cup Brewer™ OpERATING YOUR BREVILLE GOURMET SINGLE CUp BREwER™ INSTALLING ThE wATER FILTER For the best tasting gourmet coffee, tea or hot cocoa, Breville recommends using bottled or filtered water. The Water Filter provided with the Brewer can signific...
Breville Manuals
-
 Breville BES985BSS1BNA1
User Manual
Breville BES985BSS1BNA1
User Manual
-
 Breville BRC800
User Manual
Breville BRC800
User Manual
-
Breville LRC800
User Manual
-
 Breville BBL620W
Manual
Breville BBL620W
Manual
-
 Breville BGR350
User Manual
Breville BGR350
User Manual
-
Breville LGR350
User Manual
-
 Breville BMC700
User Manual
Breville BMC700
User Manual
-
Breville LMC700
User Manual
-
 Breville BMO735
User Manual
Breville BMO735
User Manual
-
Breville BMO735
Manual
-
 Breville BOV905
Manual
Breville BOV905
Manual
-
 Breville BFP610
Manual
Breville BFP610
Manual
-
Breville BFP610
User Manual
-
 Breville BFP638
User Manual
Breville BFP638
User Manual
-
Breville BFP638
Manual
-
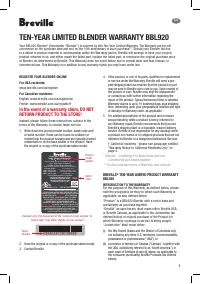 Breville BBL920 BLENDER
Manual
Breville BBL920 BLENDER
Manual
-
 Breville BES985
User Manual
Breville BES985
User Manual
-
Breville BES985
Manual
-
 Breville LRC470
User Manual
Breville LRC470
User Manual
-
 Breville OPTIONALLY
User Manual
Breville OPTIONALLY
User Manual