Breville BES990BSS1BUS1 - Manuals
Breville BES990BSS1BUS1 Coffee Machine – User Manual in PDF format online.
Manuals:
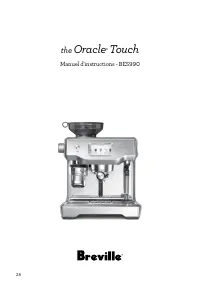
User Manual Breville BES990BSS1BUS1


Summary
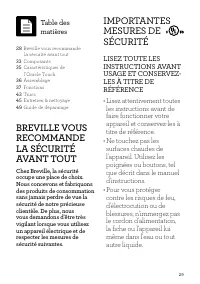
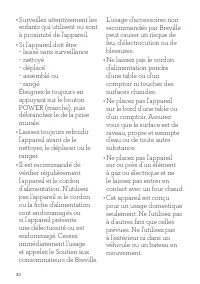
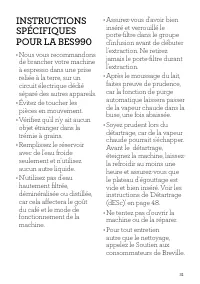
2 BREVILLE RECOMMENDS SAFETY FIRST At Breville we are very safety conscious. We design and manufacture consumer products with the safety of you, our valued customer, foremost in mind. In addition we ask that you exercise a degree of care when using any electrical appliance and adhere to the followin...
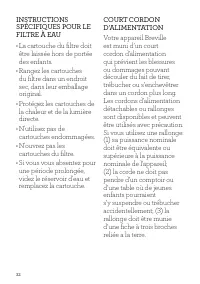
5 SPECIFIC INSTRUCTIONS FOR WATER FILTER • Filter cartridge should be kept out of reach of children. • Store filter cartridges in a dry place in the original packaging. • Protect cartridges from heat and direct sunlight. • Do not use damaged filter cartridges. • Do not open filter cartridges. • If y...
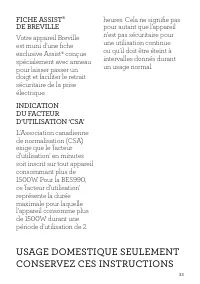
6 FOR HOUSEHOLD USE ONLY SAVE THESE INSTRUCTIONS BREVILLE ASSIST ® PLUG Your Breville appliance comes with a unique Assist ® Plug, conveniently designed with a finger hole to ease removal from the power outlet. CSA DUTY CYCLE MARKING The Canadian Standards Authority requires any appliances capable o...
Breville Coffee Machines Manuals
-
 Breville BCM600BLKBEG100
User Manual
Breville BCM600BLKBEG100
User Manual
-
 Breville BDC450BSS1BUS1
User Manual
Breville BDC450BSS1BUS1
User Manual
-
Breville BDC450BSS1BUS1
Manual
-
 Breville BDC650BSS
User Manual
Breville BDC650BSS
User Manual
-
 Breville BEC200XW
User Manual
Breville BEC200XW
User Manual
-
 Breville BEC220BLK
User Manual
Breville BEC220BLK
User Manual
-
 Breville BEC250SIL
User Manual
Breville BEC250SIL
User Manual
-
 Breville BEC500XT
User Manual
Breville BEC500XT
User Manual
-
 Breville BEC630CRO
User Manual
Breville BEC630CRO
User Manual
-
 Breville BEC650MC
User Manual
Breville BEC650MC
User Manual
-
 Breville BEP920BKS
User Manual
Breville BEP920BKS
User Manual
-
 Breville BEP920BSS
User Manual
Breville BEP920BSS
User Manual
-
 Breville BES030BSSBCG200BSS
User Manual
Breville BES030BSSBCG200BSS
User Manual
-
 Breville BES250
User Manual
Breville BES250
User Manual
-
 Breville BES250BSS
User Manual
Breville BES250BSS
User Manual
-
 Breville BES500BSS
User Manual
Breville BES500BSS
User Manual
-
 Breville BES500BSS1BUS1
User Manual
Breville BES500BSS1BUS1
User Manual
-
 Breville BES500BTR
User Manual
Breville BES500BTR
User Manual
-
 Breville BES500SST
User Manual
Breville BES500SST
User Manual
-
 Breville BES810BSS
User Manual
Breville BES810BSS
User Manual