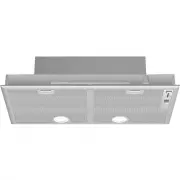
Bosch DWB96BC50A - Manuals
User Manual Bosch DWB96BC50A


Summary
en 2 Ú Table of contents [en]Instructi ons for i nstal l ati on and use INSTRUCTION MANUAL .......................................................... 2 8 Intended use ..........................................................2 ( Important safety information ...............................3 7 Environ...
Important safety information en 3 ( Important safety information Important safety i nformati on : Warning – Danger of suffocation! Packaging material is dangerous to children. Never allow children to play with packaging material. : Warning – Danger of death! Risk of poisoning from flue gases that ar...
en Important safety information 4 : Warning – Risk of injury! ■ Components inside the appliance may have sharp edges. Wear protective gloves. Risk of injury! ■ Items placed on the appliance may fall down. Do not place any objects on the appliance. Risk of injury! ■ The light emitted by LED lights is...
Bosch Range Hoods Manuals
-
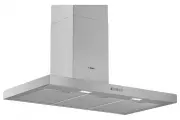
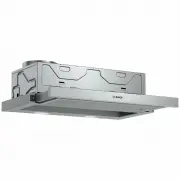
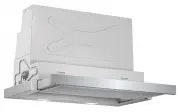
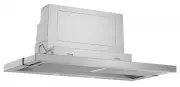
 Bosch DBB67AM60A
User Manual
Bosch DBB67AM60A
User Manual
-
Bosch DBB67AM60A
Installation Manual
-
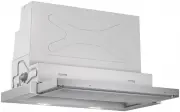
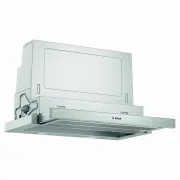
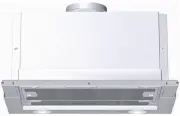
 Bosch DBB97AM60A
User Manual
Bosch DBB97AM60A
User Manual
-
Bosch DBB97AM60A
Installation Manual
-
 Bosch DDW88MM66
User Manual
Bosch DDW88MM66
User Manual
-
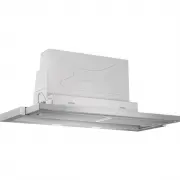
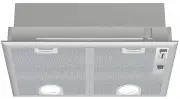
 Bosch DFL064W50A
User Manual
Bosch DFL064W50A
User Manual
-
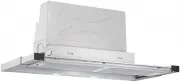
 Bosch DFM064W50A
User Manual
Bosch DFM064W50A
User Manual
-
 Bosch DFM064W54A
User Manual
Bosch DFM064W54A
User Manual
-
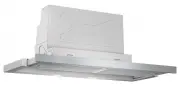
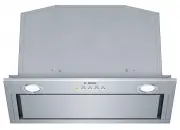
 Bosch DFR067A50A
User Manual
Bosch DFR067A50A
User Manual
-
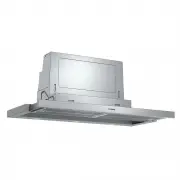
 Bosch DFR097A50A
User Manual
Bosch DFR097A50A
User Manual
-
 Bosch DFR097E50A
User Manual
Bosch DFR097E50A
User Manual
-
 Bosch DFS067A50A
User Manual
Bosch DFS067A50A
User Manual
-
 Bosch DFS067A51A
User Manual
Bosch DFS067A51A
User Manual
-
 Bosch DFS097A50A
User Manual
Bosch DFS097A50A
User Manual
-
 Bosch DFS097A51A
User Manual
Bosch DFS097A51A
User Manual
-
 Bosch DFS097E50A
User Manual
Bosch DFS097E50A
User Manual
-
 Bosch DHI645NAU
User Manual
Bosch DHI645NAU
User Manual
-
 Bosch DHL555BAU
User Manual
Bosch DHL555BAU
User Manual
-
 Bosch DHL575CAU
User Manual
Bosch DHL575CAU
User Manual
-
 Bosch DHL755BUC
User Manual
Bosch DHL755BUC
User Manual