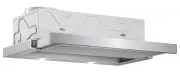
Bosch DHI645NAU - Manuals
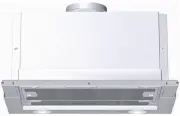
User Manual Bosch DHI645NAU


Summary
16 Operating modes This can be achieved if the combustion airis able to flow through non-lockable openings, e.g. in doors, windows and inconjunction with an air supply/air-intake wallbox or by other technical procedures suchas reciprocal interlocking. If the air intake is inadequate, there is arisk ...
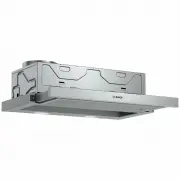
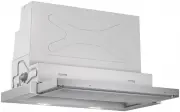
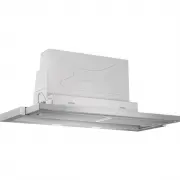
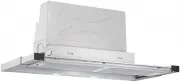
17 Before using for the first time Important notes: ❑ The Instructions for Use apply to severalversions of this appliance. Accordingly,you may find descriptions of individualfeatures that do not apply to your specific appliance. ❑ This extractor hood complies with all relevant safety regulations. Re...
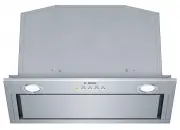
18 Operating the extractor hood Cooking vapours are best eliminated by: ❑ Switching on the extractor hood when you start cooking. ❑ Only switching off the extractor hood a few minutes after you have finishedcooking. Fan on / off Light on / off Intensive setting Fan settings Fan on / off Intensive se...
Bosch Range Hoods Manuals
-
 Bosch DBB67AM60A
User Manual
Bosch DBB67AM60A
User Manual
-
Bosch DBB67AM60A
Installation Manual
-
 Bosch DBB97AM60A
User Manual
Bosch DBB97AM60A
User Manual
-
Bosch DBB97AM60A
Installation Manual
-
 Bosch DDW88MM66
User Manual
Bosch DDW88MM66
User Manual
-
 Bosch DFL064W50A
User Manual
Bosch DFL064W50A
User Manual
-
 Bosch DFM064W50A
User Manual
Bosch DFM064W50A
User Manual
-
 Bosch DFM064W54A
User Manual
Bosch DFM064W54A
User Manual
-
 Bosch DFR067A50A
User Manual
Bosch DFR067A50A
User Manual
-
 Bosch DFR097A50A
User Manual
Bosch DFR097A50A
User Manual
-
 Bosch DFR097E50A
User Manual
Bosch DFR097E50A
User Manual
-
 Bosch DFS067A50A
User Manual
Bosch DFS067A50A
User Manual
-
 Bosch DFS067A51A
User Manual
Bosch DFS067A51A
User Manual
-
 Bosch DFS097A50A
User Manual
Bosch DFS097A50A
User Manual
-
 Bosch DFS097A51A
User Manual
Bosch DFS097A51A
User Manual
-
 Bosch DFS097E50A
User Manual
Bosch DFS097E50A
User Manual
-
 Bosch DHL555BAU
User Manual
Bosch DHL555BAU
User Manual
-
 Bosch DHL575CAU
User Manual
Bosch DHL575CAU
User Manual
-
 Bosch DHL755BUC
User Manual
Bosch DHL755BUC
User Manual
-
Bosch DHL755BUC
Manual