Avalon A1WATERCOOLER - Manuals
User Manual Avalon A1WATERCOOLER


Summary
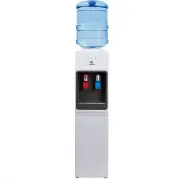
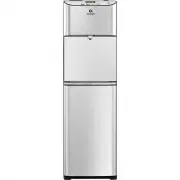
Use and Care Guide MODELS: A1TL • A2TL Registration Please visit the website below to register your new water cooler within the first 30 days of purchase. Registration within the first 30 days will activate your one year warranty. www.avalonh2o.com/register-my-avalon-cooler Please keep your model nu...
Contents About Your Water Cooler Meet Your Avalon Product Part Names Indicator Lights Tech Specs Getting Started Unpacking Operation instructions Cleaning Rinsing, Cleaning and Draining Cleaning Troubleshooting Safety 1 23 4 6 7-9 17-18 20-21 11-13 14-15
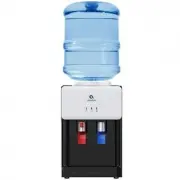
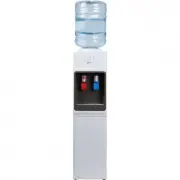
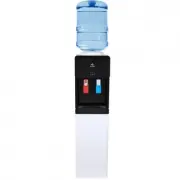
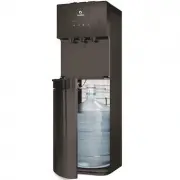
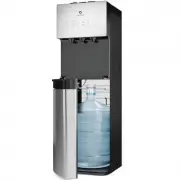
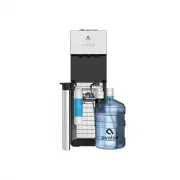
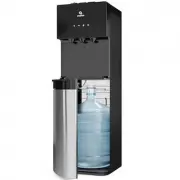
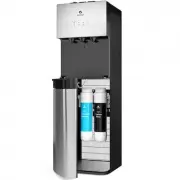
1 Meet Your Avalon Product Custom Temperature Piping hot, or crisp cold water Top Loading Suitable for 3 or 5 gallon bottles Child Safety Feature Ensures safe hot water flows for the entire family Energy Star Approved Saves the environment and your wallet UL Listed We design & manufacture with y...
Avalon Water Dispensers Manuals
-
 Avalon A10-TL
User Manual
Avalon A10-TL
User Manual
-
 Avalon A11BLK
User Manual
Avalon A11BLK
User Manual
-
 Avalon A11-CTTL
User Manual
Avalon A11-CTTL
User Manual
-
 Avalon A12BLK
User Manual
Avalon A12BLK
User Manual
-
 Avalon A12-CTPOU
User Manual
Avalon A12-CTPOU
User Manual
-
 Avalon A13
User Manual
Avalon A13
User Manual
-
 Avalon A13CT
User Manual
Avalon A13CT
User Manual
-
 Avalon A13-S
User Manual
Avalon A13-S
User Manual
-
 Avalon A14
User Manual
Avalon A14
User Manual
-
 Avalon A14BLK
User Manual
Avalon A14BLK
User Manual
-
 Avalon A1CTWTRCLRBLK
User Manual
Avalon A1CTWTRCLRBLK
User Manual
-
 Avalon A1CTWTRCLRWHT
User Manual
Avalon A1CTWTRCLRWHT
User Manual
-
 Avalon A1TLWATERCOOLER
User Manual
Avalon A1TLWATERCOOLER
User Manual
-
 Avalon A2TLWATERCOOLER
User Manual
Avalon A2TLWATERCOOLER
User Manual
-
 Avalon A3BLK
User Manual
Avalon A3BLK
User Manual
-
 Avalon A3BLOZONEWTRCLR
User Manual
Avalon A3BLOZONEWTRCLR
User Manual
-
 Avalon A3-F
User Manual
Avalon A3-F
User Manual
-
 Avalon A4BLWTRCLR
User Manual
Avalon A4BLWTRCLR
User Manual
-
 Avalon A5BLK
User Manual
Avalon A5BLK
User Manual
-
 Avalon A5BOTTLELESS
User Manual
Avalon A5BOTTLELESS
User Manual