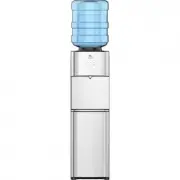
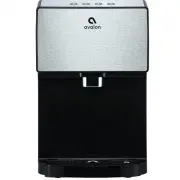
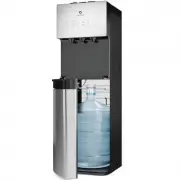
Avalon A12BLK - Manuals

User Manual Avalon A12BLK


Summary
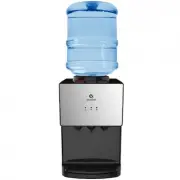
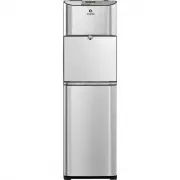
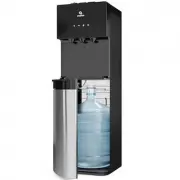
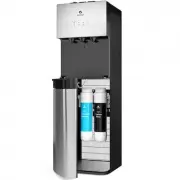
Use and Care Guide MODELS: A12-CTPOU Registration Please visit the website below to register your new water cooler within the first 30 days of purchase. Registration within the first 30 days will activate your one year warranty. www.avalonh2o.com/register-my-avalon-cooler Please keep your model numb...
Contents About Your Water Cooler Meet Your Avalon Product Part Names Indicator Lights Tech Specs Filter Function Introduction Getting Started Unpacking Installation (Under the Sink) Installation (Refrigerator Water Line) Flushing Filters Finishing Water Cooler Installation Activating Heating and Coo...
1 Meet Your Avalon Product Inside the box, you’ll find: About Your Water Cooler Adapter with Valve 2 Small PE Tubing 2 Mounting Brackets Carbon Block Filter Sediment Filter Three Way Plastic Adapter 2 Filter Adapters Valve and Tube Assembly PE Tubing (20')
Avalon Water Dispensers Manuals
-
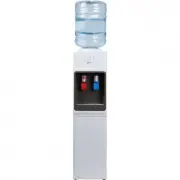
 Avalon A10-TL
User Manual
Avalon A10-TL
User Manual
-
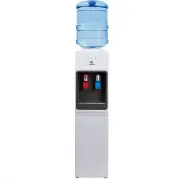
 Avalon A11BLK
User Manual
Avalon A11BLK
User Manual
-
 Avalon A11-CTTL
User Manual
Avalon A11-CTTL
User Manual
-
 Avalon A12-CTPOU
User Manual
Avalon A12-CTPOU
User Manual
-
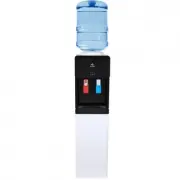
 Avalon A13
User Manual
Avalon A13
User Manual
-
 Avalon A13CT
User Manual
Avalon A13CT
User Manual
-
 Avalon A13-S
User Manual
Avalon A13-S
User Manual
-
 Avalon A14
User Manual
Avalon A14
User Manual
-
 Avalon A14BLK
User Manual
Avalon A14BLK
User Manual
-
 Avalon A1CTWTRCLRBLK
User Manual
Avalon A1CTWTRCLRBLK
User Manual
-
 Avalon A1CTWTRCLRWHT
User Manual
Avalon A1CTWTRCLRWHT
User Manual
-
 Avalon A1TLWATERCOOLER
User Manual
Avalon A1TLWATERCOOLER
User Manual
-
 Avalon A1WATERCOOLER
User Manual
Avalon A1WATERCOOLER
User Manual
-
 Avalon A2TLWATERCOOLER
User Manual
Avalon A2TLWATERCOOLER
User Manual
-
 Avalon A3BLK
User Manual
Avalon A3BLK
User Manual
-
 Avalon A3BLOZONEWTRCLR
User Manual
Avalon A3BLOZONEWTRCLR
User Manual
-
 Avalon A3-F
User Manual
Avalon A3-F
User Manual
-
 Avalon A4BLWTRCLR
User Manual
Avalon A4BLWTRCLR
User Manual
-
 Avalon A5BLK
User Manual
Avalon A5BLK
User Manual
-
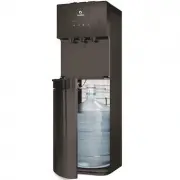
 Avalon A5BOTTLELESS
User Manual
Avalon A5BOTTLELESS
User Manual