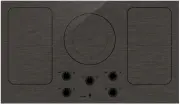
Asko HI1655G - Manuals
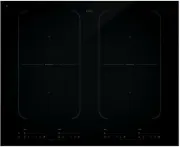
User Manual Asko HI1655G
1

2

3

4

5

6

7

8

9

10

11

12

13

14

15

16

17

18

19

20

21

22

23

24

25

26

27

28

29

30

31

32

33

34

35

36

Summary
Page 2 - Manual; Pictograms used; Important information
EN Manual EN 3 - EN 34 Pictograms used Important information Tip
Page 3 - CONTENTS
EN 3 CONTENTS Your induction hob Introduction 4Control panel 5 Description 6 Safety instructions Temperature safety 7 Cooking-time limiter 7 Use Using the touch controls 8 Induction cooking 8 How does induction work 9 Induction noises 9 Pans 10 Operation Switching on the hob and setting the power 12...
Page 4 - Introduction; Read the manual thorougly before using the appliance, and; YOUR INDUCTION HOB
EN 4 Introduction This hob has been designed for the real lover of cooking. Cooking on an induction hob has a number of advantages. It is easy, because the hob reacts quickly and can also be set to a very low power level. Because, moreover, it can also be set to a high power level, it can bring dish...
Asko Hobs Manuals
-
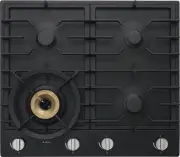 Asko HG1666AD
User Manual
Asko HG1666AD
User Manual
-
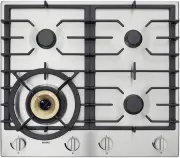 Asko HG1666SD
User Manual
Asko HG1666SD
User Manual
-
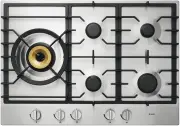
 Asko HG1776AD
User Manual
Asko HG1776AD
User Manual
-
 Asko HG1776SD
User Manual
Asko HG1776SD
User Manual
-
 Asko HG1984S
User Manual
Asko HG1984S
User Manual
-
 Asko HG1986AD
User Manual
Asko HG1986AD
User Manual
-
 Asko HI1355G
User Manual
Asko HI1355G
User Manual
-
 Asko HI1611G
User Manual
Asko HI1611G
User Manual
-
 Asko HI1621G
User Manual
Asko HI1621G
User Manual
-
 Asko HI1631G
User Manual
Asko HI1631G
User Manual
-
 Asko HI1655MF
User Manual
Asko HI1655MF
User Manual
-
 Asko HI1975G
User Manual
Asko HI1975G
User Manual
-
 Asko HI1994M
User Manual
Asko HI1994M
User Manual
-
 Asko HI1995G
User Manual
Asko HI1995G
User Manual
-
 Asko HIG1995AD
User Manual
Asko HIG1995AD
User Manual