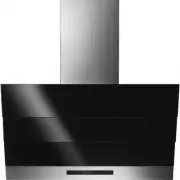
Asko CO4927S - Manuals
User Manual Asko CO4927S
1

2

3

4

5

6

7

8

9

10

11

12

13

14

15

16

17

18

19

20

Summary
Page 2 - EN; Manual
EN Manual EN 3 - EN 16 Pictograms used : Important information Tip
Page 3 - CONTENT
EN 3 CONTENT Your telescopic cooker hood Description 4 Introduction 4 Use Controls 5 Maintenance Cleaning 7 Cleaning the glass panel 8 Metal grease filters 8 Resetting the alarm signal 8 Cleaning the filters 9 Charcoal filter (recirculation version) 9 Changing the charcoal filter 10 Lighting unit 10...
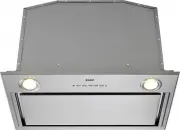
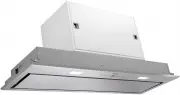
Page 4 - Read the separate safety instructions before; YOUR TELESCOPIC COOKER HOOD
EN 4 Description A Switch fan on/off B Reduce extractor capacity C Increase extractor capacity D Engage intensive mode E Clean air function/filter indication F Timer function G Switch lighting on/off H Dim lighting I Display Introduction This user manual gives you a quick overview of all the possibi...
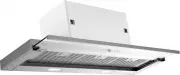
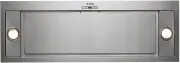
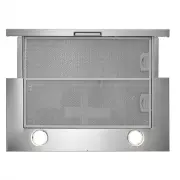
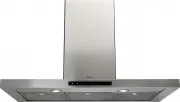
Asko Range Hoods Manuals
-
 Asko CC4520
User Manual
Asko CC4520
User Manual
-
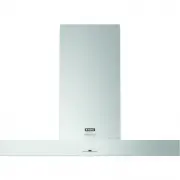
 Asko CC4525S
User Manual
Asko CC4525S
User Manual
-
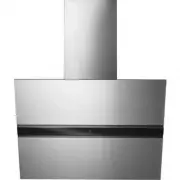
 Asko CC4840
User Manual
Asko CC4840
User Manual
-
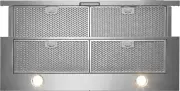
 Asko CC4927S
User Manual
Asko CC4927S
User Manual
-
 Asko CI4176 S
User Manual
Asko CI4176 S
User Manual
-
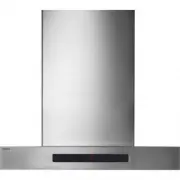
 Asko CO4620
User Manual
Asko CO4620
User Manual
-
 Asko CO4920
User Manual
Asko CO4920
User Manual
-
 Asko CW4176 S
User Manual
Asko CW4176 S
User Manual
-
 Asko CW4664 S
User Manual
Asko CW4664 S
User Manual
-
 Asko CW4924 B
User Manual
Asko CW4924 B
User Manual
-
 Asko CW4934S
User Manual
Asko CW4934S
User Manual
-
 Asko CW4976 S
User Manual
Asko CW4976 S
User Manual
-
 Asko CW4985 S
User Manual
Asko CW4985 S
User Manual