Artusi CAGH1 - Manuals
User Manual Artusi CAGH1


Summary
2 Even if you have used a gas hob before, it is important that you read these instructions thoroughly before using the appliance, paying particular attention to the installation and safety instructions. If you have any problems installing, operating or cooking with your hob, please check through the...
3 4. SAFETY INSTRUCTIONS Make sure that this instruction booklet is read thoroughly and understood before attempting to install or operate this hob. The instructions are provided in the interest of your safety. GAS SAFETY REGULATIONS AND USE OF YOUR HOB 1. It is a legal requirement that all gas appl...
(*) Air inlet minimum section: 100cm 2 Fig. 1 Fig. 2 Fig. 3 UNPACKING THE APPLIANCE Remove all packaging and make sure the appliance is in perfect condition. If you have any doubts, do not use the appliance and call your supplier.. Some parts on the appliance are protected by a plastic film. This pr...
Artusi Hobs Manuals
-
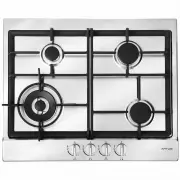
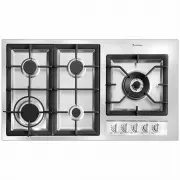
 Artusi AGH30XFFD
User Manual
Artusi AGH30XFFD
User Manual
-
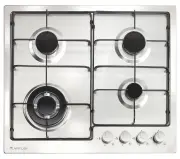
 Artusi AGH41B
User Manual
Artusi AGH41B
User Manual
-
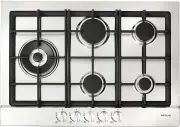
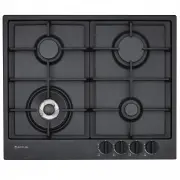 Artusi AGH65MB
User Manual
Artusi AGH65MB
User Manual
-
 Artusi AGH65X
User Manual
Artusi AGH65X
User Manual
-
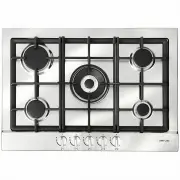
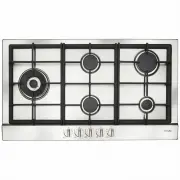
 Artusi AGH70XFFD
User Manual
Artusi AGH70XFFD
User Manual
-
 Artusi AGH71XFFD
User Manual
Artusi AGH71XFFD
User Manual
-
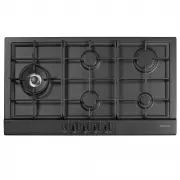
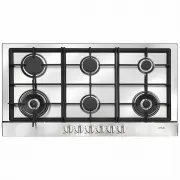 Artusi AGH90XFFD
User Manual
Artusi AGH90XFFD
User Manual
-
 Artusi AGH91MB
User Manual
Artusi AGH91MB
User Manual
-
 Artusi AGH91XFFD
User Manual
Artusi AGH91XFFD
User Manual
-
 Artusi AGH92XFFD
User Manual
Artusi AGH92XFFD
User Manual
-
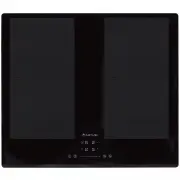 Artusi AID1000
User Manual
Artusi AID1000
User Manual
-
 Artusi AID2000
User Manual
Artusi AID2000
User Manual
-
 Artusi AID3000
User Manual
Artusi AID3000
User Manual
-
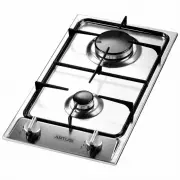
 Artusi AID32A
User Manual
Artusi AID32A
User Manual
-
 Artusi AID61
User Manual
Artusi AID61
User Manual
-
 Artusi AID784
User Manual
Artusi AID784
User Manual
-
 Artusi AID864DD
User Manual
Artusi AID864DD
User Manual
-
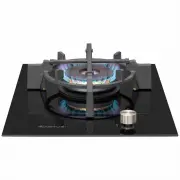
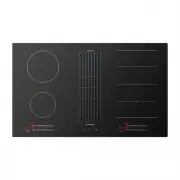
 Artusi CACC1A
User Manual
Artusi CACC1A
User Manual
-
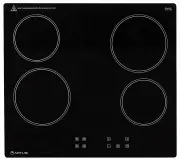
 Artusi CACC90
User Manual
Artusi CACC90
User Manual
-
 Artusi CACC95
User Manual
Artusi CACC95
User Manual