Artusi AINT7000 - Manuals

User Manual Artusi AINT7000


Summary
3 Important The manufacturer cannot be held responsible for injuries or losses caused by incorrect use or installation of this product. Please note that we reserve the right to invalidate the guarantee supplied with this product following incorrect installation or misuse of the appliance. This appli...
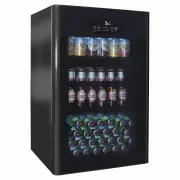
6 The fridge may have an odour to it at first use. This will disappear as the appliance cools. Please note: If you switch the appliance o ff , you should allow five minutes before switching it on again to prevent unnecessary damage to the compressor. Never store inflammable or explosive items and st...
7 • Sort foods prior to storing. Any foods to be used soon should bestored at the front of the shelf to prevent deterioration caused bythe door being open for prolonged periods. • Do not overfill the fridge. There should be su ffi cient space between the foods to allow the cool air to circulate. • T...
Artusi Refrigerators Manuals
-
 Artusi ABC1B
User Manual
Artusi ABC1B
User Manual
-
 Artusi AFR115B
User Manual
Artusi AFR115B
User Manual
-
 Artusi AINT119
User Manual
Artusi AINT119
User Manual
-
 Artusi AINT1192
User Manual
Artusi AINT1192
User Manual
-
 Artusi AINT119NF
User Manual
Artusi AINT119NF
User Manual
-
 Artusi AINT119-NF2
User Manual
Artusi AINT119-NF2
User Manual
-
 Artusi AINT3000
User Manual
Artusi AINT3000
User Manual
-
 Artusi AOF1S
User Manual
Artusi AOF1S
User Manual
-
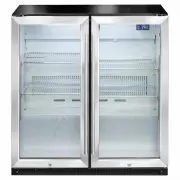
 Artusi AOF2B
User Manual
Artusi AOF2B
User Manual
-
 Artusi AOF2S
User Manual
Artusi AOF2S
User Manual
-
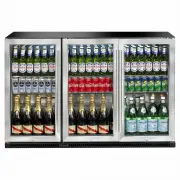 Artusi AOF3S
User Manual
Artusi AOF3S
User Manual
-
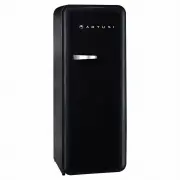 Artusi ARET330B
User Manual
Artusi ARET330B
User Manual
-
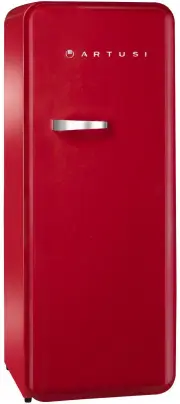 Artusi ARET330R
User Manual
Artusi ARET330R
User Manual
-
 Artusi ARET330W
User Manual
Artusi ARET330W
User Manual
-
 Artusi AWC18X
User Manual
Artusi AWC18X
User Manual
-
 Artusi AWC45X
User Manual
Artusi AWC45X
User Manual