Artusi AID1000 - Manuals
User Manual Artusi AID1000


Summary
≥ 220 mm (F4) (F5) Model L (mm) W (mm) H (mm) D (mm) A (mm) B (mm) X (mm) 00 520 60 56 775 495 50 min (F6) 5 0 520 6 56 565 495 50 min 900 520 60 56 75 495 50 min
THIS APPLIANCE IS CONCEIVED FOR DOMESTIC USE ONLY. THE MANUFACTURER SHALL NOT IN ANY WAY BE HELD RESPONSIBLE FOR WHATEVER INJURIES OR DAMAGES ARE CAUSED BY INCORRECT INSTALLATION OR BY UNSUITABLE, WRONG OR ABSURD USE. The manufacturer declares that this product meets all the essential requirements f...
event of non-compliance with what is described above and the accident prevention norms not being respected and followed. A Word on Induction Cooking (F1) • a1 Cookware • a2 Induced current • a3 Magnetic field • a4 Inductor • a5 Electronic circuit • a6 Electric power supply Induction cooking is a saf...
Artusi Hobs Manuals
-
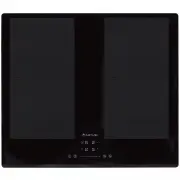
 Artusi AGH30XFFD
User Manual
Artusi AGH30XFFD
User Manual
-
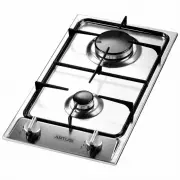
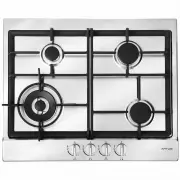
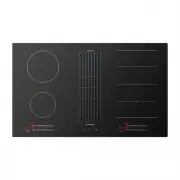
 Artusi AGH41B
User Manual
Artusi AGH41B
User Manual
-
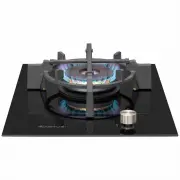
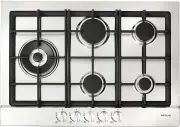
 Artusi AGH65MB
User Manual
Artusi AGH65MB
User Manual
-
 Artusi AGH65X
User Manual
Artusi AGH65X
User Manual
-
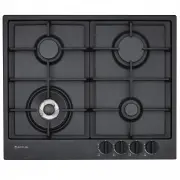
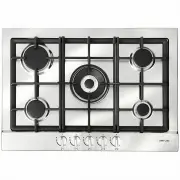
 Artusi AGH70XFFD
User Manual
Artusi AGH70XFFD
User Manual
-
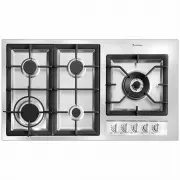
 Artusi AGH71XFFD
User Manual
Artusi AGH71XFFD
User Manual
-
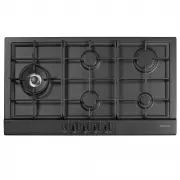
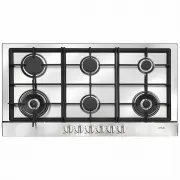 Artusi AGH90XFFD
User Manual
Artusi AGH90XFFD
User Manual
-
 Artusi AGH91MB
User Manual
Artusi AGH91MB
User Manual
-
 Artusi AGH91XFFD
User Manual
Artusi AGH91XFFD
User Manual
-
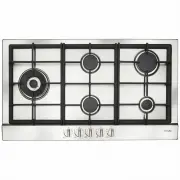
 Artusi AGH92XFFD
User Manual
Artusi AGH92XFFD
User Manual
-
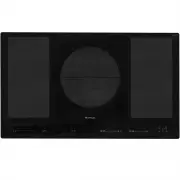
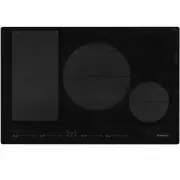 Artusi AID2000
User Manual
Artusi AID2000
User Manual
-
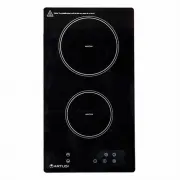
 Artusi AID3000
User Manual
Artusi AID3000
User Manual
-
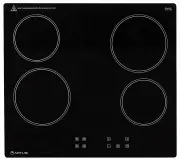
 Artusi AID32A
User Manual
Artusi AID32A
User Manual
-
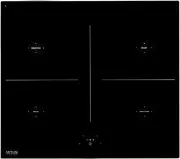 Artusi AID61
User Manual
Artusi AID61
User Manual
-
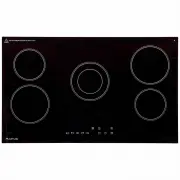
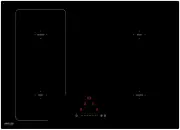 Artusi AID784
User Manual
Artusi AID784
User Manual
-
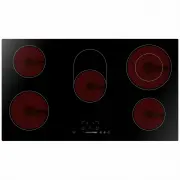
 Artusi AID864DD
User Manual
Artusi AID864DD
User Manual
-
 Artusi CACC1A
User Manual
Artusi CACC1A
User Manual
-
 Artusi CACC90
User Manual
Artusi CACC90
User Manual
-
 Artusi CACC95
User Manual
Artusi CACC95
User Manual
-
 Artusi CAG640ETX
User Manual
Artusi CAG640ETX
User Manual