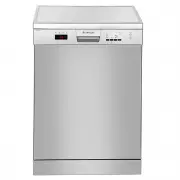
Artusi ADW8TTX - Manuals
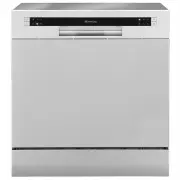
User Manual Artusi ADW8TTX
1

2

3

4

5

6

7

8

9

10

11

12

13

14

15

16

17

18

19

20

21

22

23

24

25

26

27

28

29

30

31

32

33

34

35

36

37

38

39

40

41

42

43

44

45

46

Summary
Page 3 - PART : Generic Version; ADW8TTX
Please read this manual carefully before using the dishwasher and Keep this manual for future reference. PART : Generic Version ADW8TTX
Page 4 - CONTENTS; NOTE
SAFETY INFORMATION 3 CONTENTS PRODUCT OVERVIEW 8 MAINTENANCE AND CLEANING External CareInternal CareCaring For The Dishwasher 12 INSTALLATION INSTRUCTION About Power ConnectionWater Supply And DrainConnection Of Drain HosesPosition The ApplianceBuilt-In Installation(for the integrated model) 13 1314...
Page 5 - WARNING
SAFETY INFORMATION WARNING When using your dishwasher , follow the precautions listed below: This appliance is intended to be used in household and similar applications such as:-staff kitchen areas in shops, offices and other working environments;-farm houses;-by clients in hotels, motels and other ...
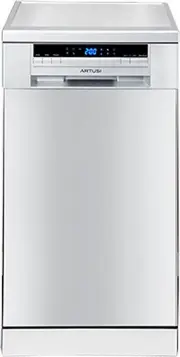
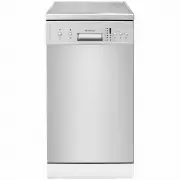
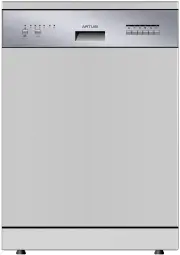
Artusi Dishwashers Manuals
-
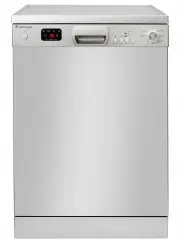
 Artusi ADW4500X
User Manual
Artusi ADW4500X
User Manual
-
 Artusi ADW4501X
User Manual
Artusi ADW4501X
User Manual
-
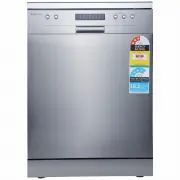
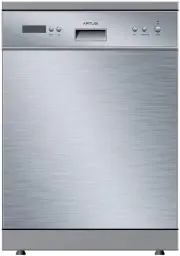
 Artusi ADW5000X
User Manual
Artusi ADW5000X
User Manual
-
 Artusi ADW5001X
User Manual
Artusi ADW5001X
User Manual
-
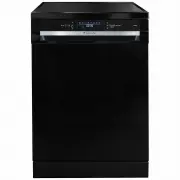
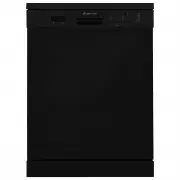 Artusi ADW5002B
User Manual
Artusi ADW5002B
User Manual
-
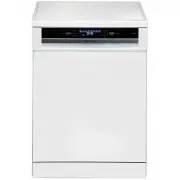
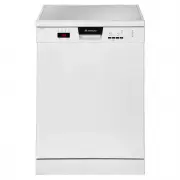 Artusi ADW5002W-1
User Manual
Artusi ADW5002W-1
User Manual
-
 Artusi ADW5002X
User Manual
Artusi ADW5002X
User Manual
-
 Artusi ADW5002X1
User Manual
Artusi ADW5002X1
User Manual
-
 Artusi ADW5607B
User Manual
Artusi ADW5607B
User Manual
-
 Artusi ADW5607X
User Manual
Artusi ADW5607X
User Manual
-
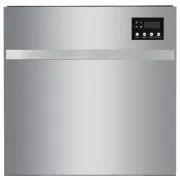
 Artusi ADW7000X
User Manual
Artusi ADW7000X
User Manual
-
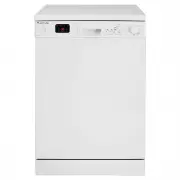 Artusi ADW7002W
User Manual
Artusi ADW7002W
User Manual
-
 Artusi ADW7002X
User Manual
Artusi ADW7002X
User Manual
-
 Artusi ADW7003B
User Manual
Artusi ADW7003B
User Manual
-
 Artusi ADW7003W
User Manual
Artusi ADW7003W
User Manual
-
 Artusi ADW7003X
User Manual
Artusi ADW7003X
User Manual
-
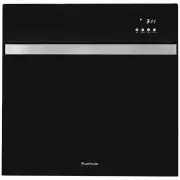
 Artusi ADWFI458
User Manual
Artusi ADWFI458
User Manual
-
 Artusi ADWFI602
User Manual
Artusi ADWFI602
User Manual
-
 Artusi ADWFI603
User Manual
Artusi ADWFI603
User Manual
-
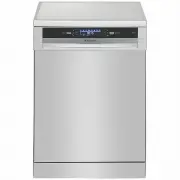
 Artusi ADWSI600X
User Manual
Artusi ADWSI600X
User Manual