Summit Appliance CR4B242BK - User Manual
Summit Appliance CR4B242BK Hob – User Manual, read for free online in PDF format. We hope this helps you resolve any issues you may have. If you have further questions, please contact us through the contact form.


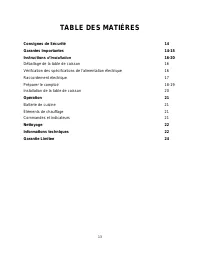
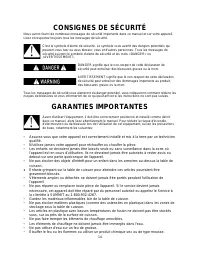
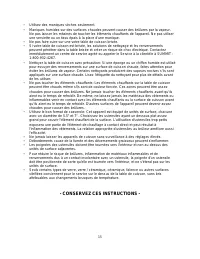
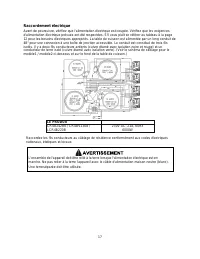
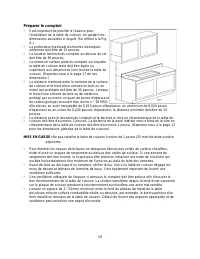
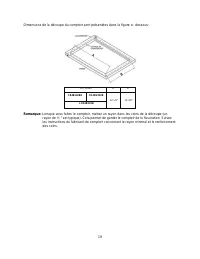
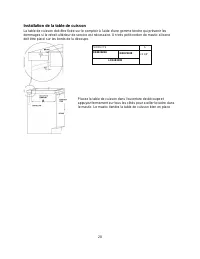
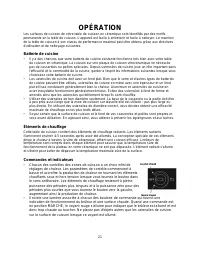

Table of Contents:
- Page 2 – TABLE OF CONTENTS
- Page 3 – APPLIANCE SAFETY; IMPORTANT SAFEGUARDS
- Page 5 – INSTALLATION INSTRUCTIONS; Unpacking the Cooktop
- Page 6 – Electrical Connection
- Page 7 – Preparing the Countertop
- Page 9 – Installing the Cooktop
- Page 10 – OPERATION; Proper Cookware; Heating Elements; Controls and Indicators
- Page 11 – CLEANING; TECHNICAL INFORMATION
- Page 12 – LIMITED WARRANTY
- Page 13 – TABLE DES MATIÉRES
- Page 16 – Déballage de la table de cuisson; Vérification des spécifications de l'alimentation électrique
- Page 17 – Raccordement électrique
- Page 18 – Préparer le comptoir
- Page 20 – Installation de la table de cuisson
- Page 21 – OPÉRATION; Batterie de cuisine
- Page 23 – REMARQUES
- Page 24 – GARANTIE LIMITEE
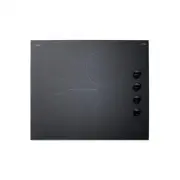
FOUR-BURNER ELECTRIC COOKTOPS
User Manual
Models:
CR4BV230B
LCR4B220B
CR4B24BK
BEFORE USE, PLEASE READ AND FOLLOW ALL SAFETY RULES AND OPERATING INSTRUCTIONS.
"Loading the manual" means you need to wait until the file loads and becomes available for online reading. Some manuals are very large, and the time they take to appear depends on your internet speed.
Summary
2 TABLE OF CONTENTS Appliance Safety 3 Important Safeguards 3-4 Installation Instructions 5-9 Unpacking the Cooktop 5 Electrical Safety Requirements 5 Electrical Connection 6 Preparing the Countertop 7-8 Installing the Cooktop 9 Operation 10 Proper Cookware 10 Heating Elements 10 Controls and Indica...
3 APPLIANCE SAFETY Your safety and the safety of others are very important. We have provided many important safety messages in this manual and on your appliance. Always read and obey all safety messages. This is the Safety Alert Symbol. The symbol alerts you to potential hazards that can kill or inj...
5 INSTALLATION INSTRUCTIONS This appliance must be properly installed and grounded by a qualified technician. Unpacking the Cooktop • Carefully unpack the cooktop from its shipping container. If possible, keep the original shipping carton and protective packaging in the event the unit has to be retu...