Maytag MDB6000AWW Installation - User Manual
Maytag MDB6000AWW Installation – User Manual, read for free online in PDF format. We hope this helps you resolve any issues you may have. If you have further questions, please contact us through the contact form.


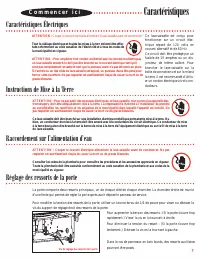
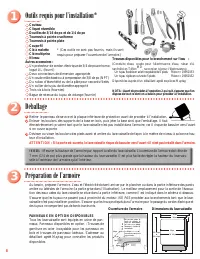
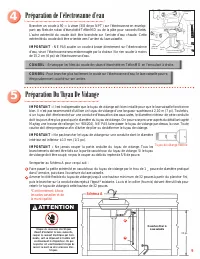
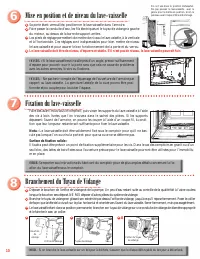
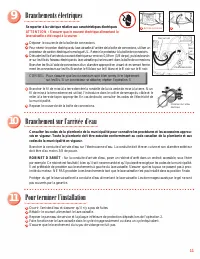


Table of Contents:
- Page 2 – CAUTION: Disconnect electrical power before you start!; Electrical Requirements; S t a r t H e r e; Requirements; Grounding Instructions; Plumbing Requirements; WARNING; Door Spring Adjustment
- Page 3 – Tools Necessary for Installation*; Uncrating
- Page 4 – Water Valve Preparation; Drain Hose Preparation
- Page 5 – Drain Hose Attachment; Securing the Dishwasher
- Page 7 – Caractéristiques Électriques; C o m m e n c e r i c i; Caractéristiques; Instructions de Mise à la Terre
- Page 8 – Outils requis pour l’installation*; Déballage
- Page 9 – Préparation de l’électrovanne d’eau; Préparation Du Tuyau De Vidange; ATTENTION; Schéma A
- Page 10 – Branchement du Tuyau de Vidange; Mise en position et de niveau du lave-vaisselle; Fixation du lave-vaisselle
- Page 12 – Requisitos Eléctricos; REQUISITOS; Instrucciones Para la Puesta a Tierra; C o m e n z a r a q u i
- Page 13 – Herramientas necesarias para la instalación*; Desembalaje
- Page 14 – Preparación de la llave de agua; Preparación de la manguera de desagüe
- Page 15 – Cómo Asegurar el Lavavajillas
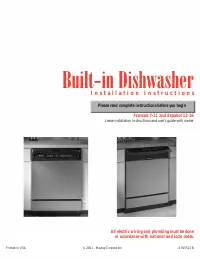
Built-in Dishwasher
I n s t a l l a t i o n I n s t r u c t i o n s
Please read complete instructions before you begin
Francais 7-11 and Español 12-16
Leave installation instructions and user’s guide with owner
All electric wiring and plumbing must be done
in accordance with national and local codes.
Printed in USA
© 2001 - Maytag Corporation
6 915513 B
"Loading the manual" means you need to wait until the file loads and becomes available for online reading. Some manuals are very large, and the time they take to appear depends on your internet speed.
Was this manual helpful?
Helpful for 3 of 3 readers
About this manual
- Brand
- Maytag
- Model
- MDB6000AWW Installation
- Document type
- User Manual
- Language(s)
- English, Spanish, French
- Pages
- 16
- File size
- 403 KB
- Format
Summary
The door has two main springs, one located on each hinge. There is a slot on the right hinge that willallow for door adjustment with the access panel removed. To change door spring tension, use a 1/4” hex-nut driver to either loosen or tighten the screw located on the right door spring adjustment br...
Remove access and toe panels before beginning installation.Remove and discard base and packaging . Until dishwasher is permanently installed,beware of opening the door as the unit may tip forward.Adjust front and rear leg bolts to installation height. CAUTION: With the door open, dishwasher may tip ...
Install a 90° elbow (3/8” N.P.T.) fitting into the water valve using Teflon™tape or pipe thread compound. The opposite end of the fitting should fit in-coming hot water supply line. Position the end of the elbow towards the rear of the dishwasher. IMPORTANT: DO NOT connect a sweat type fitting direc...
Ask a question
Related manuals
Popular Maytag Other



More Maytag Other models
 Maytag MDB4949SHZ User Manual
 Maytag MDB4949SHZ0 User Manual
- Maytag MDB4949SHZ1 User Manual
 Maytag MDB4949SKZ0 User Manual
 Maytag MDB5100AWW User Manual
 Maytag MDB5601AWQ Manual
 Maytag MDB6100AWW User Manual
 Maytag MDB6709AWS1 User Manual
- Maytag MDB6769AWS1 User Manual
 Maytag MDB6769PAB3 Installation Manual
 Maytag MDB6769PAS1 User Manual
- Maytag MDB7100AWB User Manual