Hyundai H-CDM8031 - User Manual

Hyundai H-CDM8031 Car Radio – User Manual, read for free online in PDF format. We hope this helps you resolve any issues you may have. If you have further questions, please contact us through the contact form.

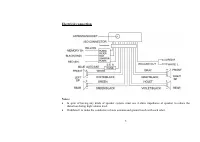
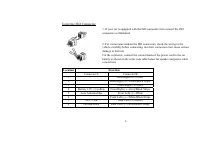
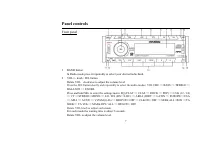
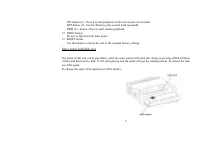
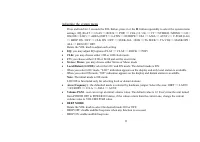
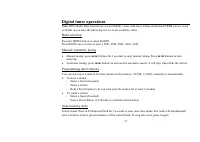
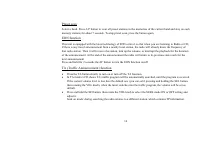
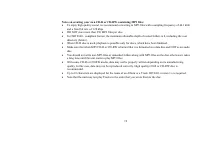
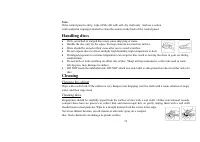
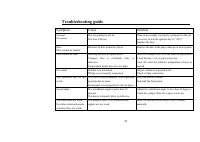
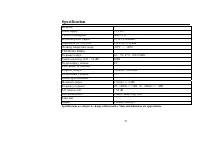
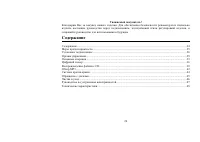
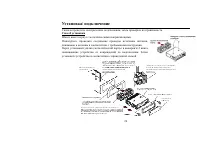

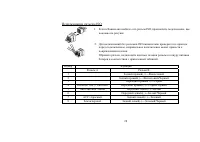


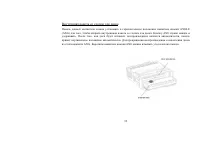
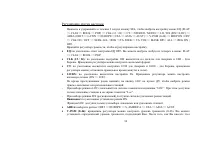
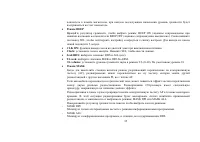
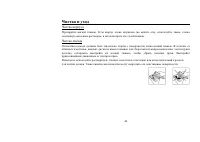
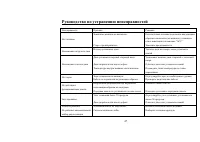

Table of Contents:
- Page 2 – Table of contents
- Page 3 – Important safeguards; Do not install the detachable panel before connecting the wire.
- Page 4 – Installation/ connection; Installation way
- Page 5 – Electrical connection
- Page 6 – Using the ISO Connector; Location; Connector A
- Page 7 – Panel controls; Front panel; button
- Page 9 – Inner panel with disk slot
- Page 10 – General operations; Reset the unit; unit on it will resume the stored status which you set.; Volume control; buttons to adjust BALANCE and rotate VOL knob to
- Page 11 – Adjusting the system menu; Volume PGM
- Page 13 – Digital tuner operations; Band selection
- Page 14 – Press the TA button shortly to turn on or turn off the TA function.
- Page 16 – CD operations; Discs for playback; During playback press the; Selecting the previous/ next folder
- Page 17 – Fast forward and backward playback; Press and hold for 2 seconds the; Repeat playback; will show “TRACK” indication.
- Page 18 – Displaying the ID3 information; MP3 overview; The unit may not play tracks in the order of Track numbers.
- Page 19 – Notes on creating your own CD-R or CD-RW containing MP3 files:; DO NOT store more than 256 MP3 files per disc.
- Page 20 – the control panel must be attached into the T-Joint.
- Page 21 – Handling discs; Dirty, scratched or warped discs may cause skip ping or noise.; Cleaning; Cleaning the cabinet
- Page 22 – Troubleshooting guide; Symptom
- Page 23 – Specification; General; Current consumption:; FM Stereo Radio; MW and LW section; Preset memory stations:; Audio specification
- Page 28 – ISO
- Page 34 – EQ OFF; CLK; LOC
- Page 35 – AF
- Page 38 – EON; CD
- Page 40 – Intro
- Page 41 – SEL
- Page 48 – DSP
H-CDM8031
CD/MP3/WMA RECEIVER CD/MP3/WMA
Е
ВЕ
Instruction manual
"Loading the manual" means you need to wait until the file loads and becomes available for online reading. Some manuals are very large, and the time they take to appear depends on your internet speed.
Other Manuals for Hyundai H-CDM8031
Summary
2 Dear customer! Thank you for purchasing our product. For safety, it is strongly recommended to read this manual carefully before connecting, operating and/or adjusting the product and keep the manual for reference in the future. Table of contents Table of contents ....................................
3 Important safeguards • Using the device at temperature below -10º may cause the breakage of the device. BEFORE USING PLEASE HEAT UP THE PASSENGER COMPARTMENT TO THE RECOMMENDED TEMPERATURE! • Read carefully through this manual to familiarize yourself with this high-quality sound system. • Disconne...
4 Installation/ connection First complete the electrical connections, and then check them for correctness. Installation way It is an anti-theft installation way. The chassis wear a metal sliding housing. Please have the wiring connection of the power supply, speakers and antenna as for the requireme...