Homelite UT33600B - User Manual

Homelite UT33600B Grass Trimmer – User Manual, read for free online in PDF format. We hope this helps you resolve any issues you may have. If you have further questions, please contact us through the contact form.
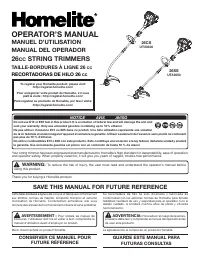

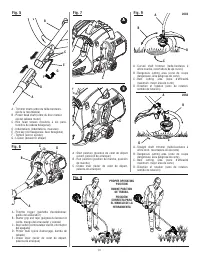
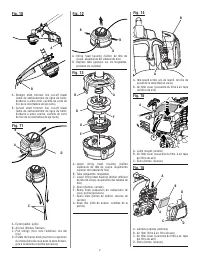


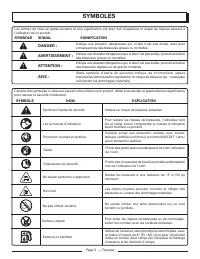
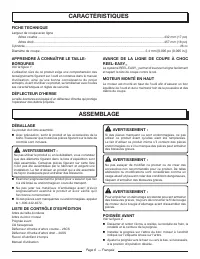
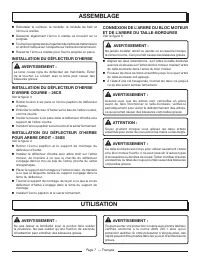
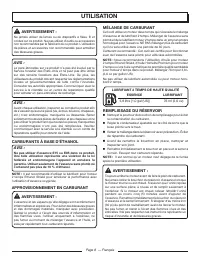
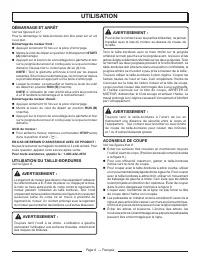
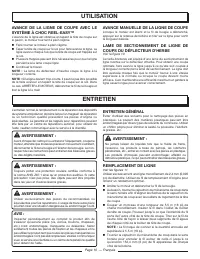

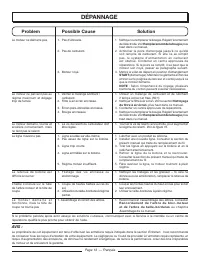


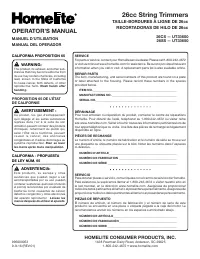
Table of Contents:
- Page 6 – TABLE OF CONTENTS; TABLE DES MATIÈRES / ÍNDICE DE CONTENIDO; INTRODUCTION; INTRODUCTION / INTRODUCCIÓN
- Page 7 – GENERAL SAFETY RULES; READ AND UNDERSTAND ALL INSTRUCTIONS.; READ ALL INSTRUCTIONS
- Page 8 – SPECIFIC SAFETY RULES
- Page 9 – SYMBOLS
- Page 10 – FEATURES; PACKING LIST
- Page 11 – ASSEMBLY
- Page 12 – ETHANOL-BLENDED FUELS; HIGH QUALITY 2-CYCLE ENGINE LUBRICANT; FILLING TANK; OPERATION
- Page 13 – CUTTING TIPS
- Page 14 – ADVANCING THE LINE MANUALLY; MAINTENANCE; GENERAL MAINTENANCE
- Page 15 – IDLE SPEED ADJUSTMENT
- Page 16 – SPARK PLUG REPLACEMENT; HIGH ALTITUDE ENGINE OPERATION
- Page 17 – TROUBLESHOOTING; PROBLEM
- Page 18 – WARRANTY; LIMITED WARRANTY STATEMENT
- Page 19 – RÈGLES DE SÉCURITÉ GÉNÉRALES; LIRE TOUTES LES INSTRUCTIONS
- Page 20 – RÈGLES DE SÉCURITÉ PARTICULIÈRES
- Page 21 – SYMBOLES
- Page 22 – CARACTÉRISTIQUES; ASSEMBLAGE
- Page 23 – INSTALLATION DU DÉFLECTEUR D’HERBE; UTILISATION
- Page 24 – CARBURANTS À BASE D’ÉTHANOL; APPROVISIONNEMENT EN CARBURANT; MÉLANGE DE CARBURANT; LUBRIFIANT 2 TEMPS DE HAUTE QUALITÉ; REMPLISSAGE DU RÉSERVOIR
- Page 25 – DÉMARRAGE ET ARRÊT; UTILISATION DU TAILLE-BORDURES; ACONSEILS DE COUPE
- Page 26 – ENTRETIEN; ENTRETIEN GÉNÉRAL
- Page 27 – DÉCOINCEMENT DU FIL ET/OU; RÉGLAGE DU RALENTI
- Page 28 – CONDUITES; REMISAGE LE PRODUIT; CE PRODUIT A ÉTÉ ÉQUIPÉ EN USINE D’UN CONVERTISSEUR CATALYTIQUE
- Page 29 – DÉPANNAGE; Problem
- Page 30 – GARANTIE; DÉCLARATION DE GARANTIE LIMITÉE
- Page 31 – REGLAS DE SEGURIDAD GENERALES; LEA Y COMPRENDA TODAS LAS INSTRUCCIONES.; LEA TODAS LAS INSTRUCCIONES
- Page 32 – REGLAS DE SEGURIDAD ESPECÍFICAS
- Page 33 – SÍMBOLOS
- Page 34 – CARACTERÍSTICAS
- Page 35 – ARMADO; MONTAJE DEL DEFLECTOR DE PASTO; FUNCIONAMIENTO
- Page 36 – COMBUSTIBLES MEZCLADOS CON ETANOL; MEZCLA DE COMBUSTIBLE
- Page 37 – ARRANQUE Y APAGADO; MANEJO DE LA RECORTADORA; CONSEJOS PARA RECORTAR
- Page 38 – AVANCE DEL HILO UTILIZANDO EL SISTEMA; MANTENIMIENTO; MANTENIMIENTO GENERAL
- Page 39 – ELIMINAR ATASCAMIENTO DEL HILO Y/O; AJUSTE DE LA MARCHA LENTA
- Page 40 – LIMPIEZA DEL FILTRO DE AIRE; REEMPLAZO DE LA BUJÍA; Al almacenar 1 mes o más:
- Page 41 – ESTE PRODUCTO SE FABRICÓ CON UN SILENCIADOR CATALÍTICO; PROGRAMA DE MANTENIMIENTO
- Page 42 – CORRECCIÓN DE PROBLEMAS; Problema
- Page 43 – GARANTÍA; DECLARACIÓN DE LA GARANTÍA LIMITADA
- Page 44 – 6cc String Trimmers; TAILLE-BORDURES À LIGNE DE 26cc; OPERATOR’S MANUAL; CALIFORNIA PROPOSITION 65; PROPOSITION 65 DE L’ÉTAT
OPERATOR’S MANUAL
MANUEL D’UTILISATION
MANUAL DEL OPERADOR
26
CC
STRING TRIMMERS
TAILLE-BORDURES À LIGNE 26
CC
RECORTADORAS DE HILO 26
CC
26CS
UT33600
26SS
UT33650
Your string trimmer has been engineered and manufactured to Homelite’s high standard for dependability, ease of operation,
and operator safety. When properly cared for, it will give you years of rugged, trouble-free performance.
WARNING:
To reduce the risk of injury, the user must read and understand the operator’s manual before
using this product.
Thank you for buying a Homelite product.
GUARDE ESTE MANUAL PARA
FUTURAS CONSULTAS
CONSERVER CE MANUEL POUR
FUTURE RÉFÉRENCE
To register your Homelite product, please visit:
http://register.homelite.com/
Pour enregistrer votre produit de Homelite, s’il vous
plaît la visite : http://register.homelite.com/
Para registrar su producto de Homelite, por favor visita:
http://register.homelite.com/
Cette
taille-bordures à ligne
a été conçue et fabriquée conformément
aux strictes normes de fiabilité, simplicité d’emploi et sécurité
d’utilisation de Homelite. Correctement entretenue, elle vous
donnera des années de fonctionnement robuste et sans problème.
AVERTISSEMENT :
Pour réduire les risques de
blessures, l’utilisateur doit lire et veiller à bien comprendre le
manuel d’utilisation avant d’employer ce produit.
Merci d’avoir acheté un produit Homelite.
S u
re c o r t a d o r a d e h i l o
h a s i d o d i s e ñ a d a y f a b r i c a d a d e
conformidad con las estrictas normas de Homelite para brindar
fiabilidad, facilidad de uso y seguridad para el operador. Con el
debido cuidado, le brindará muchos años de sólido y eficiente
funcionamiento.
ADVERTENCIA:
Para reducir el riesgo de lesiones,
el usuario debe leer y comprender el manual del operador antes
de usar este producto.
Le agradecemos la compra de un producto Homelite.
SAVE THIS MANUAL FOR FUTURE REFERENCE
NOTICE AVIS AVISO
Do not use E15 or E85 fuel in this product. It is a violation of federal law and will damage the unit and
void your warranty. Only use unleaded gasoline containing up to 10% ethanol.
Ne pas utiliser d’essence E15 ou E85 dans ce produit. Une telle utilisation représente une violation
de la loi fédérale et endommagera l’appareil et annulera la garantie. Utiliser seulement de l’essence sans plomb ne contenant
pas plus de 10 % d’éthanol.
No utilice combustibles E15 o E85 con este producto. Esto constituye una violación a la ley federal, dañará la unidad y anulará
la garantía. Use únicamente gasolina sin plomo con un contenido de hasta 10 % de etanol.
"Loading the manual" means you need to wait until the file loads and becomes available for online reading. Some manuals are very large, and the time they take to appear depends on your internet speed.
Summary
Page / Página 2 Introduction ...................................................................................................................................................................... 2 Introduction / Introducción General Safety Rules ..................................................
Page 3 — English GENERAL SAFETY RULES WARNING: READ AND UNDERSTAND ALL INSTRUCTIONS. Failure to follow all instructions listed below may result in electric shock, fire and/or carbon monoxide poisoning which will cause death or serious personal injury. READ ALL INSTRUCTIONS For safe operation, read...
Page 4 — English Inspect before use. Replace damaged parts. Make sure fasteners are in place and secure. Check for fuel leaks. Replace string head if cracked, chipped, or damaged in any way. Be sure the string head is properly installed and securely fastened. Failure to do so can cause serious i...