Page 2 - Holiday 084 DF
2 , " " . . , - “ ”, . . - " ", 610035, , . , . , 24 – 4 : Holiday 104 DF–07S № 31003629 ____________________________ Holiday 084 DF № 31004046____________________________ ( ) 5156-002-46092527-2005 " __ " ____________ 20 ___ . ( ) __________________________...
Page 3 - П ы
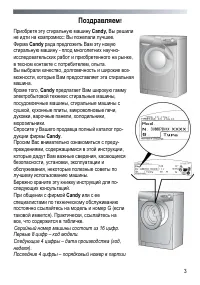
3 ! Candy, : . Candy - - , , . , - , . , Candy : , , , , , , , , . - Candy . - , , , , , , . - . Candy G ( ). , , . С ы а ы 16 ц . П ы 8 ц – . С 4 ц ы – а а а ( , ). П 4 ц ы – ы а
Page 36 - With the purchase of this; household; is also able to offer a vast range of
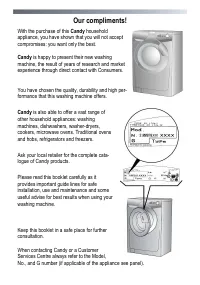
36 Our compliments! With the purchase of this Candy household appliance, you have shown that you will not accept compromises: you want only the best. Candy is happy to present their new washing machine, the result of years of research and market experience through direct contact with Consumers. You ...
Page 38 - Preface; General delivery notes
38 Preface Read these instructions for use and all other information enclosed with the washing ma-chine and act accordingly. Keep all documentation for future reference or for any future owners. Note: this machine is solely for domestic use. Notes on disposal All packaging material used is environme...
Page 39 - Technical data
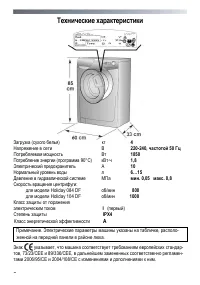
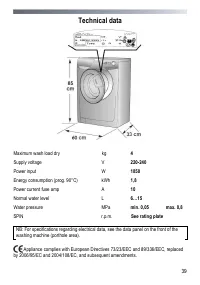
39 Technical data Maximum wash load dry kg 4 Supply voltage V 220-240 Power input W 1850 Energy consumption (prog. 90°C) kWh 1,8 Power current fuse amp 10 Normal water level L 6…15 Water pressure min. 0,05 max. 0,8 SPIN r.p.m. See rating plate NB: For specifications regarding electrical data, see th...
Page 40 - Electricity supply and safety advice; Safety notes
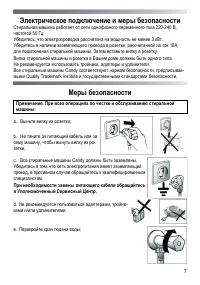
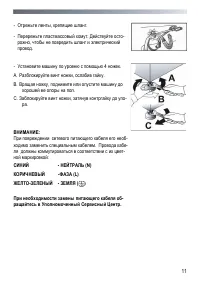
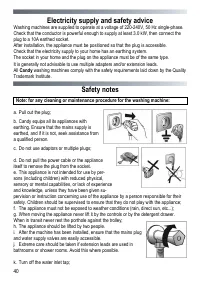
40 Electricity supply and safety advice Washing machines are supplied to operate at a voltage of 220-240V, 50 Hz single-phase. Check that the conductor is powerful enough to supply at least 3.0 kW, then connect the plug to a 10A earthed socket. After installation, the appliance must be positioned so...
Page 42 - Quick Start; Washing; Useful advice for users
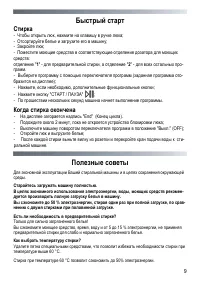
42 Quick Start Washing – Press the button inside the door handle to open the door. – Select laundry and put it in the machine. – Close the door. – Put detergent in the dispenser compartments, compartment 1 for pre wash and com- partment 2 for all other programs. – Select program by turning the progr...
Page 43 - Installation
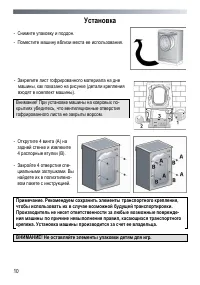
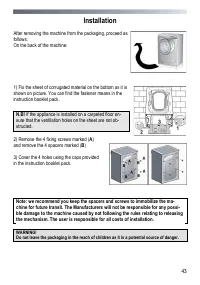
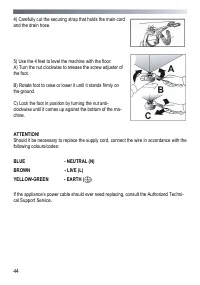
43 Installation After removing the machine from the packaging, proceed as follows: On the back of the machine: 1) Fix the sheet of corrugated material on the bottom as it is shown on picture. You can find the fastener means in the instruction booklet pack. N.B! If the appliance is installed on a car...
Page 45 - Water supply
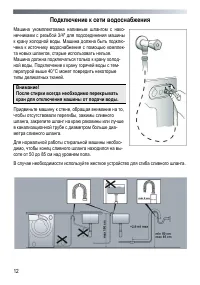
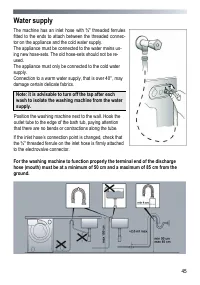
45 Water supply The machine has an inlet hose with ¾" threaded ferrules fitted to the ends to attach between the threaded connec-tor on the appliance and the cold water supply. The appliance must be connected to the water mains us-ing new hose-sets. The old hose-sets should not be re-used. The a...
Page 46 - Description of controls
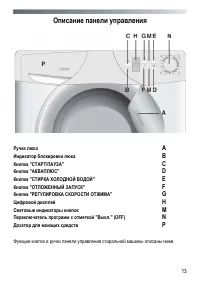
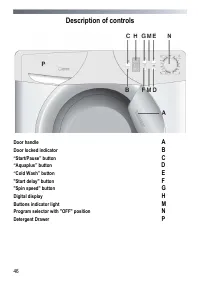
46 Description of controls Door handle Door locked indicator “Start/Pause” button “Aquaplus” button D “Cold Wash” button "Start delay" button F "Spin speed" button G Digital display H Buttons indicator light Program selector with "OFF" position N Detergent Drawer
Page 47 - Door handle
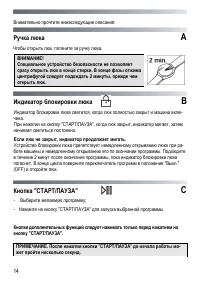
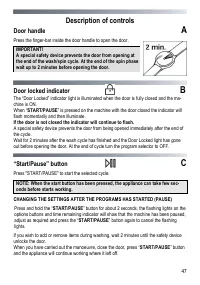
47 Description of controls Door handle Press the finger-bar inside the door handle to open the door. IMPORTANT! A special safety device prevents the door from opening at the end of the wash/spin cycle. At the end of the spin phase wait up to 2 minutes before opening the door. Door locked indicator B...
Page 48 - “Aquaplus” button; “Cold Wash” button
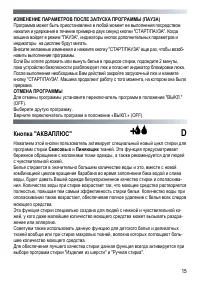
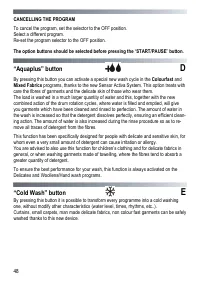
48 CANCELLING THE PROGRAM To cancel the program, set the selector to the OFF position. Select a different program. Re-set the program selector to the OFF position. The option buttons should be selected before pressing the “ START/PAUSE ” button. “Aquaplus” button D By pressing this button you can ac...
Page 49 - button
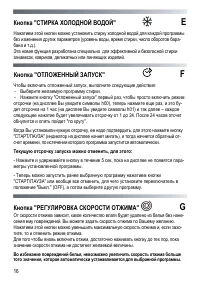
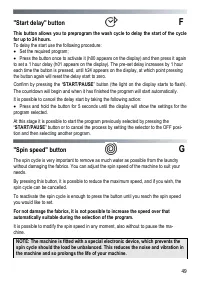
49 "Start delay" button F This button allows you to preprogram the wash cycle to delay the start of the cycle for up to 24 hours. To delay the start use the following procedure: Set the required program; Press the button once to activate it (h00 appears on the display) and then press it ...
Page 50 - Digital display; Buttons indicator light
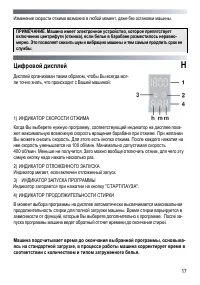
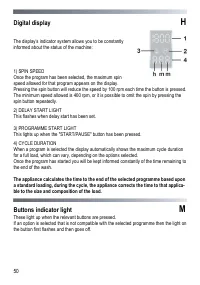
50 Digital display H The display’s indicator system allows you to be constantly informed about the status of the machine: 1) SPIN SPEED Once the program has been selected, the maximum spin speed allowed for that program appears on the display. Pressing the spin button will reduce the speed by 100 rp...
Page 51 - Detergent drawer
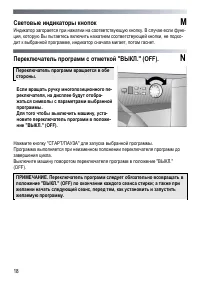
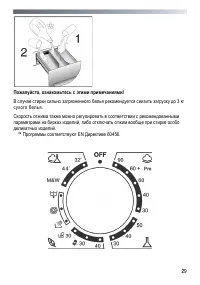
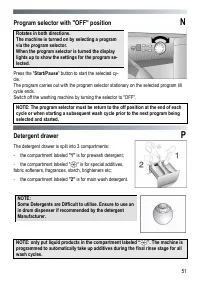
51 Program selector with "OFF" position N Rotates in both directions. The machine is turned on by selecting a program via the program selector. When the program selector is turned the display lights up to show the settings for the program se-lected. Press the " Start/Pause " button t...
Page 52 - Detergents, washing aids and amounts to use; Choice of detergent; Special detergents; Additional laundry aids
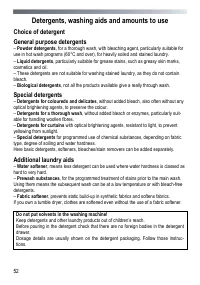
52 Detergents, washing aids and amounts to use Choice of detergent General purpose detergents – Powder detergents , for a thorough wash, with bleaching agent, particularly suitable for use in hot wash programs (60°C and over), for heavily soiled and stained laundry. – Liquid detergents , particularl...
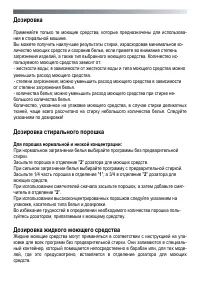
Page 53 - Dosages
53 Dosages Only use detergents which are suitable for use in a washing machine. You will obtain the best results from your wash with the minimum use of chemical products and the best care for your laundry if you take into consideration the degree of soiling as well as the type of detergent to choose...
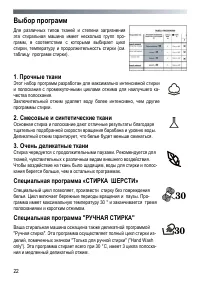
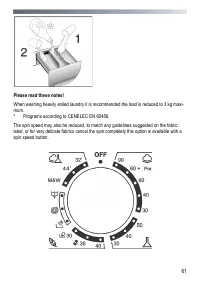
Page 54 - Program selector; Resistant fabrics
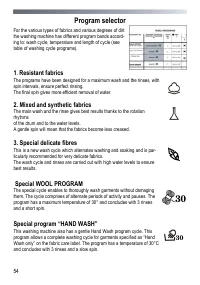
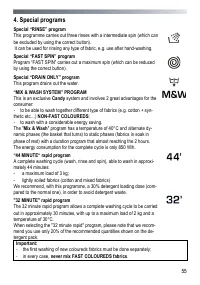
54 Program selector For the various types of fabrics and various degrees of dirt the washing machine has different program bands accord-ing to: wash cycle, temperature and length of cycle (see table of washing cycle programs). 1 . Resistant fabrics The programs have been designed for a maximum wash ...
Page 56 - Main wash; Auto half load
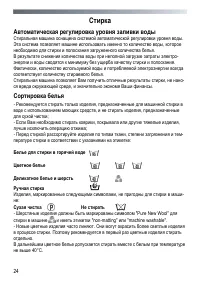
56 Main wash Auto half load The washing machine is fitted with a self adjusting water level system. This system enables the machine to use the amount of water needed to wash and rinse the laundry in relation to the particular load. This results in a reduction of the water and electricity used, witho...
Page 57 - Variable capacity
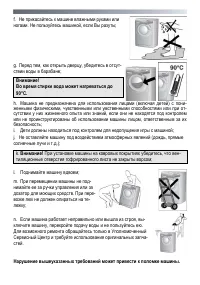
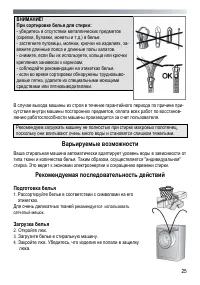
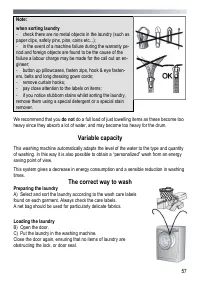
57 Note: when sorting laundry - check there are no metal objects in the laundry (such as paper clips, safety pins, pins, coins etc...); - in the event of a machine failure during the warranty pe- riod and foreign objects are found to be the cause of the failure a labour charge may be made for the ca...
Page 58 - Selecting the wash program
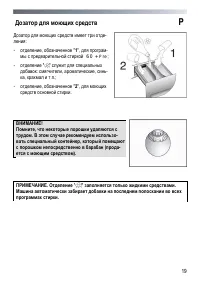
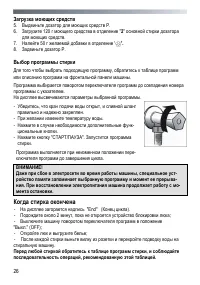
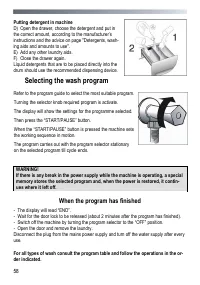
58 Putting detergent in machine D) Open the drawer, choose the detergent and put in the correct amount, according to the manufacturer’s instructions and the advice on page "Detergents, wash-ing aids and amounts to use". E) Add any other laundry aids. F) Close the drawer again. Liquid deterge...
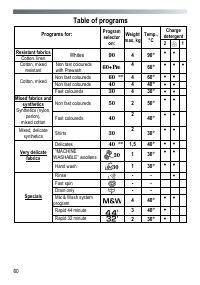
Page 60 - Table of programs; Whites
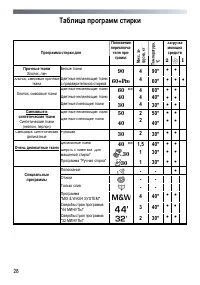
60 Table of programs Charge detergent Programs for: Program selector on: Weight max, kg Temp., °C 2 1 Resistant fabrics Cotton, linen Whites 90 4 90° Cotton, mixed resistant Non fast coloureds with Prewash 60+Pre 4 60° Non fast coloureds 60 ** 4 60° Non fast coloureds 40 4 40° Cott...
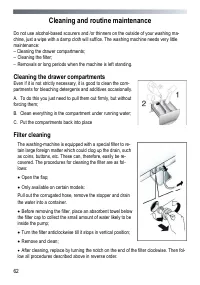
Page 62 - Cleaning and routine maintenance; Cleaning the drawer compartments
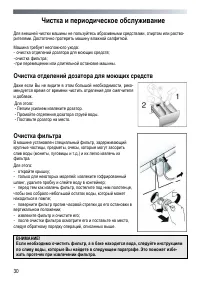
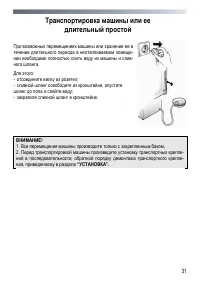
62 Cleaning and routine maintenance Do not use alcohol-based scourers and /or thinners on the outside of your washing ma-chine, just a wipe with a damp cloth will suffice. The washing machine needs very little maintenance: – Cleaning the drawer compartments; – Cleaning the filter; – Removals or long...
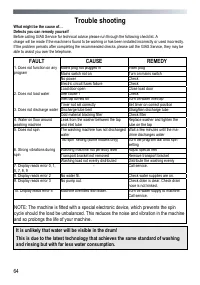
Page 64 - Trouble shooting; FAULT
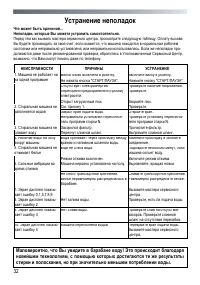
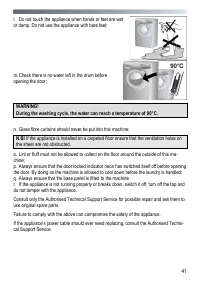
64 Trouble shooting What might be the cause of… Defects you can remedy yourself Before calling GIAS Service for technical advice please run through the following checklist. A charge will be made if the machine is found to be working or has been installed incorrectly or used incorrectly. If the probl...
Page 66 - Customer Service
66 Customer Service The appliance is covered by a certificate of guarantee which allows you free use of the Candy Technical Support Service. Remember to send off the guarantee certificate for vali-dation within 10 days of the date of purchase. You should retain the receipt issued by the retailer whe...