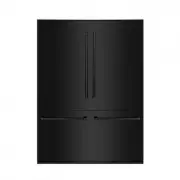
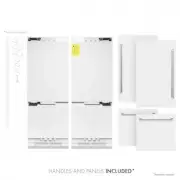
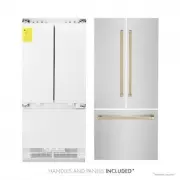
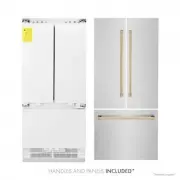
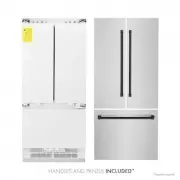
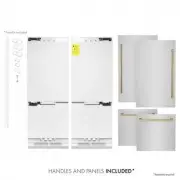
ZLINE Kitchen and Bath RFMZ-W-36-BS-CB - Manuals
ZLINE Kitchen and Bath RFMZ-W-36-BS-CB Refrigerator – User Manual in PDF format online.
Manuals:
User Manual ZLINE Kitchen and Bath RFMZ-W-36-BS-CB


Summary
IMPORTANT SAFETY INSTRUCTIONS � � � � � � � � � � � � � � � � � � � 1 BEFORE INSTALLATION � � � � � � � � � � � � � � � � � � � � � � � � � � � � � � � 6 INSTALLATION � � � � � � � � � � � � � � � � � � � � � � � � � � � � � � � � � � � � � � 9 WARRANTY � � � � � � � � � � � � � � � � � � � � � � � ...
1 Gener al Safet y IMPORTANT SAFETY INSTRUCTIONS This unit's installation and user manuals contain important safety information. Failure to follow these instructions may result in death, fire, or electric shock. WARNING WARNING:Indicates a potentially hazardous situation which, if not avoided, could...
2 IMPORTANT SAFETY INSTRUCTIONS Gener al Safet y • WARNING : Do not damage the unit's refrigerant circuit and sealed cooling system. • WARNING : Do not use electrical or mechanical appliances inside the food storage chambers of the appliance. • WARNING : At the end of its service life, dispose of th...
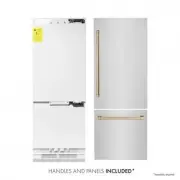
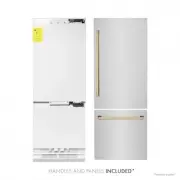
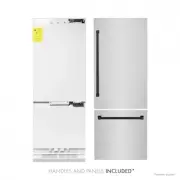
ZLINE Kitchen and Bath Refrigerators Manuals
-
 ZLINE Kitchen and Bath RBIV-30
User Manual
ZLINE Kitchen and Bath RBIV-30
User Manual
-
 ZLINE Kitchen and Bath RBIV-304-30
User Manual
ZLINE Kitchen and Bath RBIV-304-30
User Manual
-
 ZLINE Kitchen and Bath RBIV-304-36
User Manual
ZLINE Kitchen and Bath RBIV-304-36
User Manual
-
 ZLINE Kitchen and Bath RBIV-304-60
User Manual
ZLINE Kitchen and Bath RBIV-304-60
User Manual
-
 ZLINE Kitchen and Bath RBIV-36
User Manual
ZLINE Kitchen and Bath RBIV-36
User Manual
-
 ZLINE Kitchen and Bath RBIV-60
User Manual
ZLINE Kitchen and Bath RBIV-60
User Manual
-
 ZLINE Kitchen and Bath RBIV-BS-30
User Manual
ZLINE Kitchen and Bath RBIV-BS-30
User Manual
-
 ZLINE Kitchen and Bath RBIV-BS-36
User Manual
ZLINE Kitchen and Bath RBIV-BS-36
User Manual
-
 ZLINE Kitchen and Bath RBIV-BS-60
User Manual
ZLINE Kitchen and Bath RBIV-BS-60
User Manual
-
 ZLINE Kitchen and Bath RBIV-SN-60
User Manual
ZLINE Kitchen and Bath RBIV-SN-60
User Manual
-
 ZLINE Kitchen and Bath RBIV-WM-30
User Manual
ZLINE Kitchen and Bath RBIV-WM-30
User Manual
-
 ZLINE Kitchen and Bath RBIV-WM-36
User Manual
ZLINE Kitchen and Bath RBIV-WM-36
User Manual
-
 ZLINE Kitchen and Bath RBIV-WM-60
User Manual
ZLINE Kitchen and Bath RBIV-WM-60
User Manual
-
 ZLINE Kitchen and Bath RBIVZ-304-30-CB
User Manual
ZLINE Kitchen and Bath RBIVZ-304-30-CB
User Manual
-
 ZLINE Kitchen and Bath RBIVZ-304-30-G
User Manual
ZLINE Kitchen and Bath RBIVZ-304-30-G
User Manual
-
 ZLINE Kitchen and Bath RBIVZ-304-30-MB
User Manual
ZLINE Kitchen and Bath RBIVZ-304-30-MB
User Manual
-
 ZLINE Kitchen and Bath RBIVZ-304-36-CB
User Manual
ZLINE Kitchen and Bath RBIVZ-304-36-CB
User Manual
-
 ZLINE Kitchen and Bath RBIVZ-304-36-G
User Manual
ZLINE Kitchen and Bath RBIVZ-304-36-G
User Manual
-
 ZLINE Kitchen and Bath RBIVZ-304-36-MB
User Manual
ZLINE Kitchen and Bath RBIVZ-304-36-MB
User Manual
-
 ZLINE Kitchen and Bath RBIVZ-304-60-CB
User Manual
ZLINE Kitchen and Bath RBIVZ-304-60-CB
User Manual