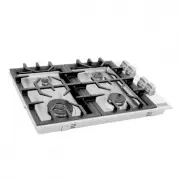
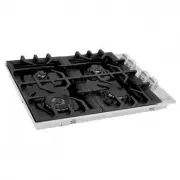
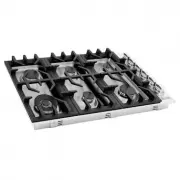
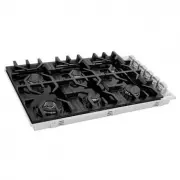
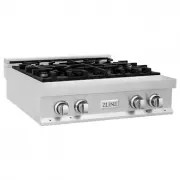
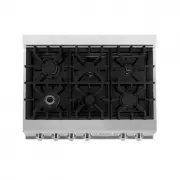
ZLINE Kitchen and Bath RC-BR-36 - Manuals
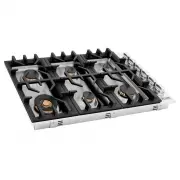
User Manual ZLINE Kitchen and Bath RC-BR-36


Summary
TABLE OF CONTENTS IMPORTANT SAFETY INSTRUCTIONS 1 PRODUCT DIMENSIONS AND SPECIFICATIONS 3 GAS SUPPLY 5 POWER RATING & ELECTRICAL CONNECTION 10 GAS CONNECTION 11 GAS CONVERSION PROCEDURE 13 INSTALLATION CHECKLIST 18 DROPIN COOKING 19 MAINTAINING THE DROPIN 22 TROUBLESHOOTING 23 WARRANTY 24
1 Gener al Safet y IMPORTANT SAFETY INSTRUCTIONS WARNING If the information in this manual is not followed exactly, a fire or explosion may result causing property damage, personal injury, or death. • Before beginning installation, please read and follow these important instructions for the safety o...
2 Gas Safet y IMPORTANT SAFETY INSTRUCTIONS WARNING An air curtain or other overhead range/range top hood, which operates by blowing downward airflow onto the dropin, shall not be used/installed in conjunction with this gas dropin. • Please ensure that the altitude of your home is conducive for the ...
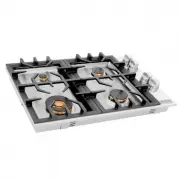
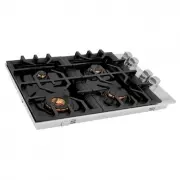
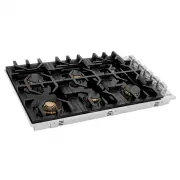
ZLINE Kitchen and Bath Hobs Manuals
-
 ZLINE Kitchen and Bath RC30
User Manual
ZLINE Kitchen and Bath RC30
User Manual
-
 ZLINE Kitchen and Bath RC30-PBT
User Manual
ZLINE Kitchen and Bath RC30-PBT
User Manual
-
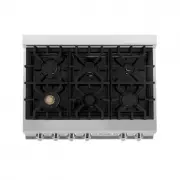
 ZLINE Kitchen and Bath RC36
User Manual
ZLINE Kitchen and Bath RC36
User Manual
-
 ZLINE Kitchen and Bath RC36-PBT
User Manual
ZLINE Kitchen and Bath RC36-PBT
User Manual
-
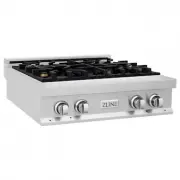
 ZLINE Kitchen and Bath RC-BR-30
User Manual
ZLINE Kitchen and Bath RC-BR-30
User Manual
-
 ZLINE Kitchen and Bath RC-BR-30-PBT
User Manual
ZLINE Kitchen and Bath RC-BR-30-PBT
User Manual
-
 ZLINE Kitchen and Bath RC-BR-36-PBT
User Manual
ZLINE Kitchen and Bath RC-BR-36-PBT
User Manual
-
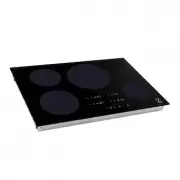
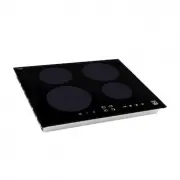 ZLINE Kitchen and Bath RCIND-24
User Manual
ZLINE Kitchen and Bath RCIND-24
User Manual
-
 ZLINE Kitchen and Bath RCIND-30
User Manual
ZLINE Kitchen and Bath RCIND-30
User Manual
-
 ZLINE Kitchen and Bath RCIND-36
User Manual
ZLINE Kitchen and Bath RCIND-36
User Manual
-
 ZLINE Kitchen and Bath RT30
User Manual
ZLINE Kitchen and Bath RT30
User Manual
-
 ZLINE Kitchen and Bath RT36
User Manual
ZLINE Kitchen and Bath RT36
User Manual
-
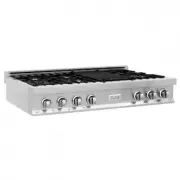 ZLINE Kitchen and Bath RT48
User Manual
ZLINE Kitchen and Bath RT48
User Manual
-
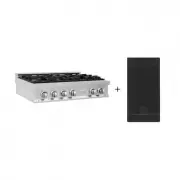
 ZLINE Kitchen and Bath RTB-BR-30
User Manual
ZLINE Kitchen and Bath RTB-BR-30
User Manual
-
 ZLINE Kitchen and Bath RTB-BR-36
User Manual
ZLINE Kitchen and Bath RTB-BR-36
User Manual
-
 ZLINE Kitchen and Bath RTB-BR-48
User Manual
ZLINE Kitchen and Bath RTB-BR-48
User Manual
-
 ZLINE Kitchen and Bath RT-BR-30
User Manual
ZLINE Kitchen and Bath RT-BR-30
User Manual
-
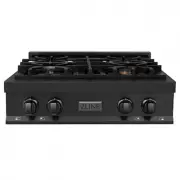
 ZLINE Kitchen and Bath RT-BR-36
User Manual
ZLINE Kitchen and Bath RT-BR-36
User Manual
-
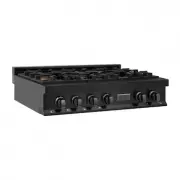
 ZLINE Kitchen and Bath RT-BR-48
User Manual
ZLINE Kitchen and Bath RT-BR-48
User Manual
-
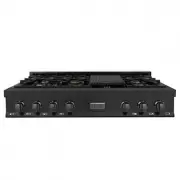
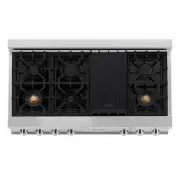
 ZLINE Kitchen and Bath RT-BR-GR-36
User Manual
ZLINE Kitchen and Bath RT-BR-GR-36
User Manual