ZLINE Kitchen and Bath DW-ORB-24 - Manuals
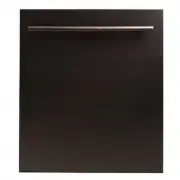
ZLINE Kitchen and Bath DW-ORB-24 Dishwasher – User Manual in PDF format online.
Manuals:
User Manual ZLINE Kitchen and Bath DW-ORB-24


Summary
CONTENTS IMPORTANT SAFETY INSTRUCTIONS 1 BUTTON/CONTROL PANEL OPERATION 3 WALL RANGE HOOD INSTALLATION 4 CROWN MOLDING INSTALLATION 9 DESIGNER WALL RANGE HOOD INSTALLATION 12 ISLAND RANGE HOOD INSTALLATION 17 DESIGNER ISLAND RANGE HOOD INSTALLATION 21 UNDER CABINET INSTALLATION 25 RANGE HOOD INSERT ...
WARRANT Y AND DISCLAIMER Proper Venting Regulations Please verify with your local, city, and state regulations on the proper venting method for your hood. Many agencies have CFM rating specifications for your hood, as well. You may have to purchase additional items on your own to vent the hood in ac...
6 Warranty Three Year Parts Warranty:For three years from the date of original purchase, we will provide free of charge, non-consumable replacement parts for the components that failed due to manufacturing defects. Subject to the conditions and limitations set forth below at its option, either repai...
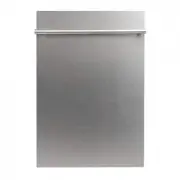
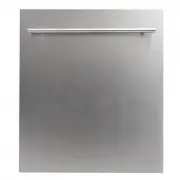
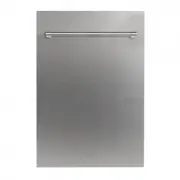
ZLINE Kitchen and Bath Dishwashers Manuals
-
 ZLINE Kitchen and Bath DW-304-18
User Manual
ZLINE Kitchen and Bath DW-304-18
User Manual
-
 ZLINE Kitchen and Bath DW-304-24
User Manual
ZLINE Kitchen and Bath DW-304-24
User Manual
-
 ZLINE Kitchen and Bath DW-304-H-18
User Manual
ZLINE Kitchen and Bath DW-304-H-18
User Manual
-
 ZLINE Kitchen and Bath DW-304-H-24
User Manual
ZLINE Kitchen and Bath DW-304-H-24
User Manual
-
 ZLINE Kitchen and Bath DW7713-24
User Manual
ZLINE Kitchen and Bath DW7713-24
User Manual
-
 ZLINE Kitchen and Bath DW7714-18
User Manual
ZLINE Kitchen and Bath DW7714-18
User Manual
-
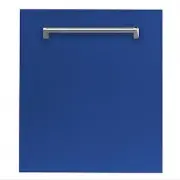
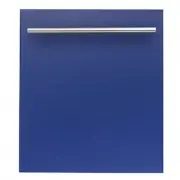
 ZLINE Kitchen and Bath DW-BG-18
User Manual
ZLINE Kitchen and Bath DW-BG-18
User Manual
-
 ZLINE Kitchen and Bath DW-BG-24
User Manual
ZLINE Kitchen and Bath DW-BG-24
User Manual
-
 ZLINE Kitchen and Bath DW-BG-H-18
User Manual
ZLINE Kitchen and Bath DW-BG-H-18
User Manual
-
 ZLINE Kitchen and Bath DW-BG-H-24
User Manual
ZLINE Kitchen and Bath DW-BG-H-24
User Manual
-
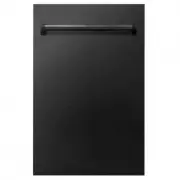
 ZLINE Kitchen and Bath DW-BLM-18
User Manual
ZLINE Kitchen and Bath DW-BLM-18
User Manual
-
 ZLINE Kitchen and Bath DW-BLM-24
User Manual
ZLINE Kitchen and Bath DW-BLM-24
User Manual
-
 ZLINE Kitchen and Bath DW-BLM-H-18
User Manual
ZLINE Kitchen and Bath DW-BLM-H-18
User Manual
-
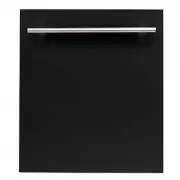 ZLINE Kitchen and Bath DW-BLM-H-24
User Manual
ZLINE Kitchen and Bath DW-BLM-H-24
User Manual
-
 ZLINE Kitchen and Bath DW-BM-18
User Manual
ZLINE Kitchen and Bath DW-BM-18
User Manual
-
 ZLINE Kitchen and Bath DW-BM-24
User Manual
ZLINE Kitchen and Bath DW-BM-24
User Manual
-
 ZLINE Kitchen and Bath DW-BM-H-18
User Manual
ZLINE Kitchen and Bath DW-BM-H-18
User Manual
-
 ZLINE Kitchen and Bath DW-BM-H-24
User Manual
ZLINE Kitchen and Bath DW-BM-H-24
User Manual
-
 ZLINE Kitchen and Bath DW-BS-18
User Manual
ZLINE Kitchen and Bath DW-BS-18
User Manual
-
 ZLINE Kitchen and Bath DW-BS-24
User Manual
ZLINE Kitchen and Bath DW-BS-24
User Manual