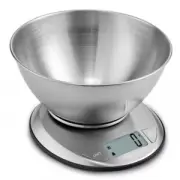
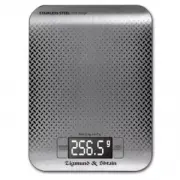
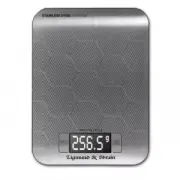
Zigmund & Shtain EN 131.622 B - Manuals
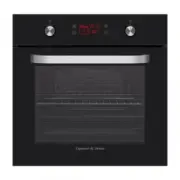
Manual Zigmund & Shtain EN 131.622 B


Summary
RU - 2 Благодарим вас за выбор нашего продукта. Данное руководство пользователя содержит важную информацию о безопасности и указания, служащие помощью вам в эксплуатации вашего бытового прибора и уходу за ним. Пожалуйста, найдите время изучить это руководство пользователя до того, как будете использ...
RU - 3 СОДЕРЖАНИЕ 1.ПРАВИЛА ТЕХНИКИ БЕЗОПАСНОСТИ ......................................................................... 4 1.1. Общие меры предосторожности ................................................................................ 4 1.2. Меры предосторожности при установке .....................
RU - 4 1. ПРАВИЛА ТЕХНИКИ БЕЗОПАСНОСТИ • Перед использованием данного прибора внимательно изучите эту инструкцию и держите ее в удобном месте, чтобы при необходимости использовать в качестве справочной информации. • Данное руководство по эксплуатации подготовлено для нескольких моделей, поэтому ваш ...
Zigmund & Shtain Manuals
-
 Zigmund & Shtain E 150 B
Manual
Zigmund & Shtain E 150 B
Manual
-
 Zigmund & Shtain CI 31.6 I
Manual
Zigmund & Shtain CI 31.6 I
Manual
-
 Zigmund & Shtain CN 40.3 W
Manual
Zigmund & Shtain CN 40.3 W
Manual
-
 Zigmund & Shtain Kuchen-Profi DS-121
Manual
Zigmund & Shtain Kuchen-Profi DS-121
Manual
-
 Zigmund & Shtain Kuchen-Profi DS-120
Manual
Zigmund & Shtain Kuchen-Profi DS-120
Manual
-
 Zigmund & Shtain Kuchen-Profi DS-116
Manual
Zigmund & Shtain Kuchen-Profi DS-116
Manual
-
 Zigmund & Shtain Kuchen-Profi DS-115
Manual
Zigmund & Shtain Kuchen-Profi DS-115
Manual
-
 Zigmund & Shtain Kuchen-Profi DS-114
Manual
Zigmund & Shtain Kuchen-Profi DS-114
Manual
-
 Zigmund & Shtain Kuchen-Profi DS-111
Manual
Zigmund & Shtain Kuchen-Profi DS-111
Manual
-
 Zigmund & Shtain Kuchen-Profi DS-110
Manual
Zigmund & Shtain Kuchen-Profi DS-110
Manual
-
 Zigmund & Shtain Al caffe ZCM-890
Manual
Zigmund & Shtain Al caffe ZCM-890
Manual
-
 Zigmund & Shtain Al caffe ZCM-883
Manual
Zigmund & Shtain Al caffe ZCM-883
Manual
-
 Zigmund & Shtain ZACM-2000
Manual
Zigmund & Shtain ZACM-2000
Manual
-
 Zigmund & Shtain ZMF-451
Manual
Zigmund & Shtain ZMF-451
Manual
-
 Zigmund & Shtain ZMF-452
Manual
Zigmund & Shtain ZMF-452
Manual