Zanussi ZDT 6454 - Manuals
Zanussi ZDT 6454 Dishwasher – User Manual, Manual in PDF format online.
Manuals:
User Manual Zanussi ZDT 6454


Summary
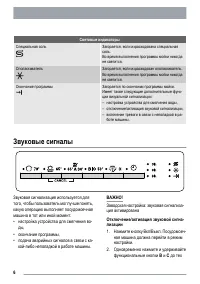
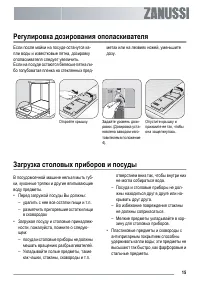
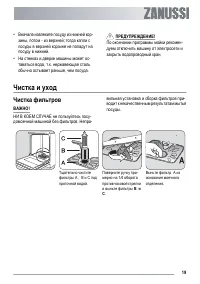
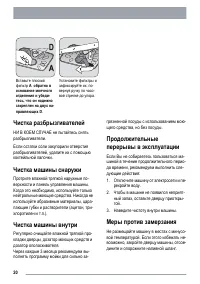
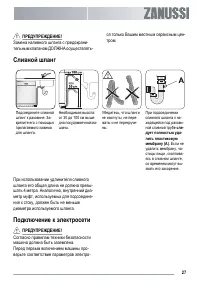
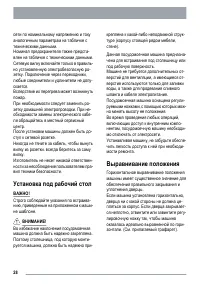
• - , - ; . • - , . . , . ! - . Ч Ч ! - . - - . A , B C . - 1/4 B C . A . 19
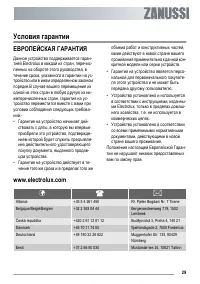
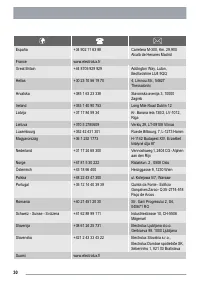
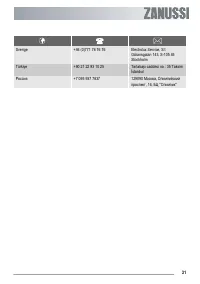
- Electrolux , - , , - . - , - - :- • - , , - - , - . • - , - . • - - . • , - Electrolux, - , . . . • , . - . www.electrolux.com Albania +35 5 4 261 450 Rr. Pjeter Bogdani Nr. 7 Tirane Belgique/België/Belgien +32 2 363 04 44 Bergensesteenweg 719, 1502Lembeek Č eská republika +420 2 61 12 61 12 Bud ě...
www.electrolux.com 156997920-00-21022007 Subject to change without notice
Manual Zanussi ZDT 6454


Summary
Thank you for selecting ourappliance We wish you lots of enjoyment with your newappliance and we hope that you will considerour brand again when purchasing householdappliances.Please read this user manual carefully andkeep it throughout the product life cycle as areference document. The user manual ...
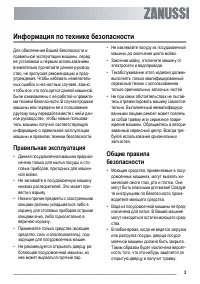
Safety information In the interest of your safety and to ensure thecorrect use, before installing and first using theappliance, read this user manual carefully, in-cluding its hints and warnings. To avoid unnec-essary mistakes and accidents, it is importantto ensure that all people using the applian...
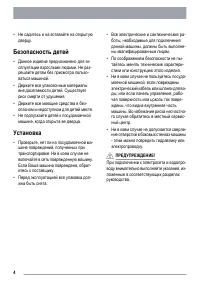
Installation • Check your dishwasher for any transport damage. Never connect a damaged ma-chine. If your dishwasher is damaged con-tact your supplier. • All packaging must be removed before use.• Any electrical and plumbing work required to install this appliance must be carried out bya qualified an...