Whirlpool WMCS7022PW - Manuals
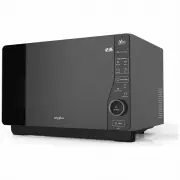
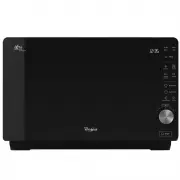
Whirlpool WMCS7022PW Microwave – User Manual, Manual in PDF format online.
Manuals:
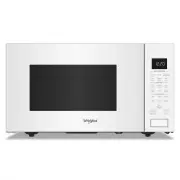
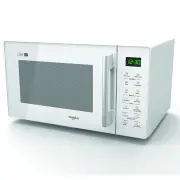
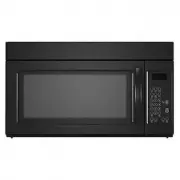
User Manual Whirlpool WMCS7022PW


Summary
TABLE OF CONTENTS / TABLA DE CONTENIDOS MICROWAVE OVEN SAFETY ........................................................3INSTALLATION INSTRUCTIONS ...................................................5 Unpacking ....................................................................................5Locatio...
3 MICROWAVE OVEN SAFETY You can be killed or seriously injured if you don't immediately You can be killed or seriously injured if you don't follow All safety messages will tell you what the potential hazard is, tell you how to reduce the chance of injury, and tell you what canhappen if the instructi...
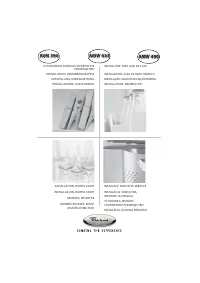
5 INSTALLATION INSTRUCTIONS Unpacking 1. Empty the microwave oven of any packing materials. 2. Clean the inside with a soft, damp cloth. 3. Check for damage, such as: n A door that is not lined up correctly, n Damage around the door, or n Dents on the interior or exterior of the microwave oven. If t...
Manual Whirlpool WMCS7022PW


Whirlpool Microwaves Manuals
-
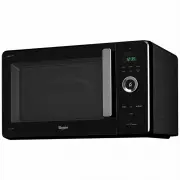
 Whirlpool AMW 433
Manual
Whirlpool AMW 433
Manual
-
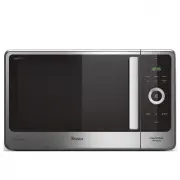
 Whirlpool AMW 848
Manual
Whirlpool AMW 848
Manual
-
Whirlpool AVM 390
Manual
-
 Whirlpool JQ280BL
User Manual
Whirlpool JQ280BL
User Manual
-
 Whirlpool JQ280IX
User Manual
Whirlpool JQ280IX
User Manual
-
 Whirlpool JT479IX
User Manual
Whirlpool JT479IX
User Manual
-
 Whirlpool MWC25BK
User Manual
Whirlpool MWC25BK
User Manual
-
 Whirlpool MWC25WH
User Manual
Whirlpool MWC25WH
User Manual
-
 Whirlpool MWCF25BK
User Manual
Whirlpool MWCF25BK
User Manual
-
 Whirlpool MWF421BL
User Manual
Whirlpool MWF421BL
User Manual
-
 Whirlpool MWF427BL
User Manual
Whirlpool MWF427BL
User Manual
-
 Whirlpool MWP301B
User Manual
Whirlpool MWP301B
User Manual
-
Whirlpool MWP301B
Manual
-
 Whirlpool MWT25BK
User Manual
Whirlpool MWT25BK
User Manual
-
 Whirlpool MWT25WH
User Manual
Whirlpool MWT25WH
User Manual
-
 Whirlpool UMC5225GZ
User Manual
Whirlpool UMC5225GZ
User Manual
-
Whirlpool UMC5225GZ
Installation Manual
-
 Whirlpool UMCS5022PZ
User Manual
Whirlpool UMCS5022PZ
User Manual
-
 Whirlpool UMH50008HS
User Manual
Whirlpool UMH50008HS
User Manual
-
 Whirlpool UMV1160CB
User Manual
Whirlpool UMV1160CB
User Manual