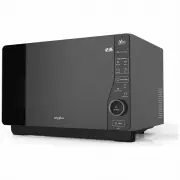
Whirlpool MWT25BK - Manuals
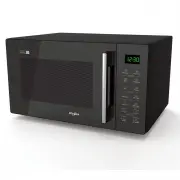
User Manual Whirlpool MWT25BK


Summary
2 GB INDEX INSTALLATION Installation 3 SAFETY Important safety instructions 4 Trouble shooting guide 5 Precautions 6 ACCESSORIES AND MAINTENANCE Accessories 7 Maintenance & Cleaning 8 CONTROL PANEL Control panel 9 Display Description 10 GENERAL USE Stand-by mode 11 Start Protection / Child Lock ...
3 GB Position the microwave oven at a distance from other heating sources. For sufficient ventilation, there must be a space of at least 30 cm above the microwave oven. The microwave oven should not be placed in a cabi- net. This microwave oven is not intended to be pla- ced or used on a working sur...
4 GB SAFETY IMPORTANT SAFETY INSTRUCTIONS Read Carefully And Keep For Future Reference * If material inside / outside the microwave oven ignite or smoke is emitted, keep microwave oven door closed and turn the microwave oven off. Disconnect the po- wer or shut off power at the fuse or circuit breake...
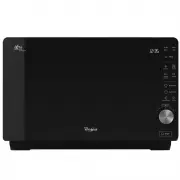
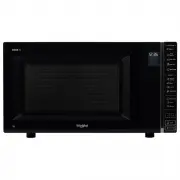
Whirlpool Microwaves Manuals
-
 Whirlpool AMW 848
Manual
Whirlpool AMW 848
Manual
-
 Whirlpool JQ280IX
User Manual
Whirlpool JQ280IX
User Manual
-
 Whirlpool JT479IX
User Manual
Whirlpool JT479IX
User Manual
-
 Whirlpool MWC25WH
User Manual
Whirlpool MWC25WH
User Manual
-
 Whirlpool MWF421BL
User Manual
Whirlpool MWF421BL
User Manual
-
 Whirlpool MWF427BL
User Manual
Whirlpool MWF427BL
User Manual
-
 Whirlpool MWP301B
User Manual
Whirlpool MWP301B
User Manual
-
Whirlpool MWP301B
Manual
-
 Whirlpool UMC5225GZ
User Manual
Whirlpool UMC5225GZ
User Manual
-
Whirlpool UMC5225GZ
Installation Manual
-
 Whirlpool UMV1160CS
User Manual
Whirlpool UMV1160CS
User Manual
-
 Whirlpool UMV1160CW
User Manual
Whirlpool UMV1160CW
User Manual
-
 Whirlpool UMV1170LS
User Manual
Whirlpool UMV1170LS
User Manual
-
 Whirlpool WM2811D
User Manual
Whirlpool WM2811D
User Manual
-
 Whirlpool WMC10007AB
User Manual
Whirlpool WMC10007AB
User Manual
-
 Whirlpool WMC10007AW
User Manual
Whirlpool WMC10007AW
User Manual
-
 Whirlpool WMC20005YB
User Manual
Whirlpool WMC20005YB
User Manual
-
 Whirlpool WMC20005YD
User Manual
Whirlpool WMC20005YD
User Manual
-
 Whirlpool WMC20005YW
User Manual
Whirlpool WMC20005YW
User Manual
-
 Whirlpool WMC30309LB
User Manual
Whirlpool WMC30309LB
User Manual