Whirlpool JQ280BL - Manuals
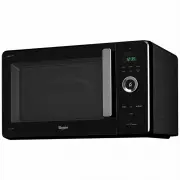
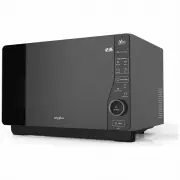
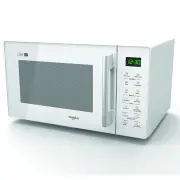
User Manual Whirlpool JQ280BL


Summary
2 AU INDEX INSTALLATION 3 Installation SAFETY 4 Important safety instructions 5 Precautions ACCESSORIES AND MAINTENANCE 6 Accessories 7 Maintenance & Cleaning CONTROL PANEL 8 control panel GENERAL USE 9 Start protection / child lock 9 Pause or stop cooking 10 Set lock 10 Weight sensor COOKING FU...
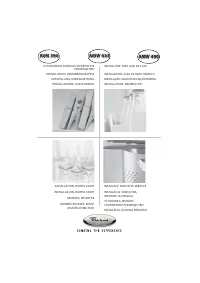
3 AU D O NOT USE EXTENSION CORD : I F THE POWER SUPPLY CORD IS TOO SHORT , havea qualifi ed electrician or serviceman install an outlet near the appliance. W ARNING: Improper use of the grounding plug can result in a risk of electric shock. Con-sult a qualifi ed electrician or serviceman if the grou...
4 AU T HE APPLIANCES ARE NOT INTENDED to be op- erated by means of an external timer or separate remote-control system. T HIS APPLIANCE CAN BE USED BY CHILDREN aged from 8 years and above and persons with reduced physical, sensory or mental capabil-ities or lack of experience and knowledge if they h...
Whirlpool Microwaves Manuals
-
 Whirlpool AMW 433
Manual
Whirlpool AMW 433
Manual
-
 Whirlpool AMW 848
Manual
Whirlpool AMW 848
Manual
-
Whirlpool AVM 390
Manual
-
 Whirlpool JQ280IX
User Manual
Whirlpool JQ280IX
User Manual
-
 Whirlpool JT479IX
User Manual
Whirlpool JT479IX
User Manual
-
 Whirlpool MWC25BK
User Manual
Whirlpool MWC25BK
User Manual
-
 Whirlpool MWC25WH
User Manual
Whirlpool MWC25WH
User Manual
-
 Whirlpool MWCF25BK
User Manual
Whirlpool MWCF25BK
User Manual
-
 Whirlpool MWF421BL
User Manual
Whirlpool MWF421BL
User Manual
-
 Whirlpool MWF427BL
User Manual
Whirlpool MWF427BL
User Manual
-
 Whirlpool MWP301B
User Manual
Whirlpool MWP301B
User Manual
-
Whirlpool MWP301B
Manual
-
 Whirlpool MWT25BK
User Manual
Whirlpool MWT25BK
User Manual
-
 Whirlpool MWT25WH
User Manual
Whirlpool MWT25WH
User Manual
-
 Whirlpool UMC5225GZ
User Manual
Whirlpool UMC5225GZ
User Manual
-
Whirlpool UMC5225GZ
Installation Manual
-
 Whirlpool UMCS5022PZ
User Manual
Whirlpool UMCS5022PZ
User Manual
-
 Whirlpool UMH50008HS
User Manual
Whirlpool UMH50008HS
User Manual
-
 Whirlpool UMV1160CB
User Manual
Whirlpool UMV1160CB
User Manual
-
 Whirlpool UMV1160CS
User Manual
Whirlpool UMV1160CS
User Manual