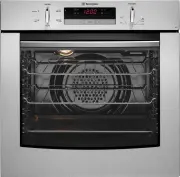
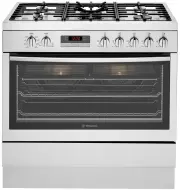
Westinghouse WVEP9917DD - Manuals
User Manual Westinghouse WVEP9917DD


Summary
2 CONTENTS Please read this user manual carefully and store in a handy place for later reference. The symbols you will see in this booklet have the following meanings: WARNING WARNING This symbol indicates information concerning your personal safety. WARNING CAUTION This symbol indicates information...
3 IMPORTANT SAFETY INSTRUCTIONS Installation, cleaning and servicing warnings • An authorised person must install this appliance. (Certificate of Compliance to be retained). • Before using the appliance, ensure that all packing materials are removed from the appliance. • In order to avoid any potent...
4 IMPORTANT SAFETY INSTRUCTIONS WARNING WARNING Oven • During use the appliance becomes hot. Care should be taken to avoid touching the hot surfaces inside the oven. • Switch the appliance off at the isolating switch before removing the oven light glass for globe replacement. • To avoid an accident,...
Westinghouse Ovens Manuals
-
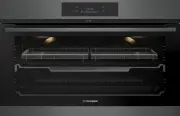
 Westinghouse DSP635S
User Manual
Westinghouse DSP635S
User Manual
-
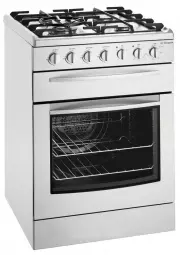
 Westinghouse GOR474SLPG
User Manual
Westinghouse GOR474SLPG
User Manual
-
 Westinghouse GOR476S
User Manual
Westinghouse GOR476S
User Manual
-
 Westinghouse GOR476SLPG
User Manual
Westinghouse GOR476SLPG
User Manual
-
 Westinghouse GXR650WLPG
User Manual
Westinghouse GXR650WLPG
User Manual
-
 Westinghouse PAK557W
User Manual
Westinghouse PAK557W
User Manual
-
 Westinghouse PDR790S
User Manual
Westinghouse PDR790S
User Manual
-
 Westinghouse PGR659S
User Manual
Westinghouse PGR659S
User Manual
-
 Westinghouse POR663S
User Manual
Westinghouse POR663S
User Manual
-
 Westinghouse POR667S
User Manual
Westinghouse POR667S
User Manual
-
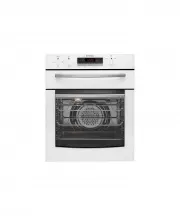
 Westinghouse WFE512SC
User Manual
Westinghouse WFE512SC
User Manual
-
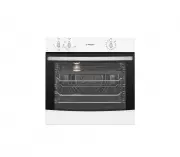
 Westinghouse WFE612SC
User Manual
Westinghouse WFE612SC
User Manual
-
 Westinghouse WFE614SC
User Manual
Westinghouse WFE614SC
User Manual
-
 Westinghouse WFE647SA
User Manual
Westinghouse WFE647SA
User Manual
-
 Westinghouse WFE914SA
User Manual
Westinghouse WFE914SA
User Manual
-
 Westinghouse WFE914SB
User Manual
Westinghouse WFE914SB
User Manual
-
 Westinghouse WFE915SD
User Manual
Westinghouse WFE915SD
User Manual
-
 Westinghouse WFE916DSD
User Manual
Westinghouse WFE916DSD
User Manual
-
 Westinghouse WFE916SA
User Manual
Westinghouse WFE916SA
User Manual
-
 Westinghouse WFE946SA
User Manual
Westinghouse WFE946SA
User Manual