Westinghouse WVEP6918DD - Manuals
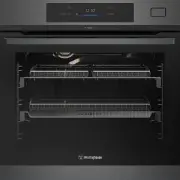
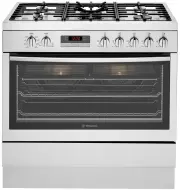
User Manual Westinghouse WVEP6918DD


Summary
2 CONTENTS Important safety instructions .........................................................3Installing your appliances ................................................................5Product description ...........................................................................7Before first ...
3 IMPORTANT SAFETY INSTRUCTIONS Please read the user manual carefully and store in a handy place for later reference. TIPS & INFORMATION IMPORTANT Important – check for any damages or marks. • If you find the oven is damaged or marked, you must report it within 7 days if you wish to claim for da...
4 IMPORTANT SAFETY INSTRUCTIONS IMPORTANT SAFETY INSTRUCTIONS Cooktop only • If the ceramic glass on cooktop is accidently cracked, switch off the appliance to avoid the possibility of electric shock. • Unattended cooking on a hob with fat or oil can bedangerous and may result in a fire. WARNING CAU...
Westinghouse Ovens Manuals
-
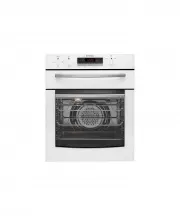
 Westinghouse DSP635S
User Manual
Westinghouse DSP635S
User Manual
-
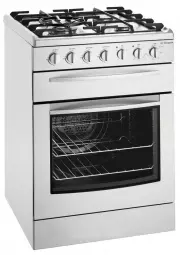
 Westinghouse GOR474SLPG
User Manual
Westinghouse GOR474SLPG
User Manual
-
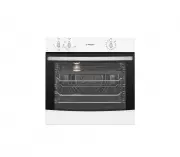
 Westinghouse GOR476S
User Manual
Westinghouse GOR476S
User Manual
-
 Westinghouse GOR476SLPG
User Manual
Westinghouse GOR476SLPG
User Manual
-
 Westinghouse GXR650WLPG
User Manual
Westinghouse GXR650WLPG
User Manual
-
 Westinghouse PAK557W
User Manual
Westinghouse PAK557W
User Manual
-
 Westinghouse PDR790S
User Manual
Westinghouse PDR790S
User Manual
-
 Westinghouse PGR659S
User Manual
Westinghouse PGR659S
User Manual
-
 Westinghouse POR663S
User Manual
Westinghouse POR663S
User Manual
-
 Westinghouse POR667S
User Manual
Westinghouse POR667S
User Manual
-
 Westinghouse WFE512SC
User Manual
Westinghouse WFE512SC
User Manual
-
 Westinghouse WFE612SC
User Manual
Westinghouse WFE612SC
User Manual
-
 Westinghouse WFE614SC
User Manual
Westinghouse WFE614SC
User Manual
-
 Westinghouse WFE647SA
User Manual
Westinghouse WFE647SA
User Manual
-
 Westinghouse WFE914SA
User Manual
Westinghouse WFE914SA
User Manual
-
 Westinghouse WFE914SB
User Manual
Westinghouse WFE914SB
User Manual
-
 Westinghouse WFE915SD
User Manual
Westinghouse WFE915SD
User Manual
-
 Westinghouse WFE916DSD
User Manual
Westinghouse WFE916DSD
User Manual
-
 Westinghouse WFE916SA
User Manual
Westinghouse WFE916SA
User Manual
-
 Westinghouse WFE946SA
User Manual
Westinghouse WFE946SA
User Manual