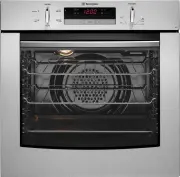
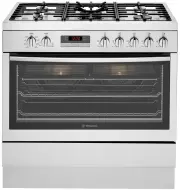
Westinghouse WVE6555SD - Manuals
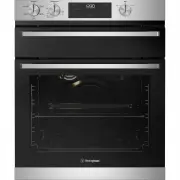
User Manual Westinghouse WVE6555SD


Summary
2 CONGRATULATIONS Please read the user manual carefully and store in a handy place for later reference. The symbols you will see in this booklet have these meanings: WARNING WARNING This symbol indicates information concerning your personal safety. WARNING CAUTION This symbol indicates information o...
3 ImPORTANT SAfeTy INSTRUCTIONS Please read the user manual carefully and store in a handy place for later reference. TIPS & INFORMATION IMPORTANT Important – check for any damages or marks. • If you find the oven is damaged or marked, you must report it within 7 days if you wish to claim for da...
5 INSTALLING yOUR APPLIANCe WARNING WARNING To avoid any potential hazard, you must follow our instructions when you install your appliance. Failure to install the appliance correctly could invalidate any warranty or liability claims and lead to prosecution. • This appliance must be installed by an ...
Westinghouse Ovens Manuals
-
 Westinghouse DSP635S
User Manual
Westinghouse DSP635S
User Manual
-
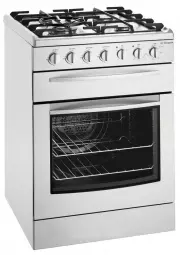
 Westinghouse GOR474SLPG
User Manual
Westinghouse GOR474SLPG
User Manual
-
 Westinghouse GOR476S
User Manual
Westinghouse GOR476S
User Manual
-
 Westinghouse GOR476SLPG
User Manual
Westinghouse GOR476SLPG
User Manual
-
 Westinghouse GXR650WLPG
User Manual
Westinghouse GXR650WLPG
User Manual
-
 Westinghouse PAK557W
User Manual
Westinghouse PAK557W
User Manual
-
 Westinghouse PDR790S
User Manual
Westinghouse PDR790S
User Manual
-
 Westinghouse PGR659S
User Manual
Westinghouse PGR659S
User Manual
-
 Westinghouse POR663S
User Manual
Westinghouse POR663S
User Manual
-
 Westinghouse POR667S
User Manual
Westinghouse POR667S
User Manual
-
 Westinghouse WFE512SC
User Manual
Westinghouse WFE512SC
User Manual
-
 Westinghouse WFE612SC
User Manual
Westinghouse WFE612SC
User Manual
-
 Westinghouse WFE614SC
User Manual
Westinghouse WFE614SC
User Manual
-
 Westinghouse WFE647SA
User Manual
Westinghouse WFE647SA
User Manual
-
 Westinghouse WFE914SA
User Manual
Westinghouse WFE914SA
User Manual
-
 Westinghouse WFE914SB
User Manual
Westinghouse WFE914SB
User Manual
-
 Westinghouse WFE915SD
User Manual
Westinghouse WFE915SD
User Manual
-
 Westinghouse WFE916DSD
User Manual
Westinghouse WFE916DSD
User Manual
-
 Westinghouse WFE916SA
User Manual
Westinghouse WFE916SA
User Manual
-
 Westinghouse WFE946SA
User Manual
Westinghouse WFE946SA
User Manual