Westinghouse WLE622WC - Manuals
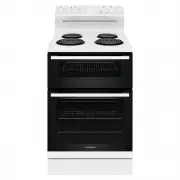
User Manual Westinghouse WLE622WC


Summary
2 3 IMPORTANT SAFETY INSTRUCTIONS CONTENTS IMPORTANT SAFETY INSTRUCTIONS Important safety instructions ........................................................3Understanding the cooker ..............................................................5Installation ..........................................
4 5 CONTENTS • Ensure that all specified vents, openings and airspaces are not blocked. • In order to avoid accidental tipping of the appliance (for example, by a child climbing onto the open oven door), the anti-tilt bracket must be installed. • Where the appliance is built into a cabinet, the cabi...
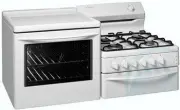
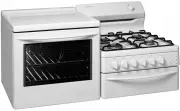
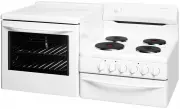
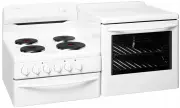
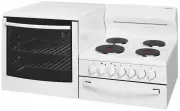
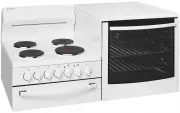
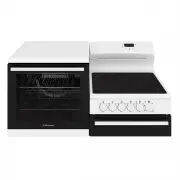
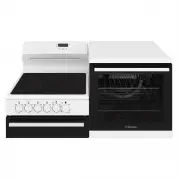
6 7 UNDERSTANDING THE COOKER UNDERSTANDING THE COOKER INSTALLATION Grill in oven models WLE620WC, WLE624WC, WLE625WC, WLE645WC INSTALLATION WARNING WARNING This appliance must be installed by an authorised person in compliance with local municipal building codes and any other relevant statutory regu...
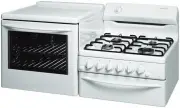
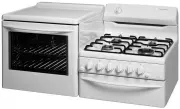
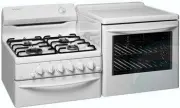
Westinghouse Ranges Manuals
-
 Westinghouse GEK1235LW
User Manual
Westinghouse GEK1235LW
User Manual
-
 Westinghouse GEK1235LWLPG
User Manual
Westinghouse GEK1235LWLPG
User Manual
-
 Westinghouse GEK1235RW
User Manual
Westinghouse GEK1235RW
User Manual
-
 Westinghouse GEK1235RWLPG
User Manual
Westinghouse GEK1235RWLPG
User Manual
-
 Westinghouse GEK1385LW
User Manual
Westinghouse GEK1385LW
User Manual
-
 Westinghouse GEK1385LWLPG
User Manual
Westinghouse GEK1385LWLPG
User Manual
-
 Westinghouse PEK1350LW
User Manual
Westinghouse PEK1350LW
User Manual
-
 Westinghouse PEK1350RW
User Manual
Westinghouse PEK1350RW
User Manual
-
 Westinghouse PEK1370LW
User Manual
Westinghouse PEK1370LW
User Manual
-
 Westinghouse PEK1370RW
User Manual
Westinghouse PEK1370RW
User Manual
-
 Westinghouse WDE132WC-L
User Manual
Westinghouse WDE132WC-L
User Manual
-
 Westinghouse WDE132WC-R
User Manual
Westinghouse WDE132WC-R
User Manual
-
 Westinghouse WDE135WA-L
User Manual
Westinghouse WDE135WA-L
User Manual
-
 Westinghouse WDE135WA-R
User Manual
Westinghouse WDE135WA-R
User Manual
-
 Westinghouse WDE143WC-L
User Manual
Westinghouse WDE143WC-L
User Manual
-
 Westinghouse WDE143WC-R
User Manual
Westinghouse WDE143WC-R
User Manual
-
 Westinghouse WDE147WA-L
User Manual
Westinghouse WDE147WA-L
User Manual
-
 Westinghouse WDE147WA-R
User Manual
Westinghouse WDE147WA-R
User Manual
-
 Westinghouse WDG101WA-R
User Manual
Westinghouse WDG101WA-R
User Manual
-
 Westinghouse WDG101WBNG-L
User Manual
Westinghouse WDG101WBNG-L
User Manual