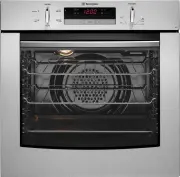
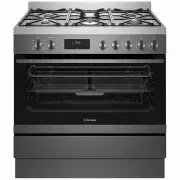
Westinghouse WFE614SC - Manuals
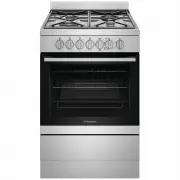
User Manual Westinghouse WFE614SC


Summary
2 3 IMPORTANT SAFETY INSTRUCTIONS CONTENTS TIPS & INFORMATION TIPS AND INFORMATION Important – CHECK FOR ANY DAMAGE OR MARKS If you find the appliance is damaged or marked, you must report it within 7 days if you wish to claim for damage/ marks under the manufacturer’s warranty. This does not af...
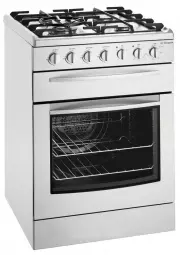
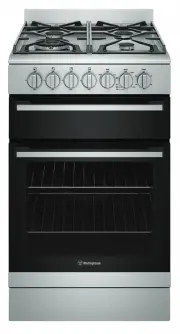
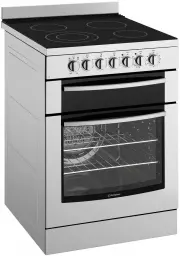
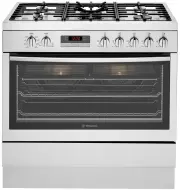
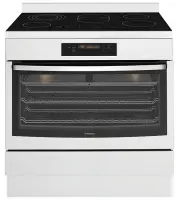
4 5 DESCRIPTION DESCRIPTION DESCRIPTION OF YOUR APPLIANCE Grill Model WFE512 Model WFE542 Model WFE642 Model WFE614 Model WFG612 Model WFE616 Model WFE532 Model WFE646 Model WFE612 Hotplate controls Hotplate controls Hotplate controls Dual ring hotplate control Dual ring hotplate control Hotplate co...
6 7 INSTALLATION INSTALLATION Cabinet requirements This appliance has been designed to ‘slot-in’ to a 600mm wide gap built-in standard kitchen cabinets. As such the appliance can be installed to suit the height of the benches This allows the cooker to integrate well into contemporary kitchens. The c...
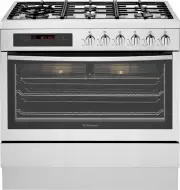
Westinghouse Ovens Manuals
-
 Westinghouse DSP635S
User Manual
Westinghouse DSP635S
User Manual
-
 Westinghouse GOR474SLPG
User Manual
Westinghouse GOR474SLPG
User Manual
-
 Westinghouse GOR476S
User Manual
Westinghouse GOR476S
User Manual
-
 Westinghouse GOR476SLPG
User Manual
Westinghouse GOR476SLPG
User Manual
-
 Westinghouse GXR650WLPG
User Manual
Westinghouse GXR650WLPG
User Manual
-
 Westinghouse PAK557W
User Manual
Westinghouse PAK557W
User Manual
-
 Westinghouse PDR790S
User Manual
Westinghouse PDR790S
User Manual
-
 Westinghouse PGR659S
User Manual
Westinghouse PGR659S
User Manual
-
 Westinghouse POR663S
User Manual
Westinghouse POR663S
User Manual
-
 Westinghouse POR667S
User Manual
Westinghouse POR667S
User Manual
-
 Westinghouse WFE512SC
User Manual
Westinghouse WFE512SC
User Manual
-
 Westinghouse WFE612SC
User Manual
Westinghouse WFE612SC
User Manual
-
 Westinghouse WFE647SA
User Manual
Westinghouse WFE647SA
User Manual
-
 Westinghouse WFE914SA
User Manual
Westinghouse WFE914SA
User Manual
-
 Westinghouse WFE914SB
User Manual
Westinghouse WFE914SB
User Manual
-
 Westinghouse WFE915SD
User Manual
Westinghouse WFE915SD
User Manual
-
 Westinghouse WFE916DSD
User Manual
Westinghouse WFE916DSD
User Manual
-
 Westinghouse WFE916SA
User Manual
Westinghouse WFE916SA
User Manual
-
 Westinghouse WFE946SA
User Manual
Westinghouse WFE946SA
User Manual
-
 Westinghouse WFE946SB
User Manual
Westinghouse WFE946SB
User Manual