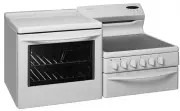
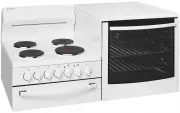
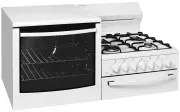
Westinghouse WDE147WA-R - Manuals
User Manual Westinghouse WDE147WA-R


Summary
2 3 IMPORTANT SAFETY INSTRUCTIONS IMPORTANT SAFETY INSTRUCTIONS CONTENTS TIPS & INFORMATION IMPORTANT Check for any damage or marks If you find the appliance is damaged or marked, you must report it within 7 days if you wish to claim for damage/ marks under the manufacturer’s warranty. This does...
4 5 WARNING WARNING Hotplate and burner warnings • DO NOT allow pots to boil dry, as damage to the hotplate (and pan) may result. • DO NOT operate without a pot, fry pan etc on the hotplates. • DO NOT allow cookware to overhang the hotplate onto adjacent bench tops, this will cause scorching to the ...
6 7 OPERATING FOR THE FIRST TIME OPERATING FOR THE FIRST TIME Installation and Service Warning WARNING WARNING • Only an authorised person must install and service this appliance (Certificate of Compliance to be retained). • In order to avoid a hazard, the installation instructions MUST be followed....
Westinghouse Ranges Manuals
-
 Westinghouse GEK1235LW
User Manual
Westinghouse GEK1235LW
User Manual
-
 Westinghouse GEK1235LWLPG
User Manual
Westinghouse GEK1235LWLPG
User Manual
-
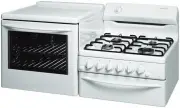
 Westinghouse GEK1235RW
User Manual
Westinghouse GEK1235RW
User Manual
-
 Westinghouse GEK1235RWLPG
User Manual
Westinghouse GEK1235RWLPG
User Manual
-
 Westinghouse GEK1385LW
User Manual
Westinghouse GEK1385LW
User Manual
-
 Westinghouse GEK1385LWLPG
User Manual
Westinghouse GEK1385LWLPG
User Manual
-
 Westinghouse PEK1350LW
User Manual
Westinghouse PEK1350LW
User Manual
-
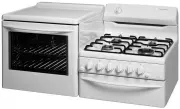
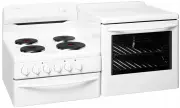 Westinghouse PEK1350RW
User Manual
Westinghouse PEK1350RW
User Manual
-
 Westinghouse PEK1370LW
User Manual
Westinghouse PEK1370LW
User Manual
-
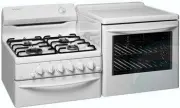
 Westinghouse PEK1370RW
User Manual
Westinghouse PEK1370RW
User Manual
-
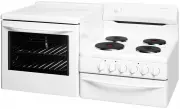
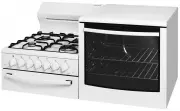
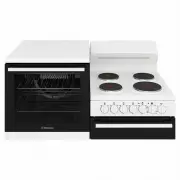 Westinghouse WDE132WC-L
User Manual
Westinghouse WDE132WC-L
User Manual
-
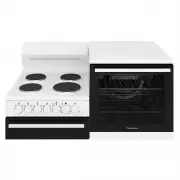 Westinghouse WDE132WC-R
User Manual
Westinghouse WDE132WC-R
User Manual
-
 Westinghouse WDE135WA-L
User Manual
Westinghouse WDE135WA-L
User Manual
-
 Westinghouse WDE135WA-R
User Manual
Westinghouse WDE135WA-R
User Manual
-
 Westinghouse WDE143WC-L
User Manual
Westinghouse WDE143WC-L
User Manual
-
 Westinghouse WDE143WC-R
User Manual
Westinghouse WDE143WC-R
User Manual
-
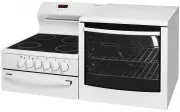
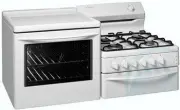
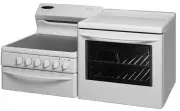
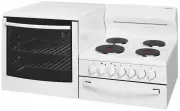
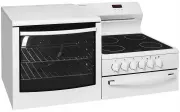 Westinghouse WDE147WA-L
User Manual
Westinghouse WDE147WA-L
User Manual
-
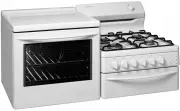
 Westinghouse WDG101WA-R
User Manual
Westinghouse WDG101WA-R
User Manual
-
 Westinghouse WDG101WBNG-L
User Manual
Westinghouse WDG101WBNG-L
User Manual
-
 Westinghouse WDG101WBNG-R
User Manual
Westinghouse WDG101WBNG-R
User Manual