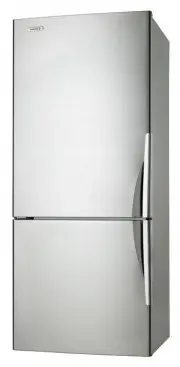
Westinghouse WBB3700WF - Manuals
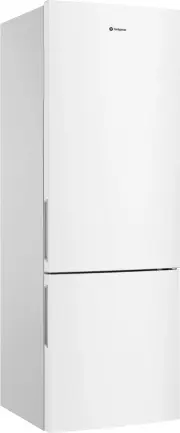
User Manual Westinghouse WBB3700WF


Summary
2 CONGRATULATIONS Congratulations and thank you for choosing our integration kit. Before you install the integration kit, we recommend that you read through the entire installation manual.To avoid the risks that are always present when you install an electrical appliance, it is important that the in...
4 Item Quantity in kit Quantity required Description Two door model Single door model Top hinge bracket PNº 1433129 1 1 1 Slide-housing PNº 1445132 2 2 1 Slide-bar PNº 1421620 2 2 1 Location bracket front footing PNº 1444993 Note: this part is to be used on all models other than WTB2300, WTB2500, WT...
5 CUPBOARD DIMENSIONS IMPORTANT! Pages 5, 6, 7 and 8 should be given to the person responsible for cupboard design and construction. The cupboard dimensions required for each model are shown on page 6, 7 & 8. 1. All sizes are internal and measured in millimetres . 2. It is important to ensure th...
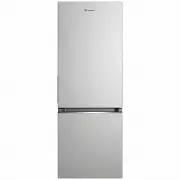
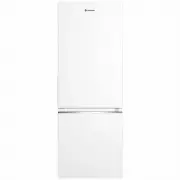
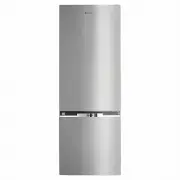
Westinghouse Refrigerators Manuals
-
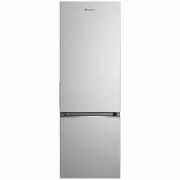
 Westinghouse WBB3100AK
User Manual
Westinghouse WBB3100AK
User Manual
-
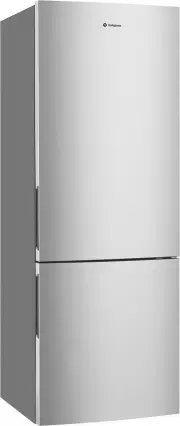
 Westinghouse WBB3100WK
User Manual
Westinghouse WBB3100WK
User Manual
-
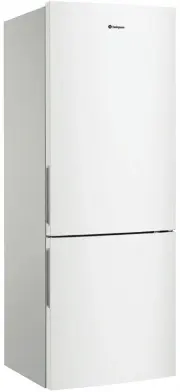
 Westinghouse WBB3400AG
User Manual
Westinghouse WBB3400AG
User Manual
-
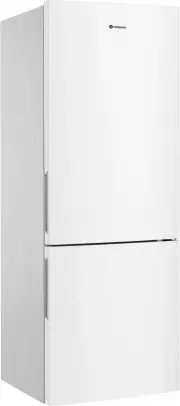
 Westinghouse WBB3400AH-X
User Manual
Westinghouse WBB3400AH-X
User Manual
-
 Westinghouse WBB3400AK
User Manual
Westinghouse WBB3400AK
User Manual
-
 Westinghouse WBB3400PF
User Manual
Westinghouse WBB3400PF
User Manual
-
 Westinghouse WBB3400WA
User Manual
Westinghouse WBB3400WA
User Manual
-
 Westinghouse WBB3400WF
User Manual
Westinghouse WBB3400WF
User Manual
-
 Westinghouse WBB3400WG
User Manual
Westinghouse WBB3400WG
User Manual
-
 Westinghouse WBB3400WK
User Manual
Westinghouse WBB3400WK
User Manual
-
 Westinghouse WBB3700AH
User Manual
Westinghouse WBB3700AH
User Manual
-
 Westinghouse WBB3700WA
User Manual
Westinghouse WBB3700WA
User Manual
-
 Westinghouse WBB3700WG
User Manual
Westinghouse WBB3700WG
User Manual
-
 Westinghouse WBB3700WH-X
User Manual
Westinghouse WBB3700WH-X
User Manual
-
 Westinghouse WBE4300SBLH
User Manual
Westinghouse WBE4300SBLH
User Manual
-
 Westinghouse WBE4302ACL
User Manual
Westinghouse WBE4302ACL
User Manual
-
 Westinghouse WBE4302ACR
User Manual
Westinghouse WBE4302ACR
User Manual
-
 Westinghouse WBE4302BCL
User Manual
Westinghouse WBE4302BCL
User Manual
-
 Westinghouse WBE4302BCR
User Manual
Westinghouse WBE4302BCR
User Manual
-
 Westinghouse WBE4302WCL
User Manual
Westinghouse WBE4302WCL
User Manual