Westinghouse POR667S - Manuals
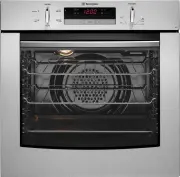
User Manual Westinghouse POR667S


Summary
2 3 SAFETY CONTENTS Description of your appliance � � � � � � � � � � � � � � � � � 4 POR663, PORS663L/R, POR667, POR668, PORS668L/R, POR783, POR788, PPR776 � � � � � � � � � � � � � � � � � � � � � � 4 PGR657, PGR659, PXR688, PXR698, PDR790, PDR794 � � � � � � � � � � � � � � � � � � � � � � � � � ...
6 7 INSTALLING ACCESSORIES INSTALLATION preparing your appliance for the first time • Please remove all internal boxes and bags from the oven before operation� • Please wipe out the oven interior prior to operation with warm soapy water and polish dry with a soft clean cloth� Do not close the oven d...
8 9 USING YOUR OVEN INSTALLING ACCESSORIES shelves and trays The shelves are designed so that they have maximum travel but cannot be accidentally pulled right out� The trays are designed the same way and fit straight into the side racks� • Locate the rear edge of the shelf/tray in between 2 guide ra...
Westinghouse Ovens Manuals
-
 Westinghouse DSP635S
User Manual
Westinghouse DSP635S
User Manual
-
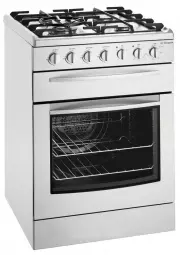
 Westinghouse GOR474SLPG
User Manual
Westinghouse GOR474SLPG
User Manual
-
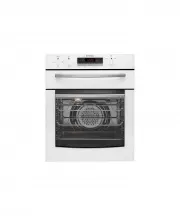
 Westinghouse GOR476S
User Manual
Westinghouse GOR476S
User Manual
-
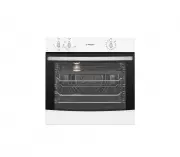 Westinghouse GOR476SLPG
User Manual
Westinghouse GOR476SLPG
User Manual
-
 Westinghouse GXR650WLPG
User Manual
Westinghouse GXR650WLPG
User Manual
-
 Westinghouse PAK557W
User Manual
Westinghouse PAK557W
User Manual
-
 Westinghouse PDR790S
User Manual
Westinghouse PDR790S
User Manual
-
 Westinghouse PGR659S
User Manual
Westinghouse PGR659S
User Manual
-
 Westinghouse POR663S
User Manual
Westinghouse POR663S
User Manual
-
 Westinghouse WFE512SC
User Manual
Westinghouse WFE512SC
User Manual
-
 Westinghouse WFE612SC
User Manual
Westinghouse WFE612SC
User Manual
-
 Westinghouse WFE614SC
User Manual
Westinghouse WFE614SC
User Manual
-
 Westinghouse WFE647SA
User Manual
Westinghouse WFE647SA
User Manual
-
 Westinghouse WFE914SA
User Manual
Westinghouse WFE914SA
User Manual
-
 Westinghouse WFE914SB
User Manual
Westinghouse WFE914SB
User Manual
-
 Westinghouse WFE915SD
User Manual
Westinghouse WFE915SD
User Manual
-
 Westinghouse WFE916DSD
User Manual
Westinghouse WFE916DSD
User Manual
-
 Westinghouse WFE916SA
User Manual
Westinghouse WFE916SA
User Manual
-
 Westinghouse WFE946SA
User Manual
Westinghouse WFE946SA
User Manual
-
 Westinghouse WFE946SB
User Manual
Westinghouse WFE946SB
User Manual