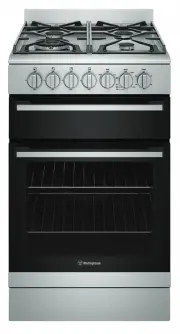
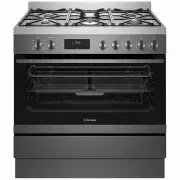
Westinghouse POR663S - Manuals
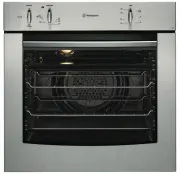
User Manual Westinghouse POR663S


Summary
2 CONTENTS Important safety instructions .............................................................. 3Description of your appliance ............................................................. 5 POR663 ....................................................................................... 5 PORS...
3 SAFETY Please read the user manual carefully and store in a handy place for later reference. The symbols you will see in this booklet have these meanings: WARNING This symbol indicates information concerning your personal safety CAUTION This symbol indicates information on how to avoid damaging th...
4 SAFETY WARNING COOKTOPS Do not allow pots to boil dry, as damage to both pan and cooktop may result.Do not operate the cooktop for an extended period of time without a utensil on the hot plate.Do not allow large cookware to overhang the cooktop onto the adjacent benchtop. This will cause scorching...
Westinghouse Ovens Manuals
-
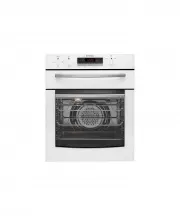
 Westinghouse DSP635S
User Manual
Westinghouse DSP635S
User Manual
-
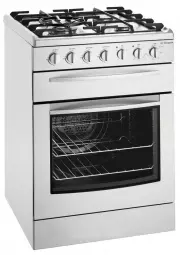
 Westinghouse GOR474SLPG
User Manual
Westinghouse GOR474SLPG
User Manual
-
 Westinghouse GOR476S
User Manual
Westinghouse GOR476S
User Manual
-
 Westinghouse GOR476SLPG
User Manual
Westinghouse GOR476SLPG
User Manual
-
 Westinghouse GXR650WLPG
User Manual
Westinghouse GXR650WLPG
User Manual
-
 Westinghouse PAK557W
User Manual
Westinghouse PAK557W
User Manual
-
 Westinghouse PDR790S
User Manual
Westinghouse PDR790S
User Manual
-
 Westinghouse PGR659S
User Manual
Westinghouse PGR659S
User Manual
-
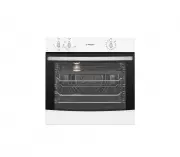
 Westinghouse POR667S
User Manual
Westinghouse POR667S
User Manual
-
 Westinghouse WFE512SC
User Manual
Westinghouse WFE512SC
User Manual
-
 Westinghouse WFE612SC
User Manual
Westinghouse WFE612SC
User Manual
-
 Westinghouse WFE614SC
User Manual
Westinghouse WFE614SC
User Manual
-
 Westinghouse WFE647SA
User Manual
Westinghouse WFE647SA
User Manual
-
 Westinghouse WFE914SA
User Manual
Westinghouse WFE914SA
User Manual
-
 Westinghouse WFE914SB
User Manual
Westinghouse WFE914SB
User Manual
-
 Westinghouse WFE915SD
User Manual
Westinghouse WFE915SD
User Manual
-
 Westinghouse WFE916DSD
User Manual
Westinghouse WFE916DSD
User Manual
-
 Westinghouse WFE916SA
User Manual
Westinghouse WFE916SA
User Manual
-
 Westinghouse WFE946SA
User Manual
Westinghouse WFE946SA
User Manual
-
 Westinghouse WFE946SB
User Manual
Westinghouse WFE946SB
User Manual