VEVOR BYCSPQSDJAC12DLJSV1 - Manuals
User Manual VEVOR BYCSPQSDJAC12DLJSV1


Summary
- 2 - Have product questions? Need technical support? Please feel free to contact us: [email protected] NEED HELP? CONTACT US! This is the original instruction, please read all manual instructions carefully before operating. VEVOR reserves a clear interpretation of our user manual. The appear- ance ...
- 3 - 【 Contents 】 Ⅰ 、 SAFETY PRECAUTIONS Ⅱ 、 PRODUCT DESCRIPTION Ⅲ 、 INSTALLATION Ⅳ 、 DIMENSION AND SPECIFICATION Ⅴ 、 POWERING AND SETUP Ⅵ 、 CLEANING Ⅶ 、 PROGRAMMING Ⅷ 、 FAQ Ⅸ 、 ATTENTIONS SAFETY PRECAUTIONS WARNING Improper operation may cause personal injury.Improper operation may cause damage to...
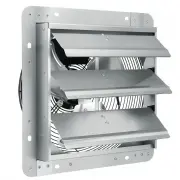
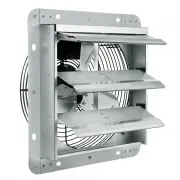
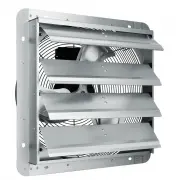
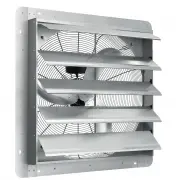
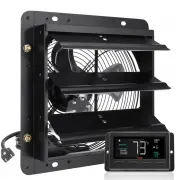
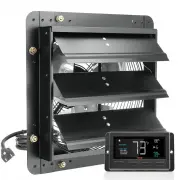
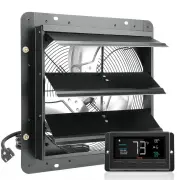
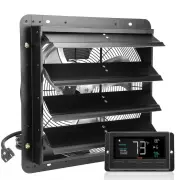
- 5 - PRODUCT DESCRIPTION TECHNICAL PARAMETER BrandModel BT-FL14A BT-FL16A BT-FL18A Voltage 120 V 120 V 120 V Frequency 60 Hz 60 Hz 60 Hz Power 31 W 60 W 126 W Speed 2550 RPM 2600 RPM 2500 RPM Duct Size Φ 100/ Φ 125 Φ 150/ Φ 160 Φ 200 Power Cord Length 1.6 M 1.6 M 1.6 M Working Ambient Temperature -...
VEVOR Fans Manuals
-
 VEVOR BYCSPQSDJAC10PBM8V1
User Manual
VEVOR BYCSPQSDJAC10PBM8V1
User Manual
-
 VEVOR BYCSPQSDJAC16NRV5V1
User Manual
VEVOR BYCSPQSDJAC16NRV5V1
User Manual
-
 VEVOR BYCSPQSDJAC2421TSV1
User Manual
VEVOR BYCSPQSDJAC2421TSV1
User Manual
-
 VEVOR BYCSPQSDJEC10VE89V1
User Manual
VEVOR BYCSPQSDJEC10VE89V1
User Manual
-
 VEVOR BYCSPQSDJEC12J2DNV1
User Manual
VEVOR BYCSPQSDJEC12J2DNV1
User Manual
-
 VEVOR BYCSPQSDJEC14Y5NAV1
User Manual
VEVOR BYCSPQSDJEC14Y5NAV1
User Manual
-
 VEVOR BYCSPQSDJEC16PFKWV1
User Manual
VEVOR BYCSPQSDJEC16PFKWV1
User Manual
-
 VEVOR GYBGSFS18INCH2HS2V1
User Manual
VEVOR GYBGSFS18INCH2HS2V1
User Manual
-
 VEVOR GYBGSFSYCSF18BWP2V1
User Manual
VEVOR GYBGSFSYCSF18BWP2V1
User Manual
-
 VEVOR GYBGSFSYCSF203K0JV1
User Manual
VEVOR GYBGSFSYCSF203K0JV1
User Manual
-
 VEVOR GYBGSFSYCSS24BCVOV1
User Manual
VEVOR GYBGSFSYCSS24BCVOV1
User Manual
-
 VEVOR GYBGSFSYCSS30K4KVV1
User Manual
VEVOR GYBGSFSYCSS30K4KVV1
User Manual
-
 VEVOR WDPQSWDKZQY404HTNV1
User Manual
VEVOR WDPQSWDKZQY404HTNV1
User Manual