UNIQUE UGP-3 SM W - Manuals
User Manual UNIQUE UGP-3 SM W


Summary
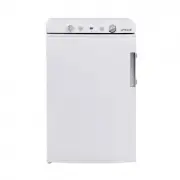
UNIQUE UGP-3 PORTABLE CAMPING REFRIGERATOR Installation and Owner’s Manual The installation of the appliance must conform with local codes ANSI Z21.74 1992, in the absence of local national Fuel Gas Code, ANSI Z233.1, and in Canada B149.2 Propane Storage and Handling Code WARNING : Improper installa...
M A N U F A C T U R E D A N D C E R T I F I E D B Y Unique Gas Products Ltd 2245 Wyecroft Road Oakville, Ontario Canada L6L 5L7 Ph: 905-827-6154 Toll Free: 1-877-427-2266 Fax: 905-827-2027 www.UniqueOffGrid.com E-mail: [email protected]
Table of Contents Chapters Welcome 1 Safety and Warnings 1 Appliances Installation/ Operating Instructions 2 Maintenance & Service 3 Troubleshooting & Suggested Spares 4 Door Removal and Reversal and Heating Element Replacement 5 Temperature Controls & Food Storage and Cleaning 6 Wiring ...
UNIQUE Refrigerators Manuals
-
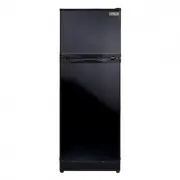 UNIQUE UGP-10C SM B
User Manual
UNIQUE UGP-10C SM B
User Manual
-
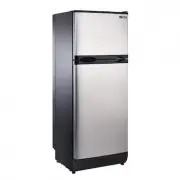 UNIQUE UGP-10C SM SS
User Manual
UNIQUE UGP-10C SM SS
User Manual
-
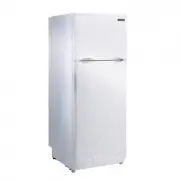 UNIQUE UGP-10C SM W
User Manual
UNIQUE UGP-10C SM W
User Manual
-
 UNIQUE UGP-14C CR SM W
User Manual
UNIQUE UGP-14C CR SM W
User Manual
-
 UNIQUE UGP-14C SM W
User Manual
UNIQUE UGP-14C SM W
User Manual
-
 UNIQUE UGP-215L W AC
User Manual
UNIQUE UGP-215L W AC
User Manual
-
 UNIQUE UGP-260L W
User Manual
UNIQUE UGP-260L W
User Manual
-
 UNIQUE UGP-275L W
User Manual
UNIQUE UGP-275L W
User Manual
-
 UNIQUE UGP-275L W AC
User Manual
UNIQUE UGP-275L W AC
User Manual
-
 UNIQUE UGP-278L P S/S
User Manual
UNIQUE UGP-278L P S/S
User Manual
-
 UNIQUE UGP-290L B
User Manual
UNIQUE UGP-290L B
User Manual
-
 UNIQUE UGP-3 SM B
User Manual
UNIQUE UGP-3 SM B
User Manual
-
 UNIQUE UGP-330L B AC
User Manual
UNIQUE UGP-330L B AC
User Manual
-
 UNIQUE UGP-330L LG AC
User Manual
UNIQUE UGP-330L LG AC
User Manual
-
 UNIQUE UGP-330L T AC
User Manual
UNIQUE UGP-330L T AC
User Manual
-
 UNIQUE UGP-330L W AC
User Manual
UNIQUE UGP-330L W AC
User Manual
-
 UNIQUE UGP-370L B
User Manual
UNIQUE UGP-370L B
User Manual
-
 UNIQUE UGP-385L W
User Manual
UNIQUE UGP-385L W
User Manual
-
 UNIQUE UGP-510L LG AC
User Manual
UNIQUE UGP-510L LG AC
User Manual
-
 UNIQUE UGP-6C SM W
User Manual
UNIQUE UGP-6C SM W
User Manual