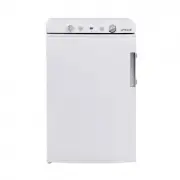
UNIQUE UGP-10C SM B - Manuals
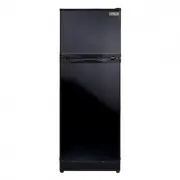
User Manual UNIQUE UGP-10C SM B


Summary
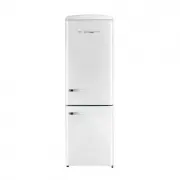
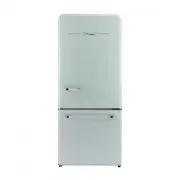
UNIQUE UGP-6C/8C/10C/14C Propane Refrigerator Installation and Owner’s Manual WARNING FIRE OR EXPLOSION HAZARD If you smell gas: 1. Open windows. 2. Do not attempt to light appliance and make sure the appliance is in the OFF position. 3. Extinguish any open flame. 4. Do not touch electrical switches...
NOTICE TO INSTALLER/CUSTOMER Please read carefully before hook-up! 1. The dwelling must have an adequate air supply and access to fresh air/oxygen in order to operate safely. Propane fridges/freezers, like any other gas appliance, must have access to fresh air/oxygen. This unvented appliance must no...
M A N U F A C T U R E D A N D C E R T I F I E D B Y Unique Appliances Unique Appliances, 2245 Wyecroft Road Oakville, Ontario, Canada, L6L 5L7 Ph: 905-827-6154 Toll Free: 1-877-427-2266 Fax: 905-827-2027 www.Uniqueappliances.com E-mail: [email protected] “ “ P P E E R R S S O O N N A A L L S S E E R...
UNIQUE Refrigerators Manuals
-
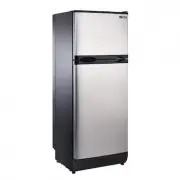 UNIQUE UGP-10C SM SS
User Manual
UNIQUE UGP-10C SM SS
User Manual
-
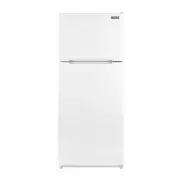
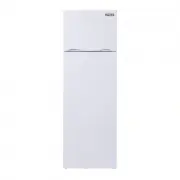
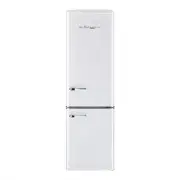
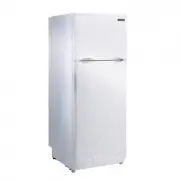 UNIQUE UGP-10C SM W
User Manual
UNIQUE UGP-10C SM W
User Manual
-
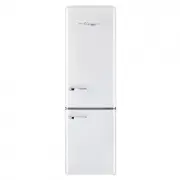
 UNIQUE UGP-14C CR SM W
User Manual
UNIQUE UGP-14C CR SM W
User Manual
-
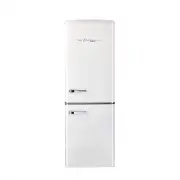
 UNIQUE UGP-14C SM W
User Manual
UNIQUE UGP-14C SM W
User Manual
-
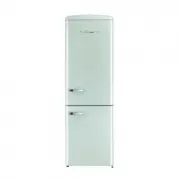
 UNIQUE UGP-215L W AC
User Manual
UNIQUE UGP-215L W AC
User Manual
-
 UNIQUE UGP-260L W
User Manual
UNIQUE UGP-260L W
User Manual
-
 UNIQUE UGP-275L W
User Manual
UNIQUE UGP-275L W
User Manual
-
 UNIQUE UGP-275L W AC
User Manual
UNIQUE UGP-275L W AC
User Manual
-
 UNIQUE UGP-278L P S/S
User Manual
UNIQUE UGP-278L P S/S
User Manual
-
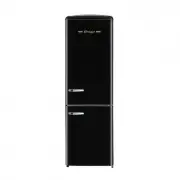
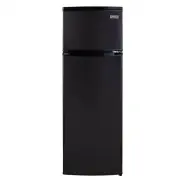
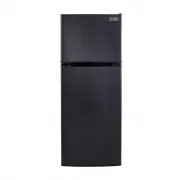 UNIQUE UGP-290L B
User Manual
UNIQUE UGP-290L B
User Manual
-
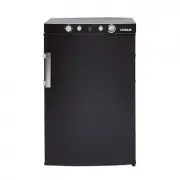 UNIQUE UGP-3 SM B
User Manual
UNIQUE UGP-3 SM B
User Manual
-
 UNIQUE UGP-3 SM W
User Manual
UNIQUE UGP-3 SM W
User Manual
-
 UNIQUE UGP-330L B AC
User Manual
UNIQUE UGP-330L B AC
User Manual
-
 UNIQUE UGP-330L LG AC
User Manual
UNIQUE UGP-330L LG AC
User Manual
-
 UNIQUE UGP-330L T AC
User Manual
UNIQUE UGP-330L T AC
User Manual
-
 UNIQUE UGP-330L W AC
User Manual
UNIQUE UGP-330L W AC
User Manual
-
 UNIQUE UGP-370L B
User Manual
UNIQUE UGP-370L B
User Manual
-
 UNIQUE UGP-385L W
User Manual
UNIQUE UGP-385L W
User Manual
-
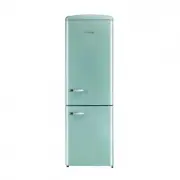
 UNIQUE UGP-510L LG AC
User Manual
UNIQUE UGP-510L LG AC
User Manual
-
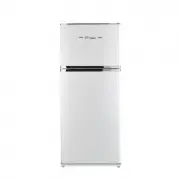
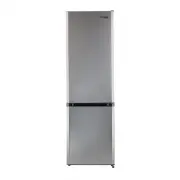
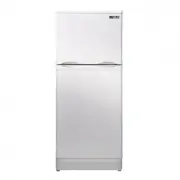 UNIQUE UGP-6C SM W
User Manual
UNIQUE UGP-6C SM W
User Manual