TP-Link TL-SF1016DS - Manuals
Manual TP-Link TL-SF1016DS


Summary
I COPYRIGHT & TRADEMARKS Specifications are subject to change without notice. is a registered trademark of TP-LINK TECHNOLOGIES CO., LTD. Other brands and product names are trademarks of their respective holders. No part of the specifications may be reproduced in any form or by any means or used...
II Related Document This Installation Guide is also available in PDF on our website. To obtain the latest documentation and prodcut information, please visit our official website: http://www.tp-link.com About this Installation Guide This Installation Guide describes the hardware characteristics, ins...
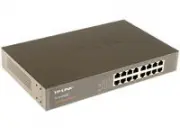
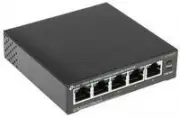
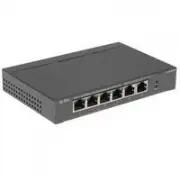
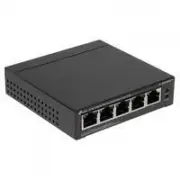
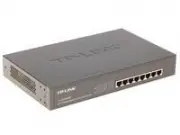
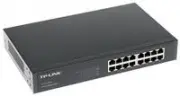
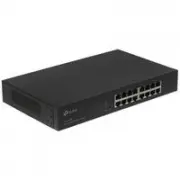
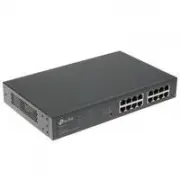
01 10/100Mbps Fast Ethernet Switch Introduction ChaCter C Product Overview C1C TL-SF1016/TL-SF1016DS/TL-SF1024/TL-SF1024D/TL-SF1048 switch provides 16/24/48 10/100Mbps Auto-Negotiation RJ45 ports. Each port of the TL-SF1016/TL-SF1016DS/ TL-SF1024/TL-SF1024D/TL-SF1048 supports auto MDI/MDI-X function...
TP-Link Switches Manuals
-
 TP-Link EAP225 Wall
User Manual
TP-Link EAP225 Wall
User Manual
-
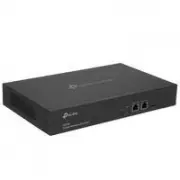 TP-Link Omada OC300
User Manual
TP-Link Omada OC300
User Manual
-
 TP-Link T2600G-28TS
User Manual
TP-Link T2600G-28TS
User Manual
-
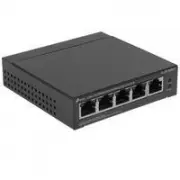 TP-Link TL-SF1005LP
User Manual
TP-Link TL-SF1005LP
User Manual
-
 TP-Link TL-SF1005P
User Manual
TP-Link TL-SF1005P
User Manual
-
 TP-Link TL-SF1006P
User Manual
TP-Link TL-SF1006P
User Manual
-
 TP-Link TL-SF1008LP
User Manual
TP-Link TL-SF1008LP
User Manual
-
 TP-Link TL-SF1009P
User Manual
TP-Link TL-SF1009P
User Manual
-
 TP-Link TL-SG1005D
Manual
TP-Link TL-SG1005D
Manual
-
 TP-Link TL-SG1005LP
User Manual
TP-Link TL-SG1005LP
User Manual
-
 TP-Link TLSG1005P
User Manual
TP-Link TLSG1005P
User Manual
-
 TP-Link TL-SG1005P
User Manual
TP-Link TL-SG1005P
User Manual
-
 TP-Link TL-SG1008D
Manual
TP-Link TL-SG1008D
Manual
-
 TP-Link TL-SG1008MP
User Manual
TP-Link TL-SG1008MP
User Manual
-
 TP-Link TLSG1008P
User Manual
TP-Link TLSG1008P
User Manual
-
 TP-Link TLSG1016
User Manual
TP-Link TLSG1016
User Manual
-
 TP-Link TL-SG1016D
Manual
TP-Link TL-SG1016D
Manual
-
 TP-Link TL-SG1016DE
User Manual
TP-Link TL-SG1016DE
User Manual
-
TP-Link TL-SG1016DE
Manual
-
 TP-Link TL-SG1016PE
User Manual
TP-Link TL-SG1016PE
User Manual