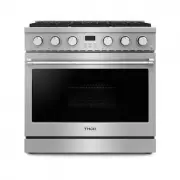
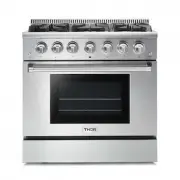
Thor Kitchen HRD3088U - Manuals
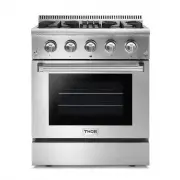
User Manual Thor Kitchen HRD3088U
1

2

3

4

5

6

7

8

9

10

11

12

13

14

15

16

17

18

19

20

21

22

23

24

25

26

27

28

29

30

31

32

33

34

35

36

37

38

39

40

41

42

43

44

45

46

47

48

49

50

51

52

53

54

55

56

57

58

59

60

61

62

63

64

65

66

67

68

Summary
Page 2 - USE AND CARE MANUAL; HRD MODELS
PROFESSIONAL DUAL FUEL RANGES USE AND CARE MANUAL HRD MODELS HRD4803U/ULP | HRD3606U/ULP | HRD3088U/ULP
Page 3 - TABLE OF CONTENTS
1. Warnings ................................................................................................................................................... 4 2. Welcome ..................................................................................................................................
Page 5 - WARNINGS; SAFET Y WARNINGS; WARNING
WARNINGS These are the most critical warnings summarized below. • If the instructions in this manual are not followed exactly, a fire or explosion may result, causing property damage, personal injury or death. • Do not store or use gasoline or other flammable substances and liquids near this or othe...
Thor Kitchen Ranges Manuals
-
 Thor Kitchen ARE30
User Manual
Thor Kitchen ARE30
User Manual
-
 Thor Kitchen ARE36
User Manual
Thor Kitchen ARE36
User Manual
-
 Thor Kitchen ARG30LP
User Manual
Thor Kitchen ARG30LP
User Manual
-
 Thor Kitchen ARG36LP
User Manual
Thor Kitchen ARG36LP
User Manual
-
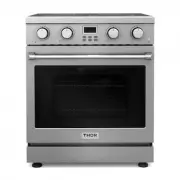
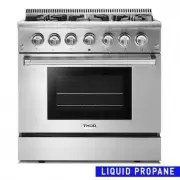
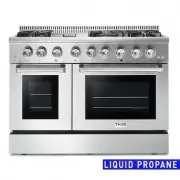
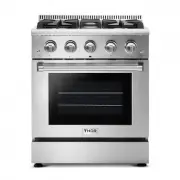
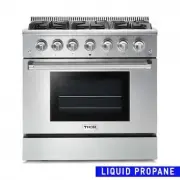
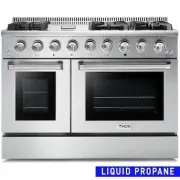
 Thor Kitchen HRD3088ULP
User Manual
Thor Kitchen HRD3088ULP
User Manual
-
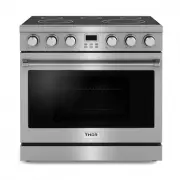
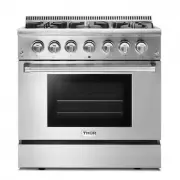 Thor Kitchen HRD3606U
User Manual
Thor Kitchen HRD3606U
User Manual
-
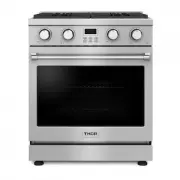
 Thor Kitchen HRD3606ULP
User Manual
Thor Kitchen HRD3606ULP
User Manual
-
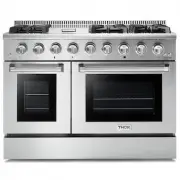
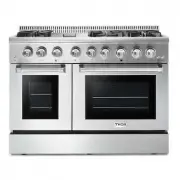 Thor Kitchen HRD4803U
User Manual
Thor Kitchen HRD4803U
User Manual
-
 Thor Kitchen HRD4803ULP
User Manual
Thor Kitchen HRD4803ULP
User Manual
-
 Thor Kitchen HRE2401
User Manual
Thor Kitchen HRE2401
User Manual
-
 Thor Kitchen HRE3001
User Manual
Thor Kitchen HRE3001
User Manual
-
 Thor Kitchen HRE3601
User Manual
Thor Kitchen HRE3601
User Manual
-
 Thor Kitchen HRG3080U
User Manual
Thor Kitchen HRG3080U
User Manual
-
 Thor Kitchen HRG3080ULP
User Manual
Thor Kitchen HRG3080ULP
User Manual
-
 Thor Kitchen HRG3618U
User Manual
Thor Kitchen HRG3618U
User Manual
-
 Thor Kitchen HRG3618ULP
User Manual
Thor Kitchen HRG3618ULP
User Manual
-
 Thor Kitchen HRG4808U
User Manual
Thor Kitchen HRG4808U
User Manual
-
 Thor Kitchen HRG4808ULP
User Manual
Thor Kitchen HRG4808ULP
User Manual